Digital Toolbox
Week 1- Photoshop
TASK 1
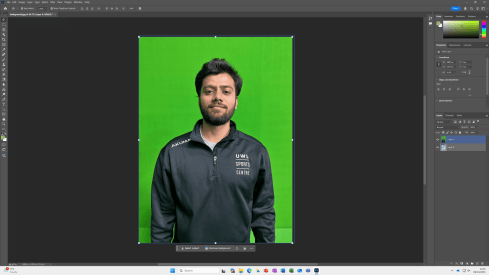
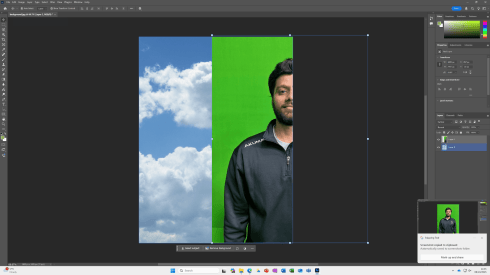
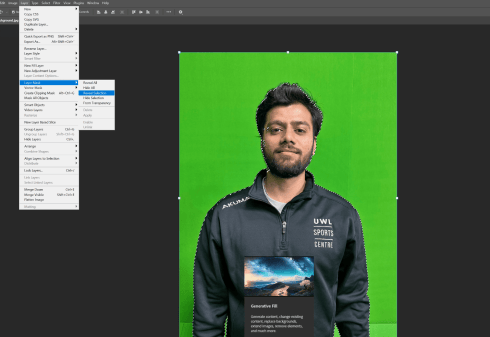
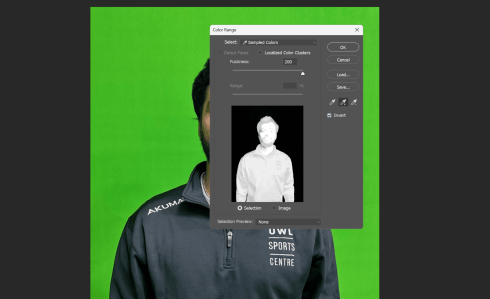
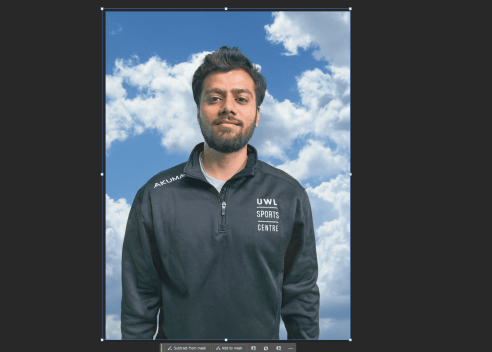
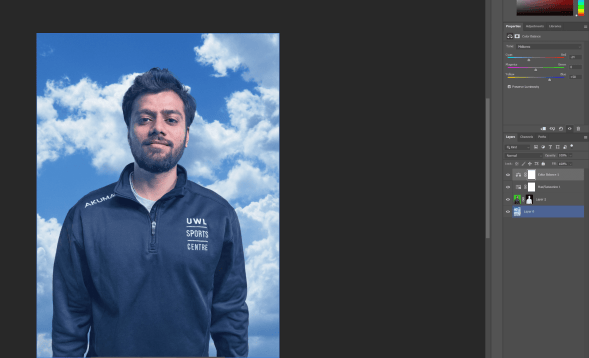
Above is a step by step picture breakdown of the things i needed to do to be able to remove the green screen background apply the target/subject onto the sky background.
to achieve this I first had to select the appropriate layer, after which I proceeded to go to select then colour range. after selecting the green I then used the second tool to pick up more green around the target before clicking okay.
after which I went to layer, layer mask, reveal selection.
this provided me the masked subject however there was still elements of green to be taken away through hue and saturation and colour matching
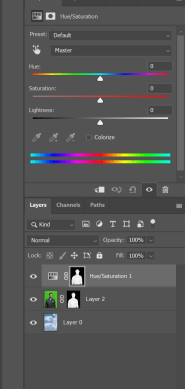
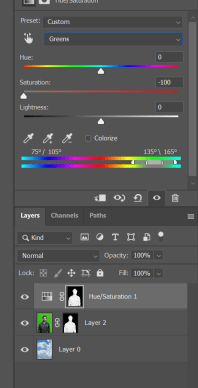
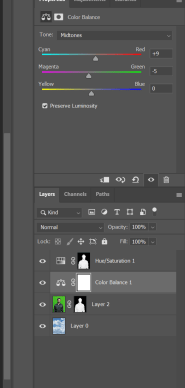
Through a series of trial and error i found what looked to me to be the best balance and hue/saturation levels in order to come up with end result that looks as if it were meant to be:
TASK 2
Abandoned Building
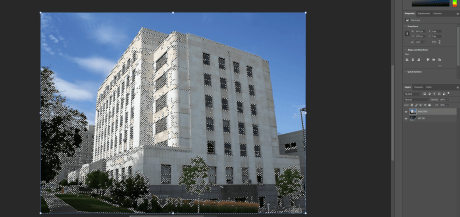
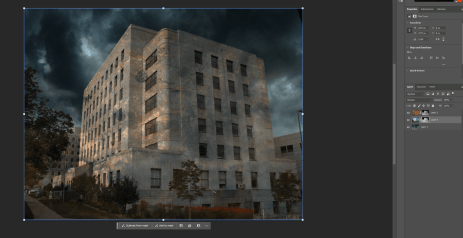
Here we have the initial look of the building from the brief, it is already covered by dots and pixels as it was snapshot as I was beginning to colour range and then mask.
Steps: select, colour range, select the blues. use the next tool to pick up even move blues.
then select layer mask, reveal selection.
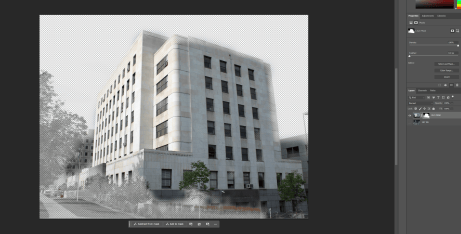
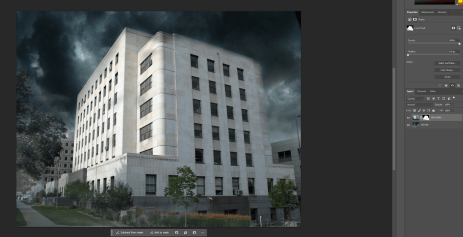
Continuing on from the mask i applied a thunderstorm background.
I used the paint brush tool to mask and/or unmask parts of I wanted to be seen in the frame.
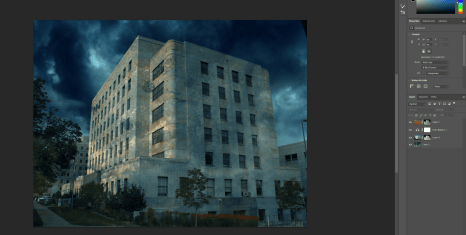
The two images above show how I have taken the original building to a more worn out, beaten and rust ridden look. to do this I had to create another layer duplicate of the building and apply the rust to that layer as I had some issues with applying it in the main mask layer.
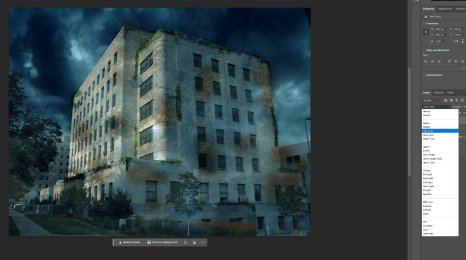
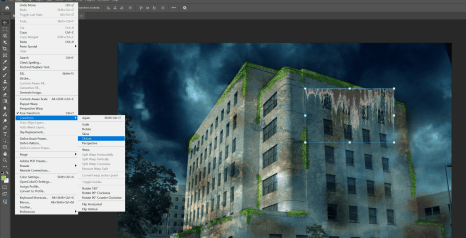
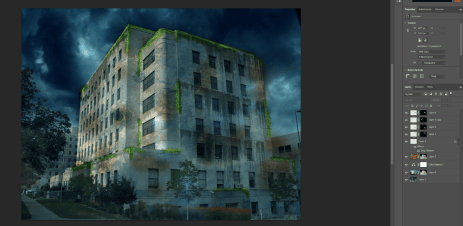
The three images above are a continuation of layers and brush tools.
Using the legacy brush tool named “foliage” I created moss/mould like features along the building to further compliment idea of age and deterioration. The additional implementation of a transparent dirt textures one the build helped to sell the narrative and bring it to life.
I used shortcuts such as:
alt + control to drag my dirt and duplicate it.
ctrl + T to transform and flip objects
Using the windows bar I frequently used edit, transform, distort to change and distort different elements to match the shape of the building.
I also used a various amount of blending options as well as using DROP SHADOWS in the layer style section (which is accessed by double clicking the chosen layer)
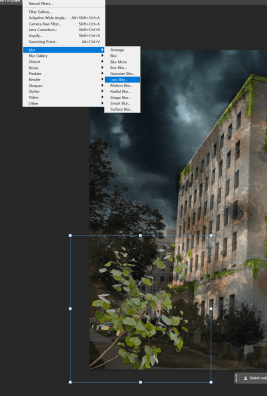
Just before I added some leaves close up to the camera.
By using a range of different blending choices on each layer is was able to give off a realist bush in the corner of the screen. by implementing use of the adjustments I also changed the hue and saturation so that it was be much darker and perfectly blend into my scene.
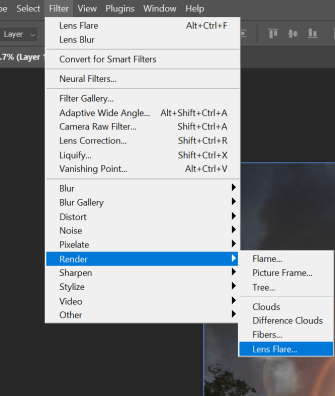
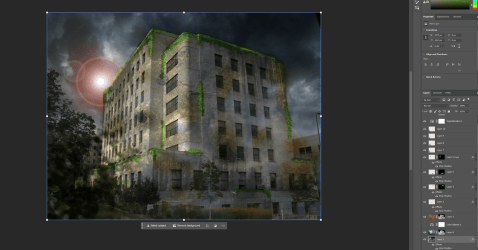
The final additional to the scene was a light source, namely a lens flare just behind the building so it was perfectly match the shadow drops i implemented into the foliage.
To create the lens flare i used: filter, Render, then lens flare.
(due to placing the lens flare on the background sky layer instead of a separate layer it shows up earlier in the Wipe footage than expected)
Final Product
2D PERSONAL Fantasy world
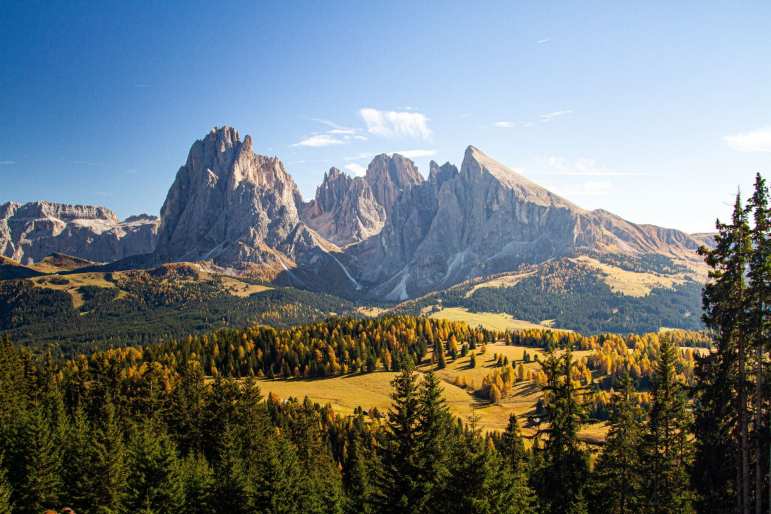
it is a bright and vibrant mountain area accompanied by a green terrain, trees and hedges.
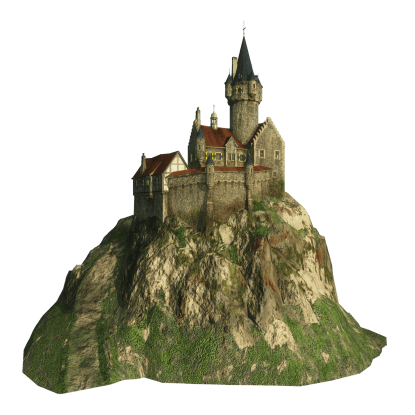
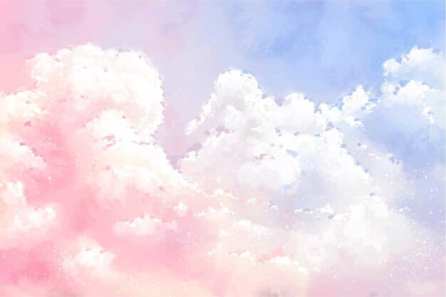
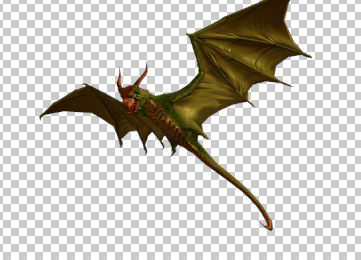
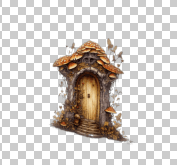
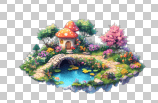
The above are images I found online which will be the assets implemented into my final design.
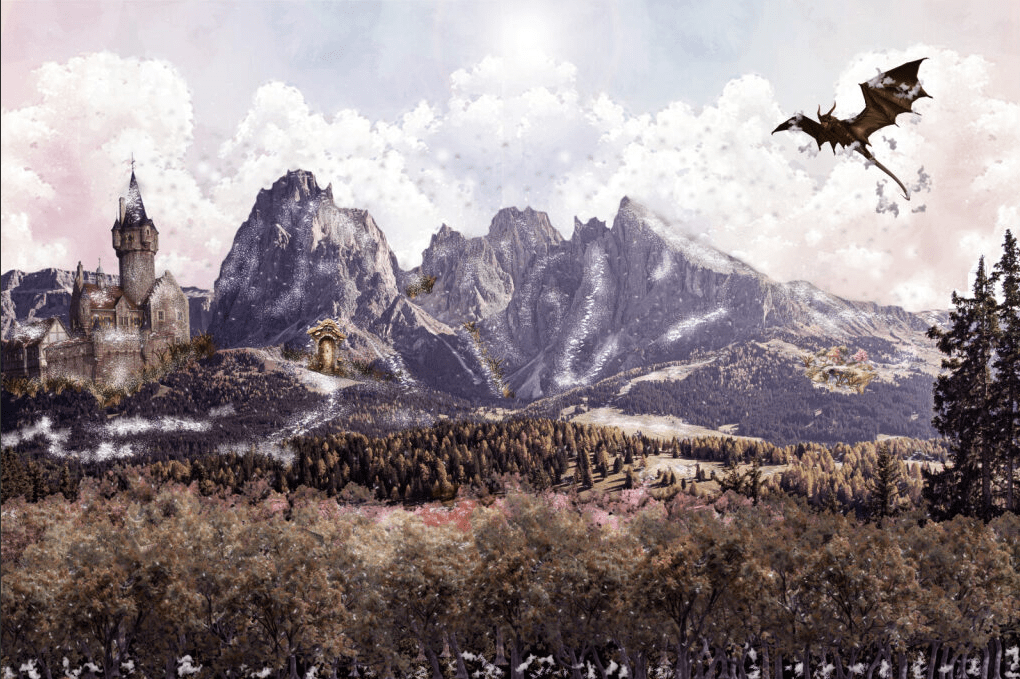
Below is a professional style wipe breakdown:
SHORT DISCRIPTION:
This fantasy world is an look into my creative mindscape. Noticeably the scene has a completely different aesthetic and vibe to its modest beginning.
this task allowed me to show off a full range of skills that I had learned while using photoshop.
I used a range of techniques such as dropping shadows, masking, using the pen tools and feathering, changing properties of imports by bending, deforming and much more.
I started by layering the images and aligning. an example of this is the mountain range. I added a castle to the left after carefully cutting out what i didn’t want shown in the scene.
I then tampered with colour correction and hue adjustments to get the scene colour presented in the finished image.
Overall i highly enjoyed this task. i found some parts challenging such layering the bottom trees and trying to colour correct them to fit the scene but as a whole it completely fits my imagined idea.
2D CREATURE TASK (In Class)
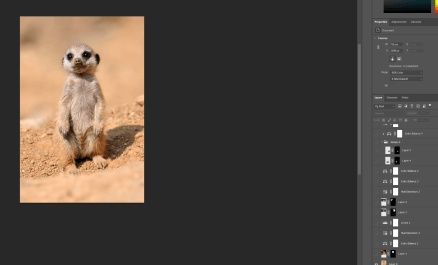
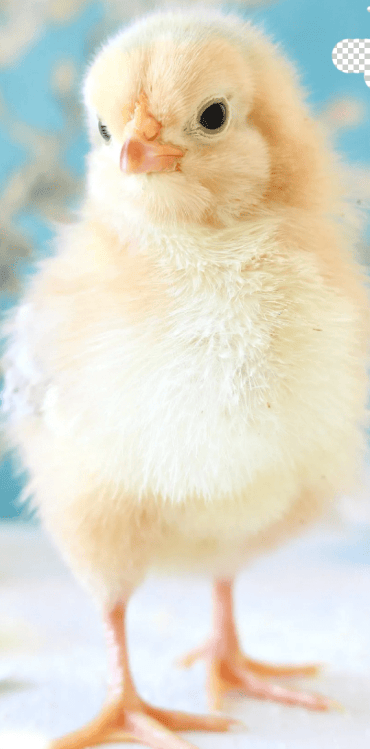
Here is the base image that we began with.
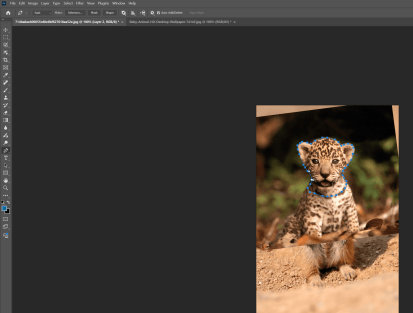
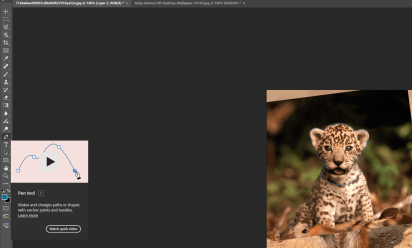
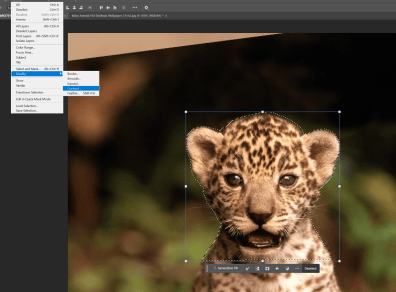
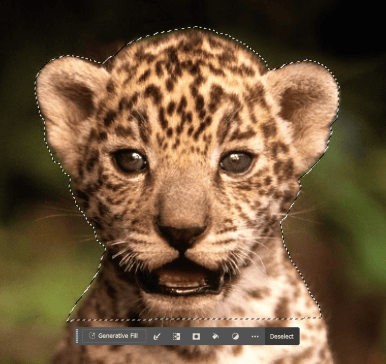
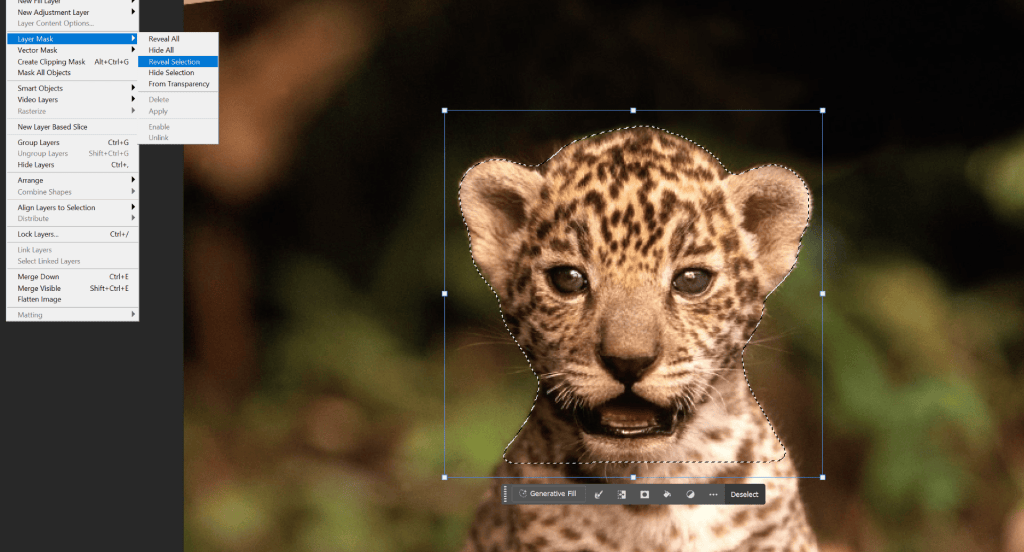
I started by layering the images and aligning the heads up so that i could proceed.
after aligning the images i began by creating a mask on the head of the jaguar.
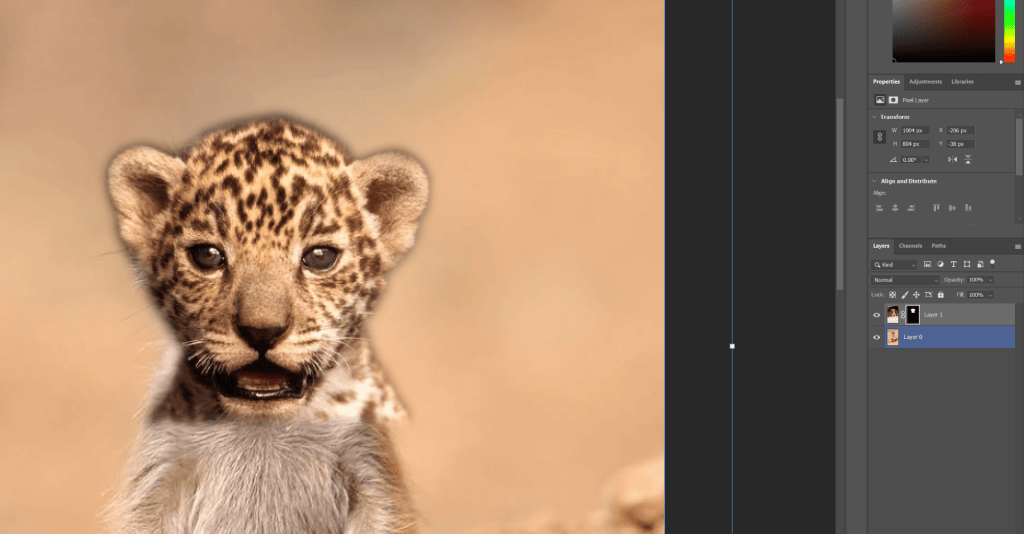
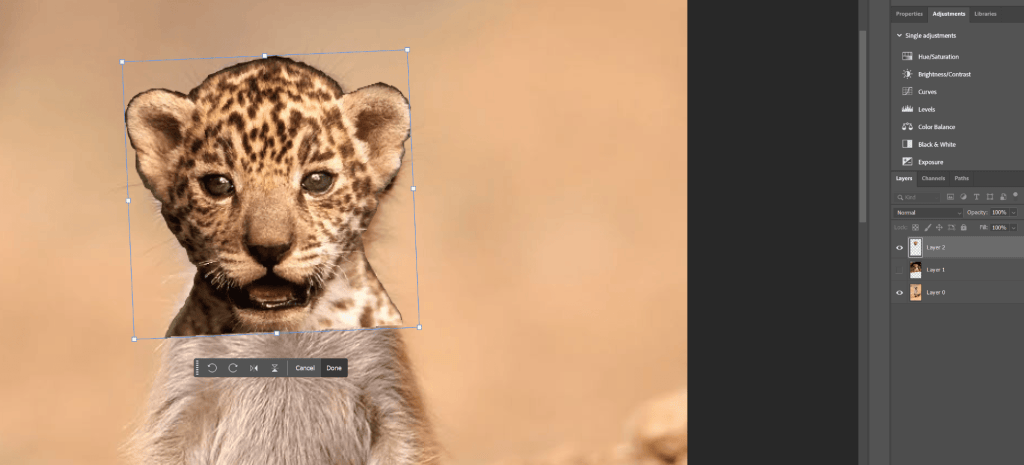
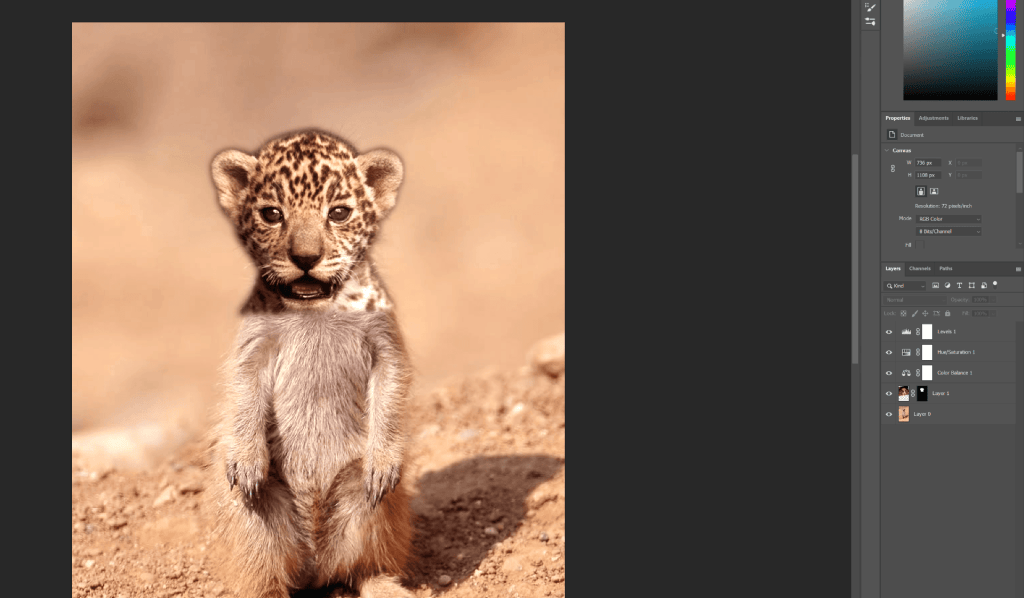
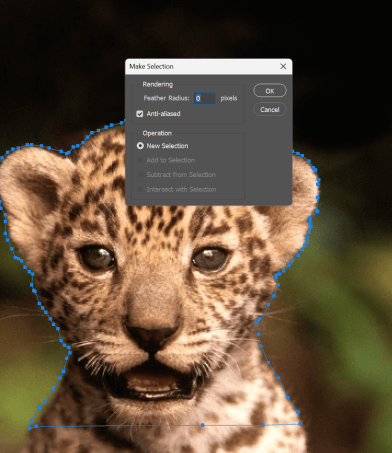
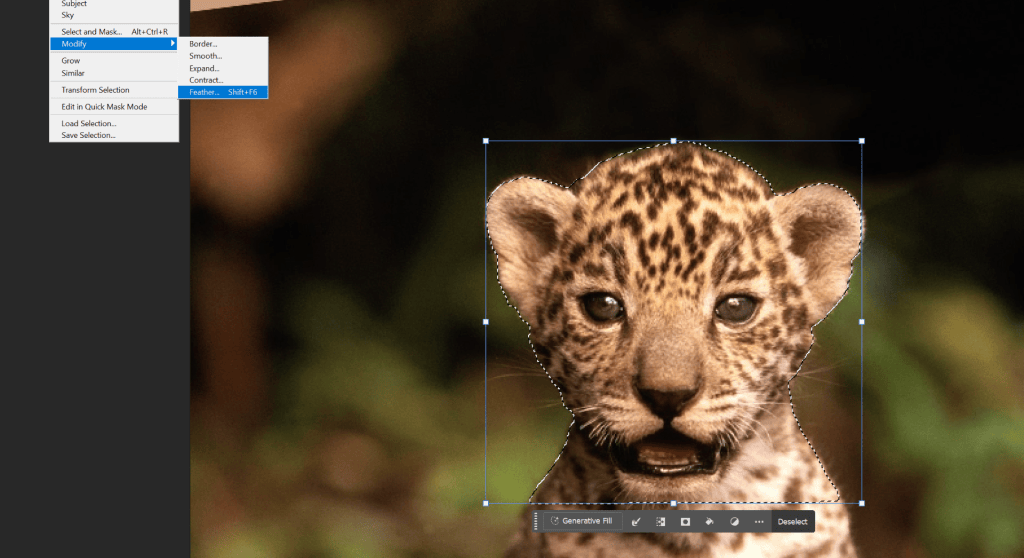
To create a better image i decide to both feather and contract the selected image. to do this used:
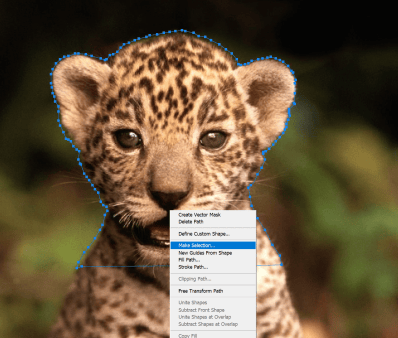
Pen tool, right clicked, new selection, select in the windows bar and then modify.
in the modify window i had access to feather and contract
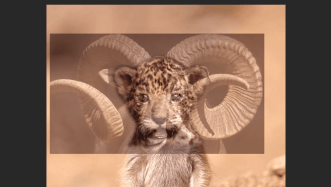
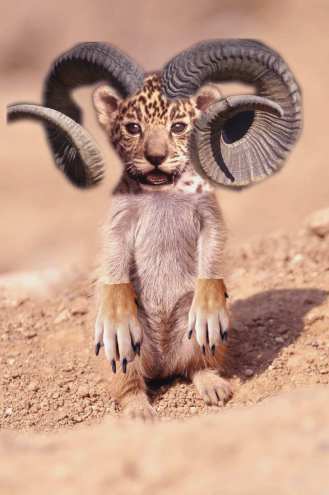
To conclude I repeated the exact same steps so that i could add both horns and hands to the animal I created.
2d creature outside class:
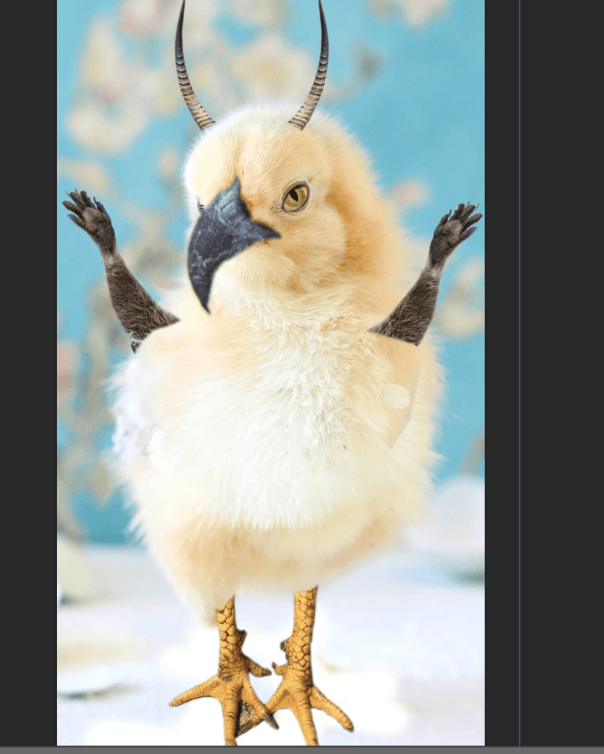
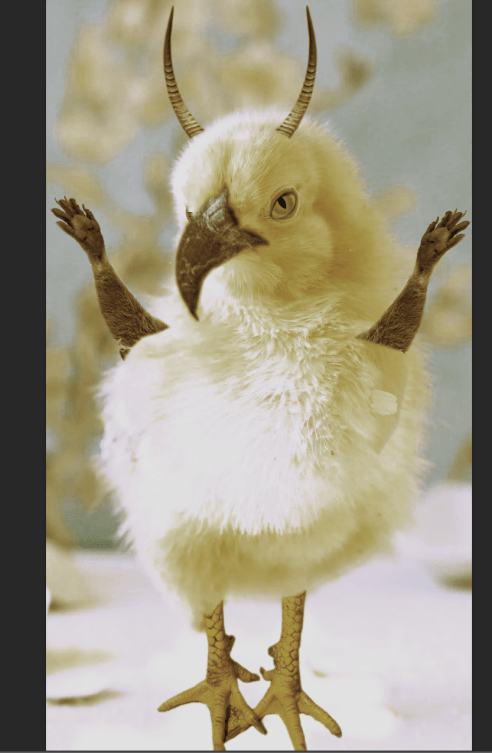
SHORT DISCRIPTION:
This fantasy animal is an amalgamation of multiple different creatures. Noticeably the feet, arms, eyes, beak and horns have been changed added or altered.
I found this task to be a good exercise to express my creativity and also found it to be a chance to go over what I had learned while using photoshop.
I used a range of techniques such as dropping shadows, masking, using the pen tools and feathering.
I started by layering the images and aligning them with the correct limb position.
I then tampered with colour correction and hue adjustments to get the scene colour presented in the finished image.
I found the task somewhat tedious due to the arms not coming out as planned due to the nature of the animals fur however I do believe that it came out very good.
while the arms are not as believable the arms eyes and beak do genuinely look real.
Introduction to Maya:
Today in class we had a basic intro into using maya software.
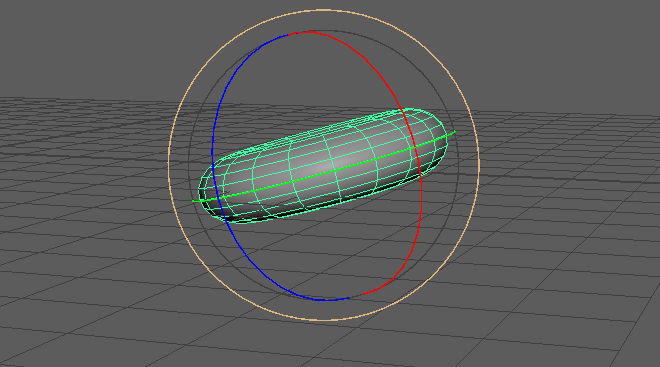
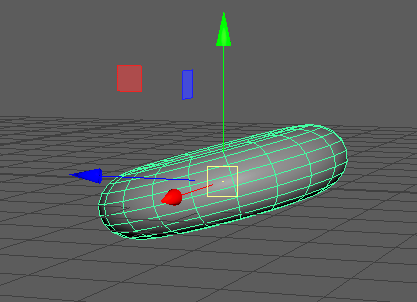
To begin we looked at how to move, scale and rotate objects.
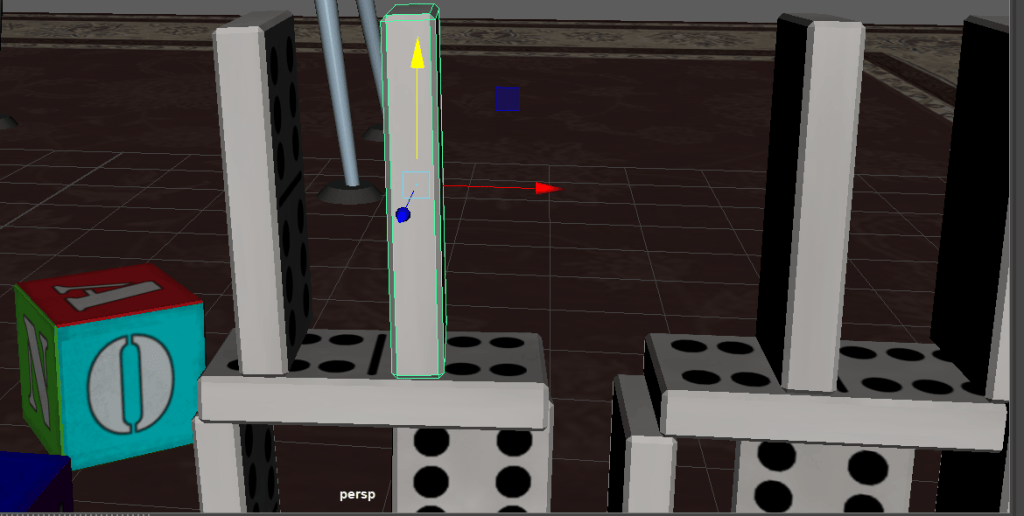
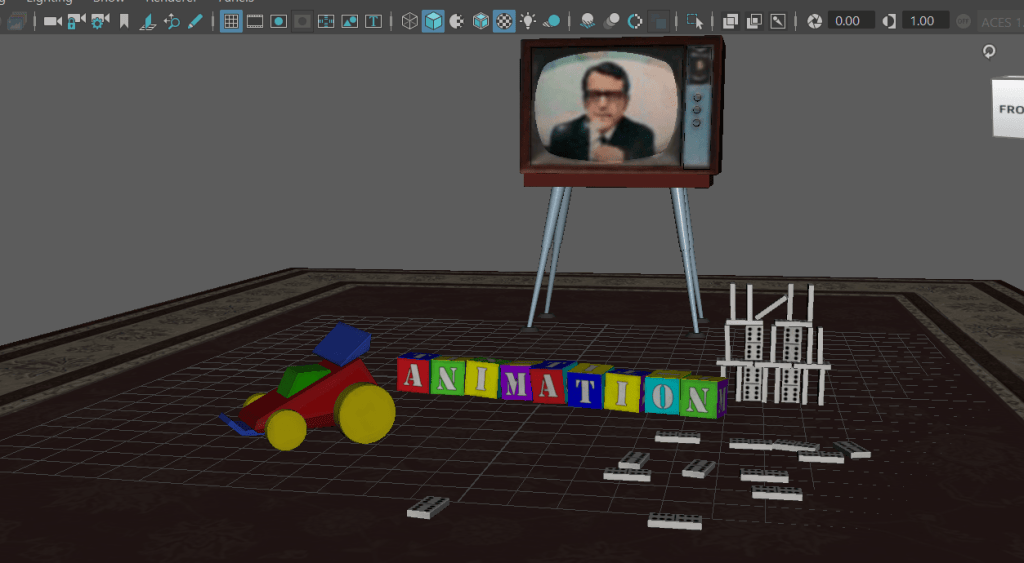
After learning how to do that we used these fundamentals to move dominos and cubes.
Important keys:
W for move
E for rotate
R for scale
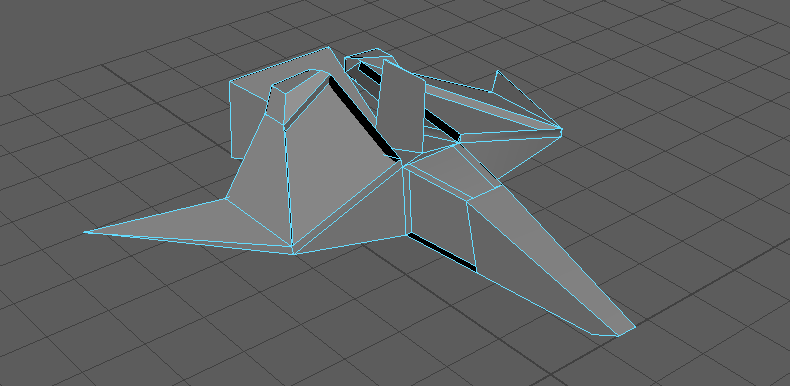
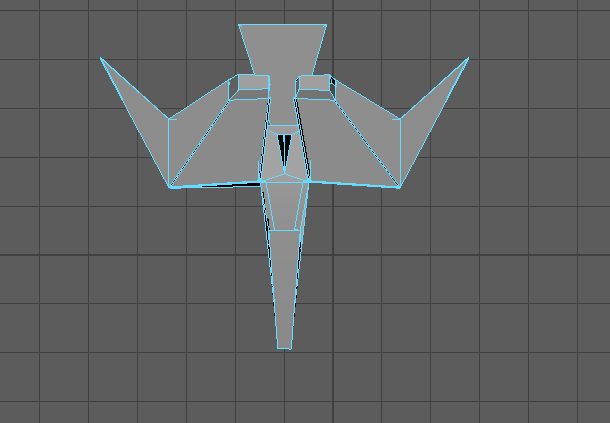
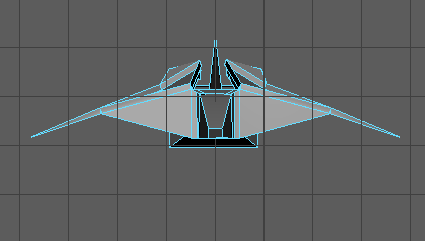
Creating a spaceship:
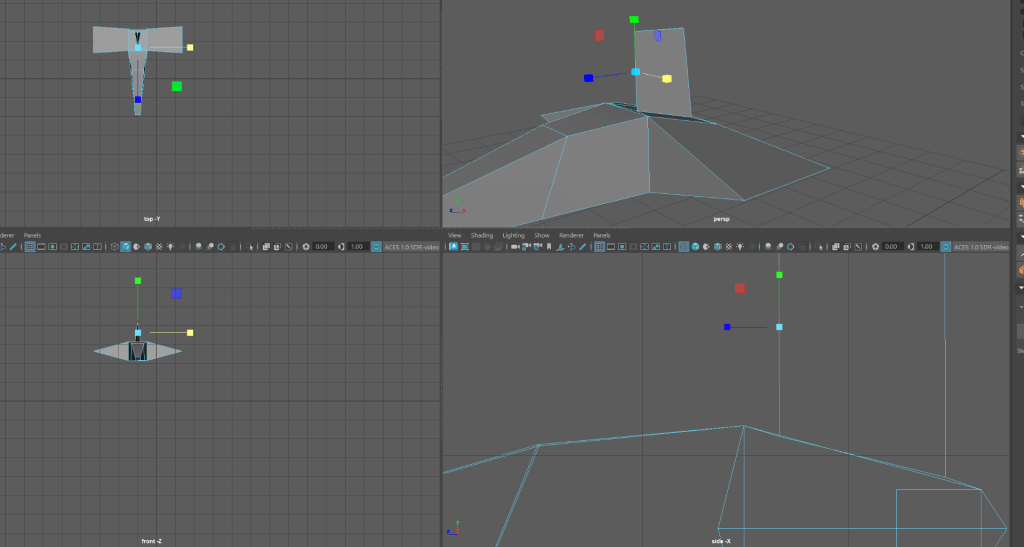
Here’s a 3d model of a spaceship I created:
WEEK 5:
Maya Hard Surface Modelling Techniques and Practice file
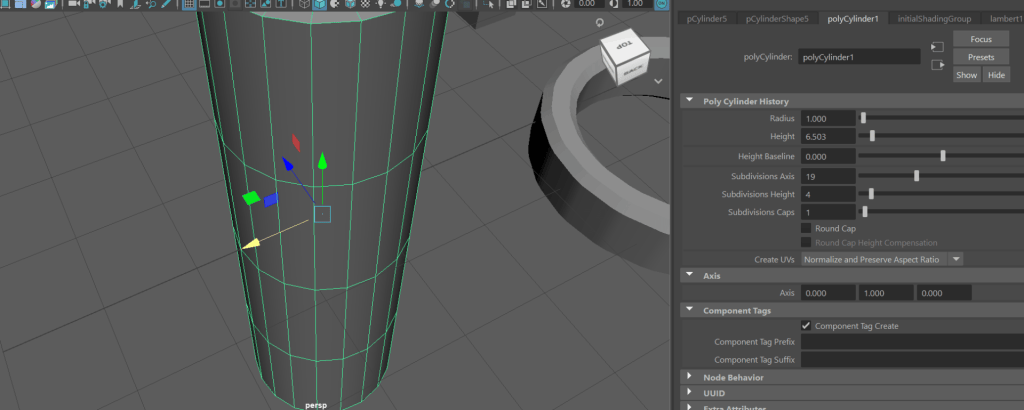
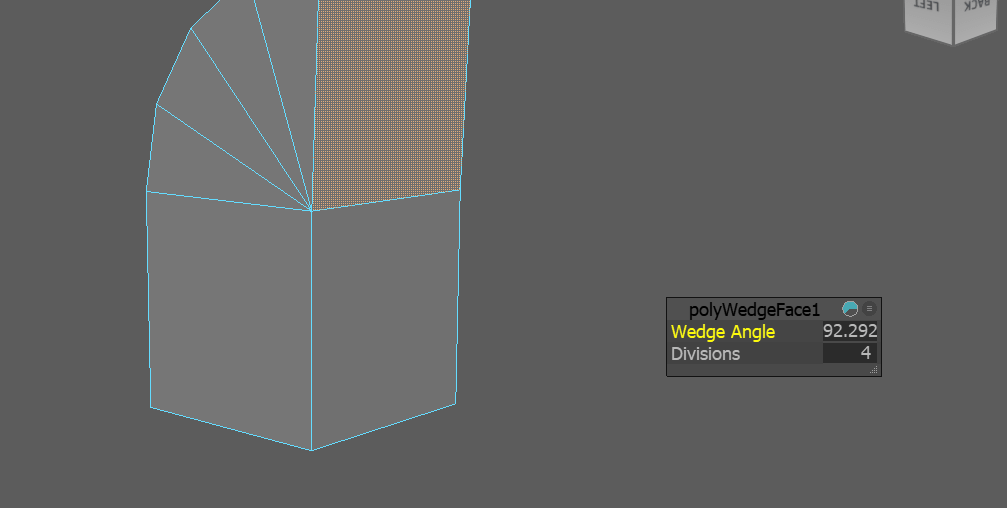
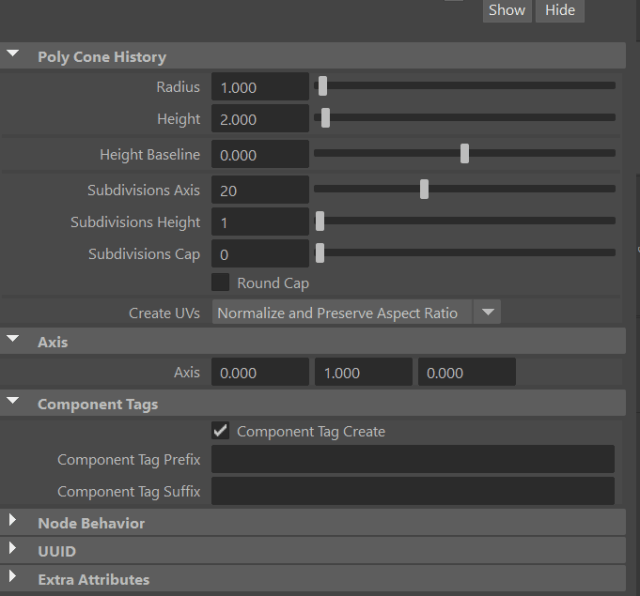
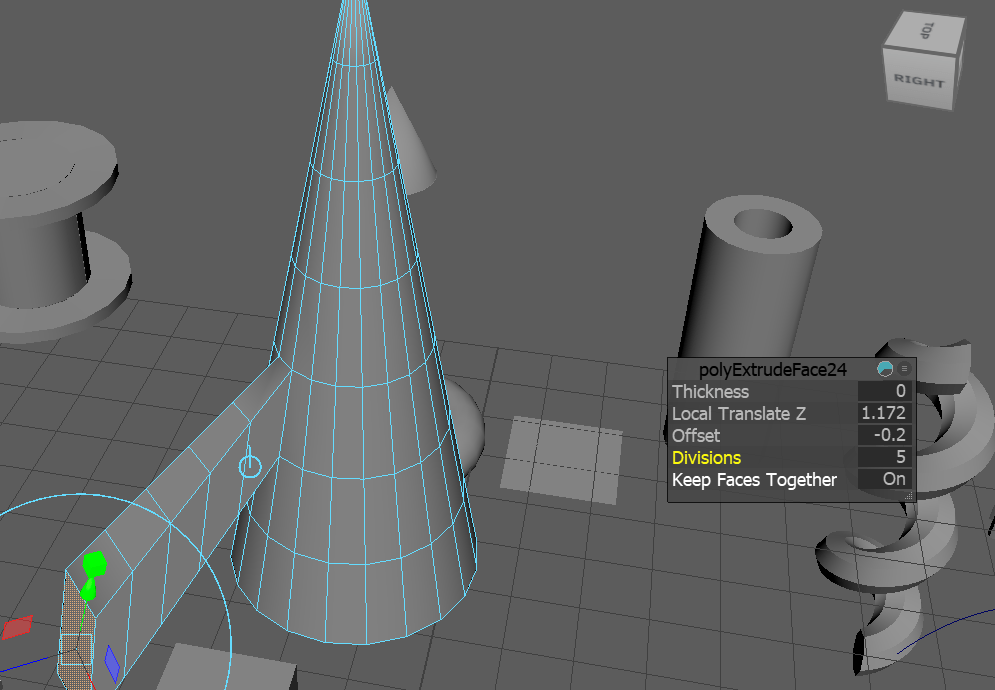
Today we took a look at more advance usage of maya. we took premade models and tried to recreate them.
we learned how to use:
wedge
extrude
bridge
fill gap
divisions
offset
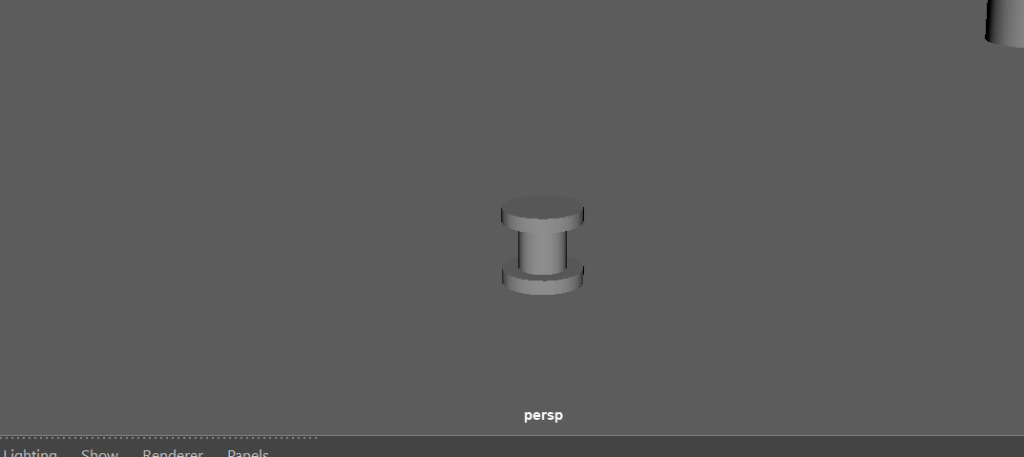
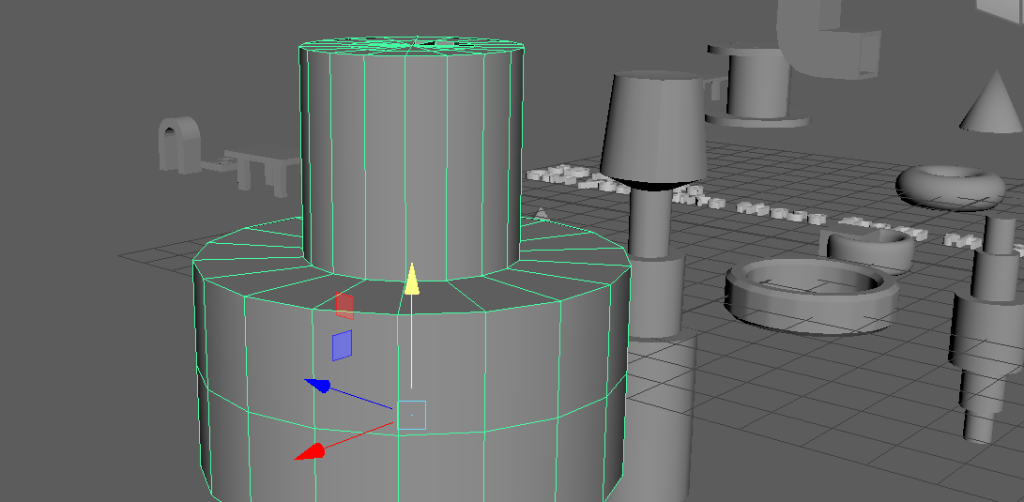
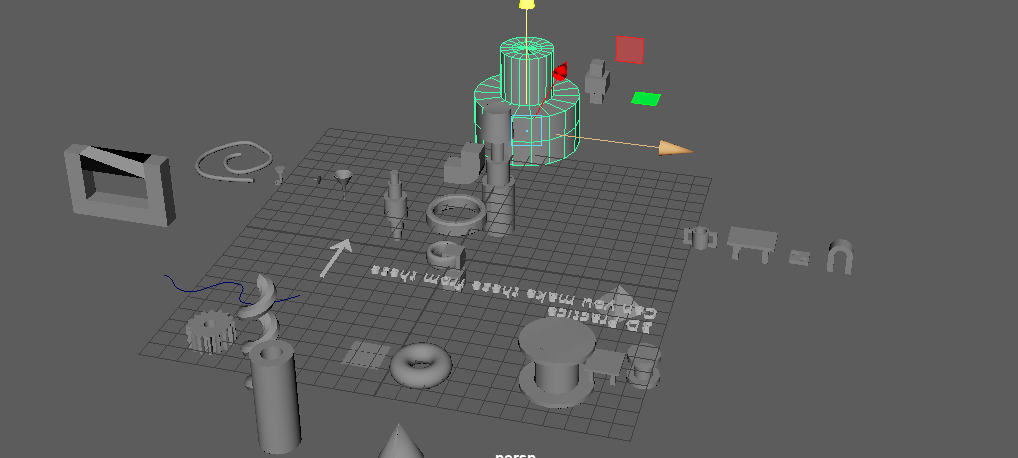
Below are some key takeaways from the lesson:
HOW TO VIEW:
Rotate: Alt + Left click
Zoom: alt+ Right click
Pan: Alt + Middle mouse click
HOW TO MOVE OBJECTS/MODELS:
Move: W
Rotate: E
Scale: R
BRINGING IN OBJECTS:
Create, Polygon Primitives then click Cube / Sphere / Cylinder
MODELLING CORRECTION:
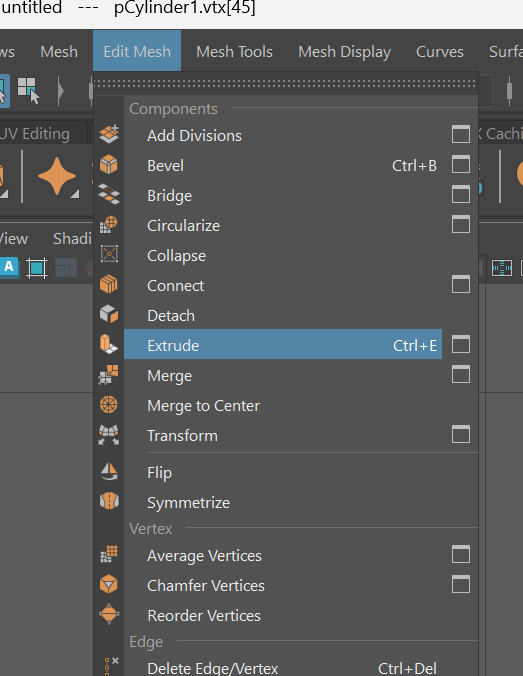
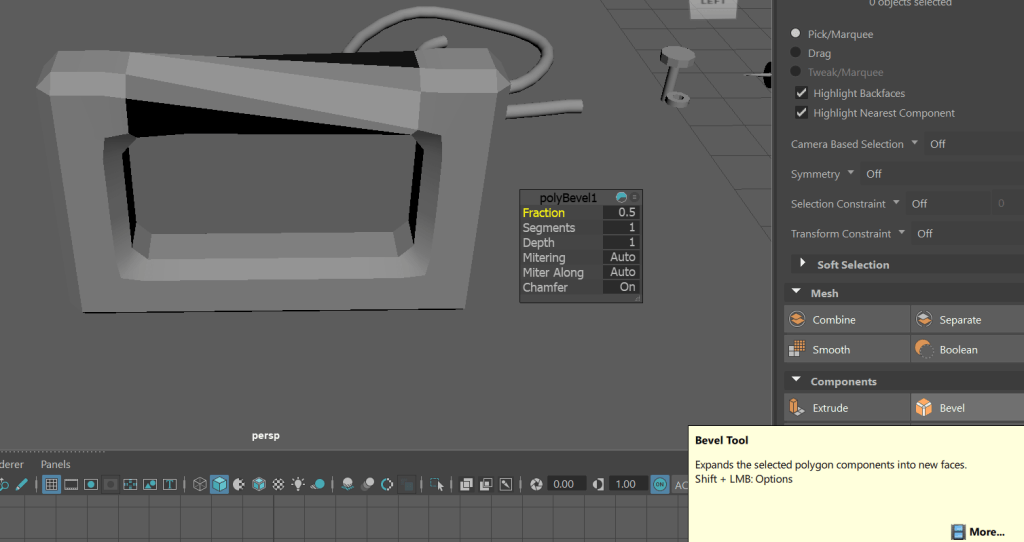
Extrude: pulling out, pushing in.
Bevel: smoothing out edges and corners.
Week 6
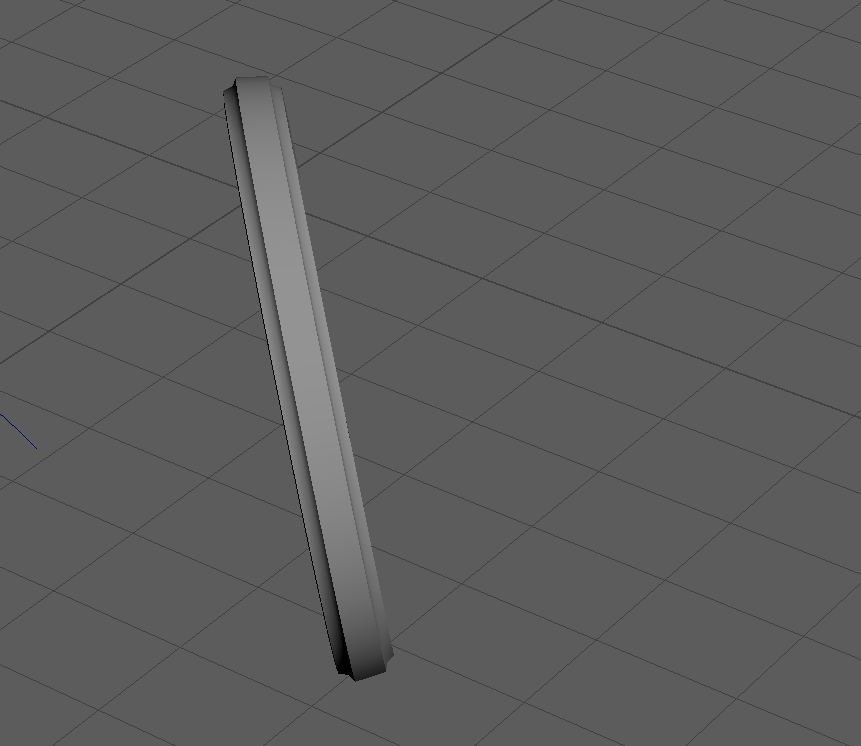
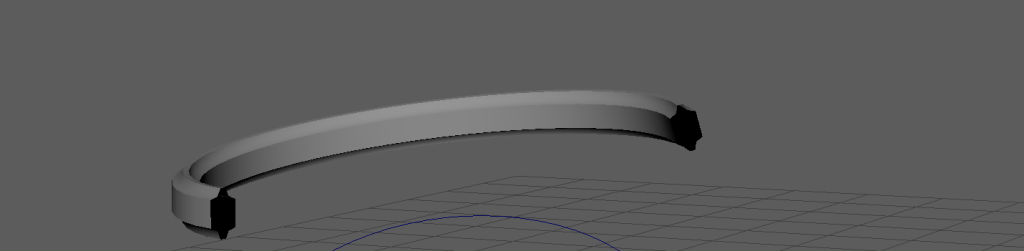
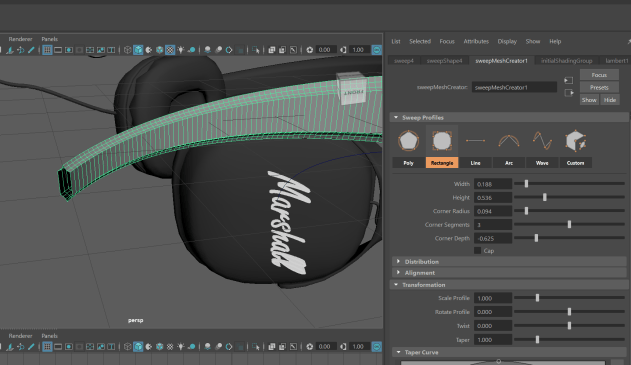
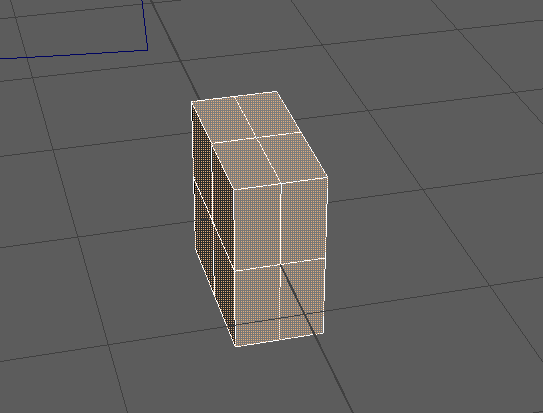
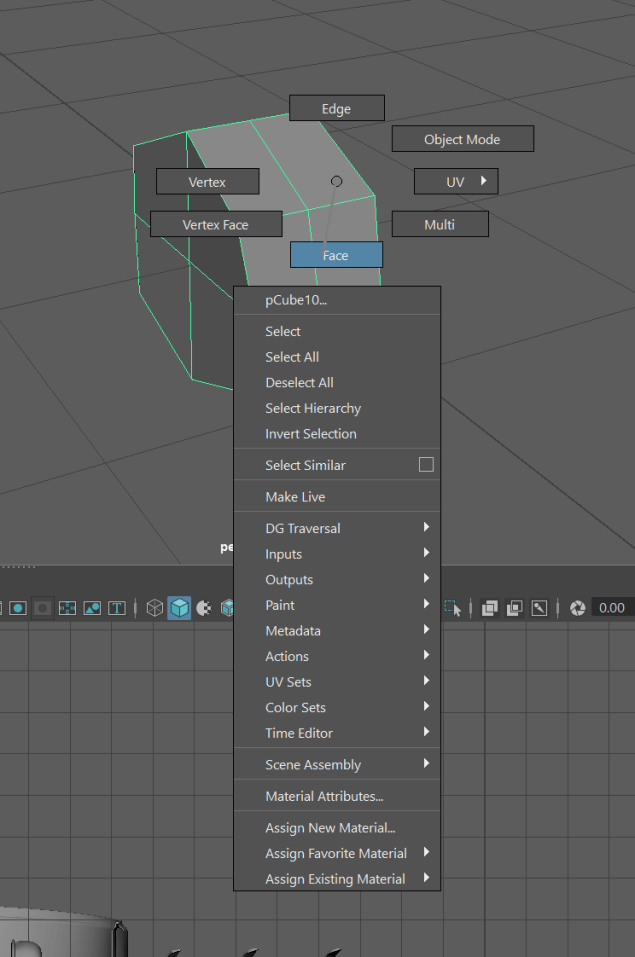
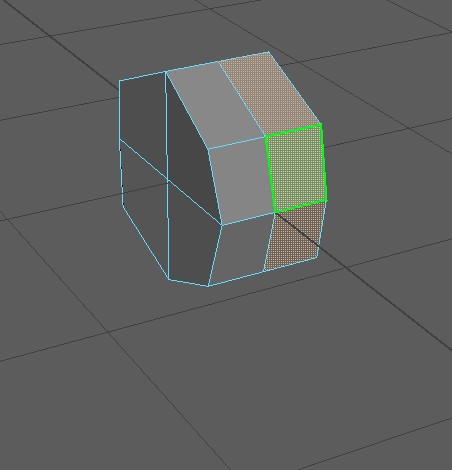
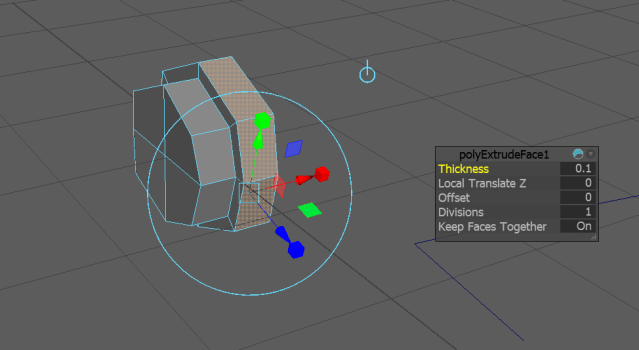
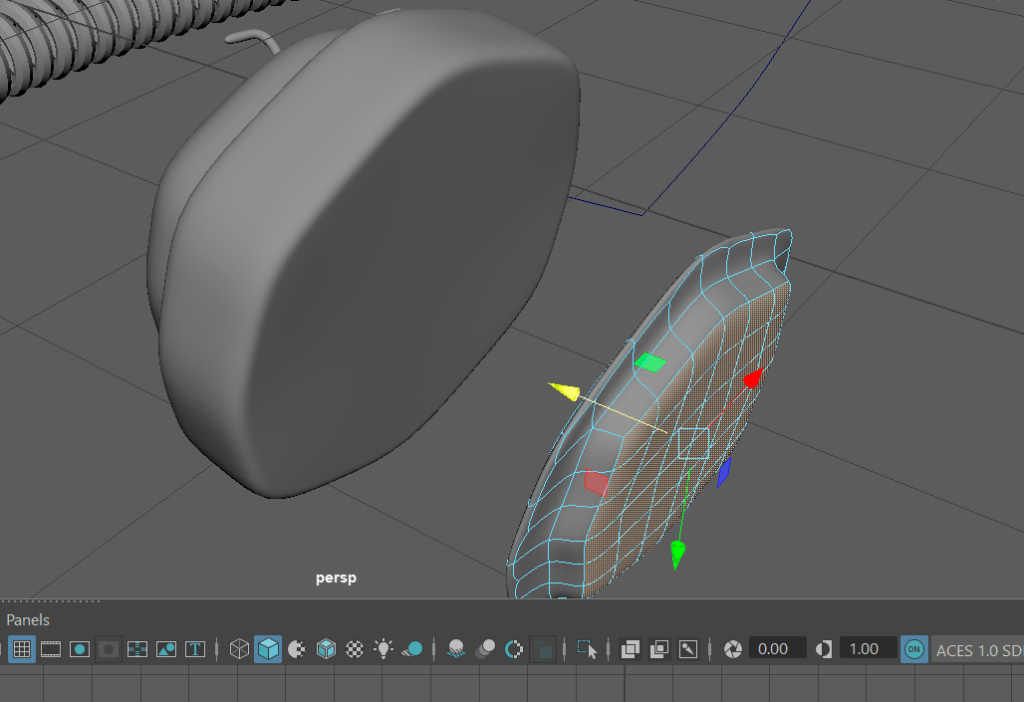
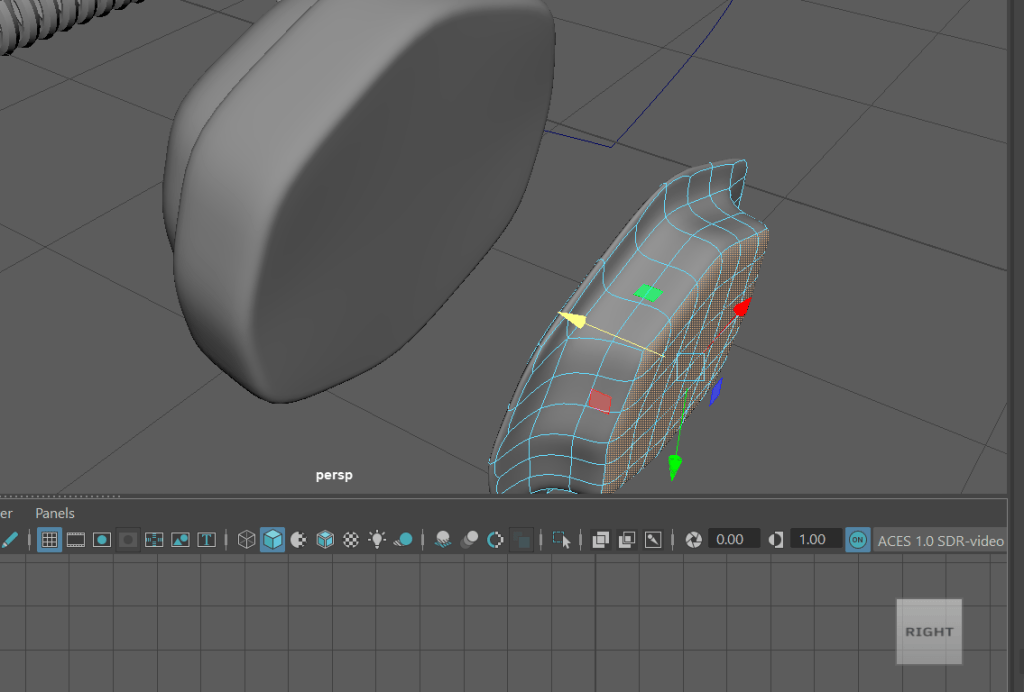
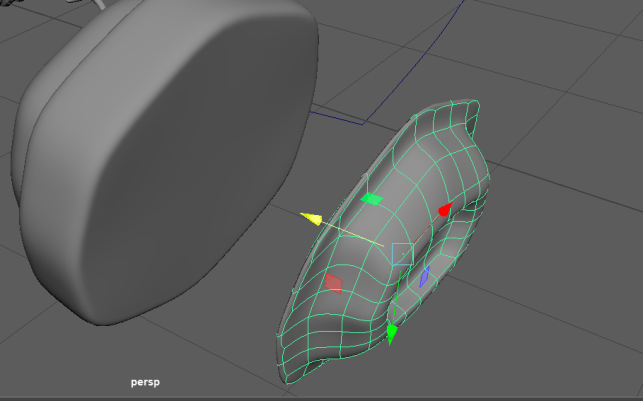
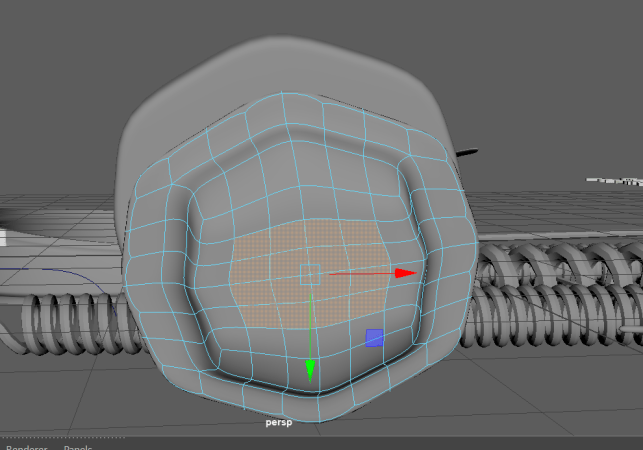
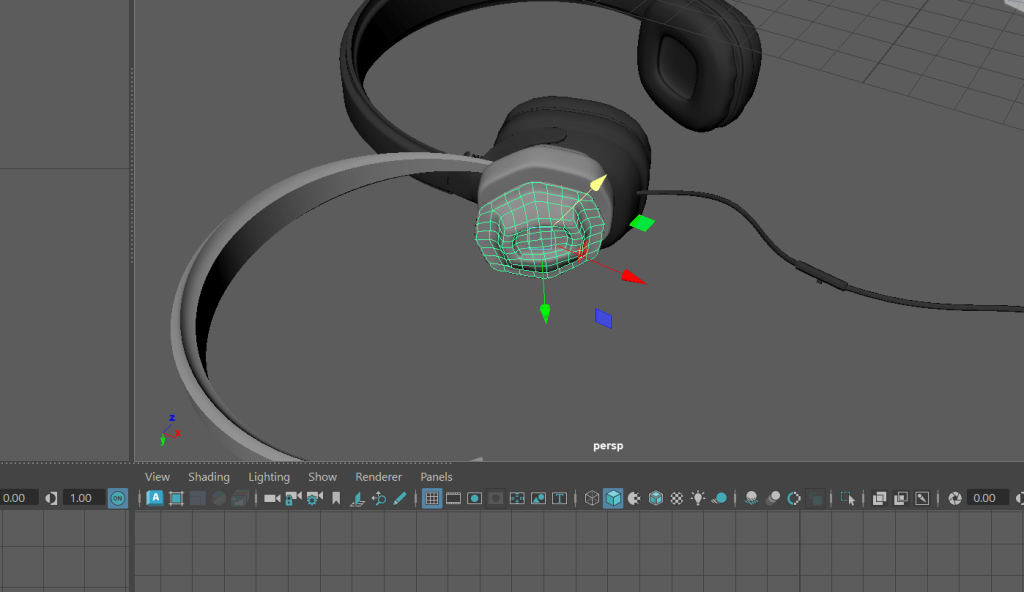
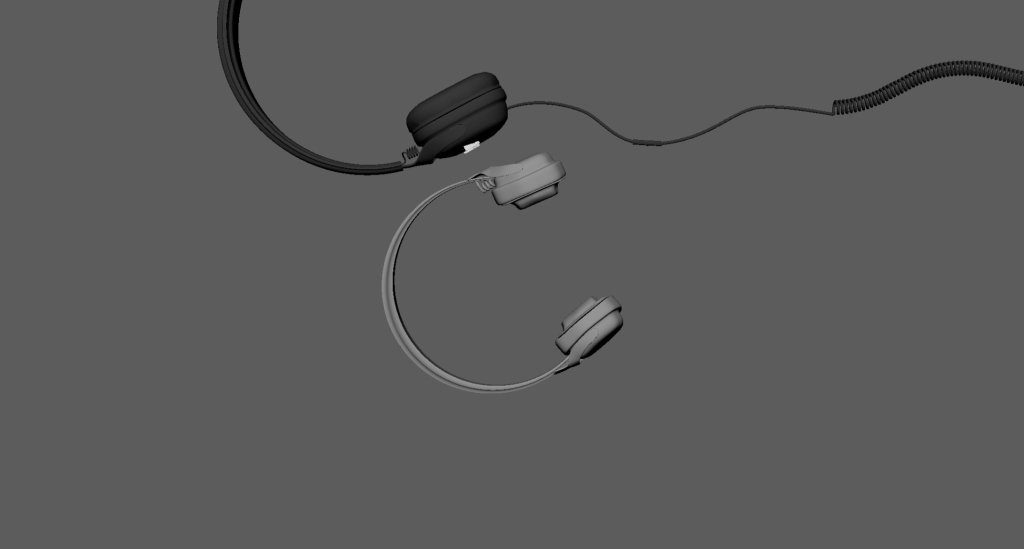
finished plus coloured:
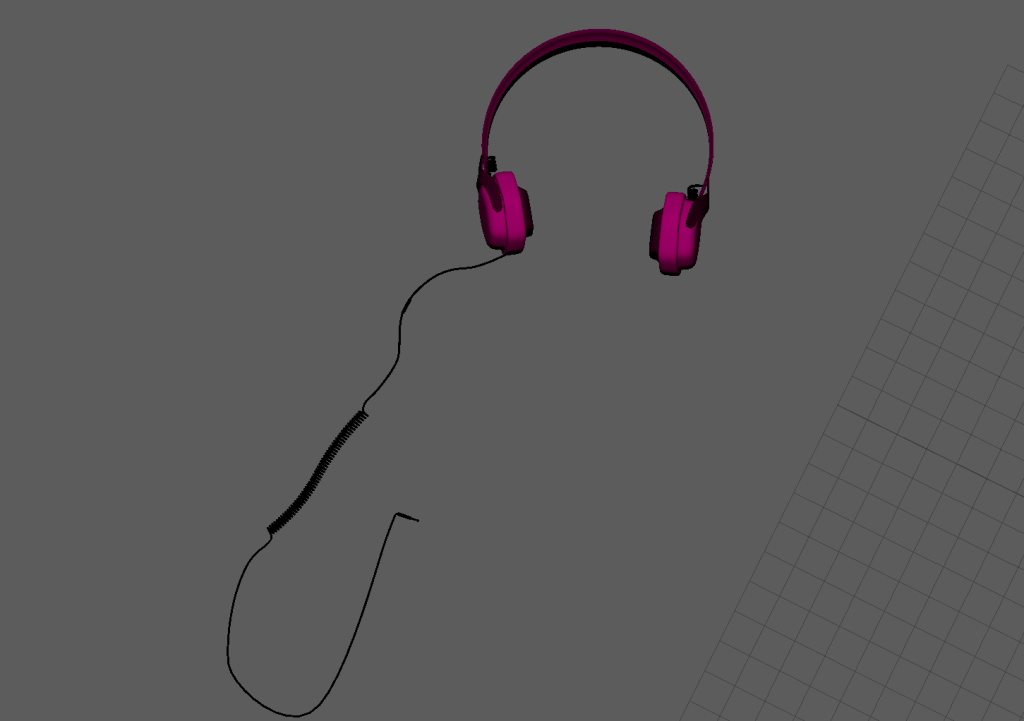
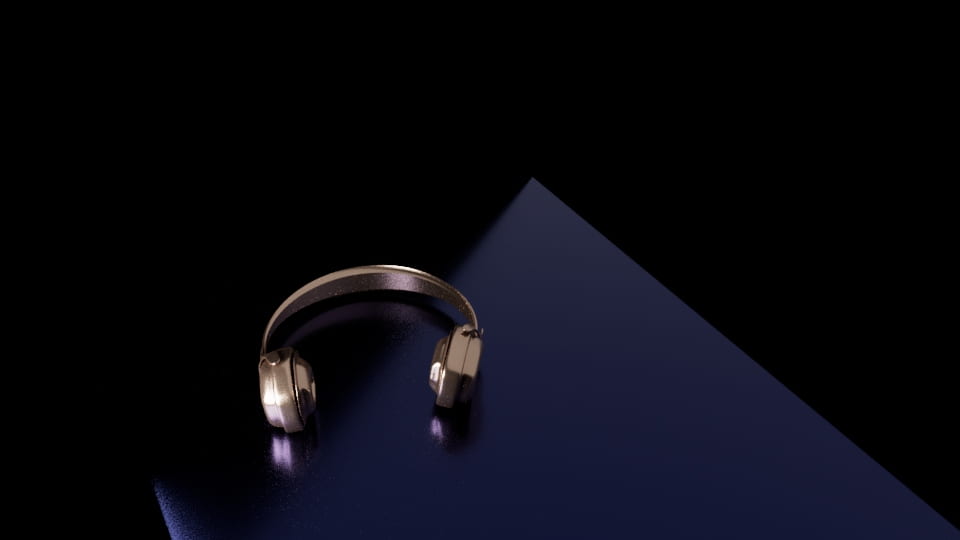
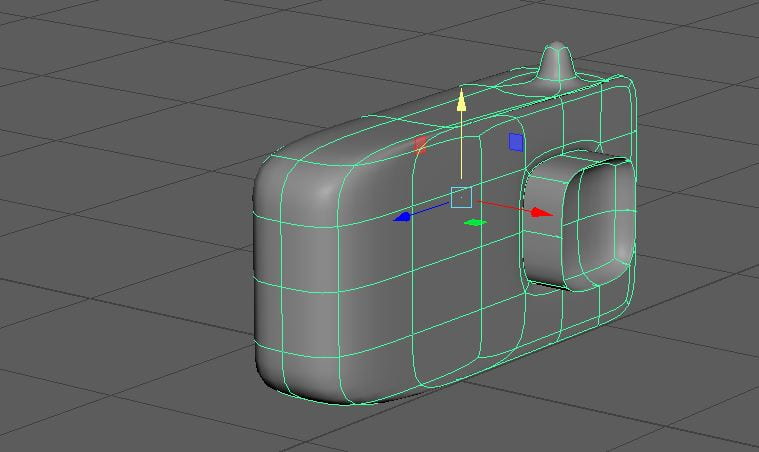
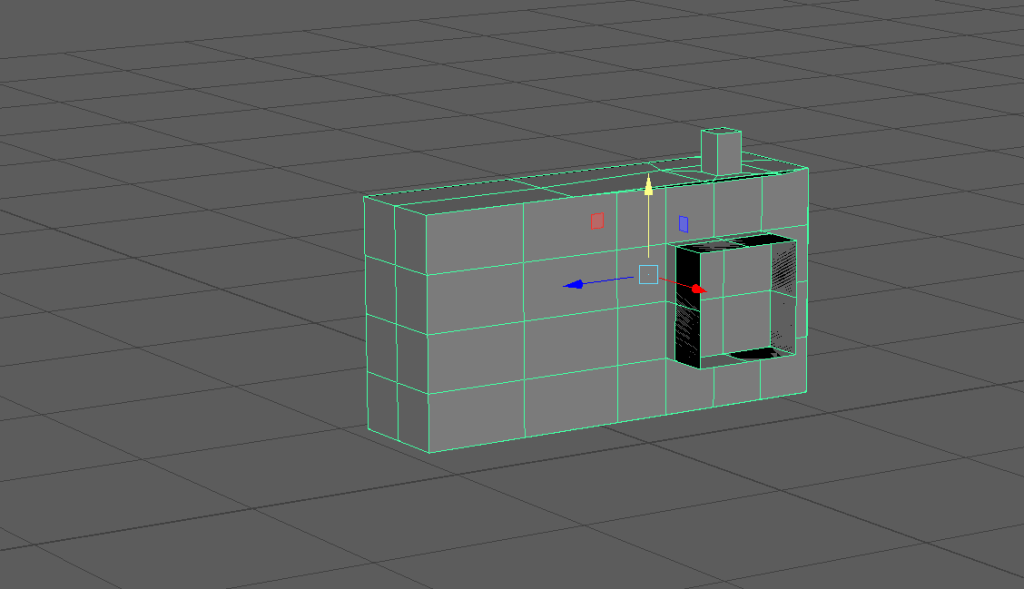
james bond gadget IDEAS :
IN CLASS LEARNING WEEK 7
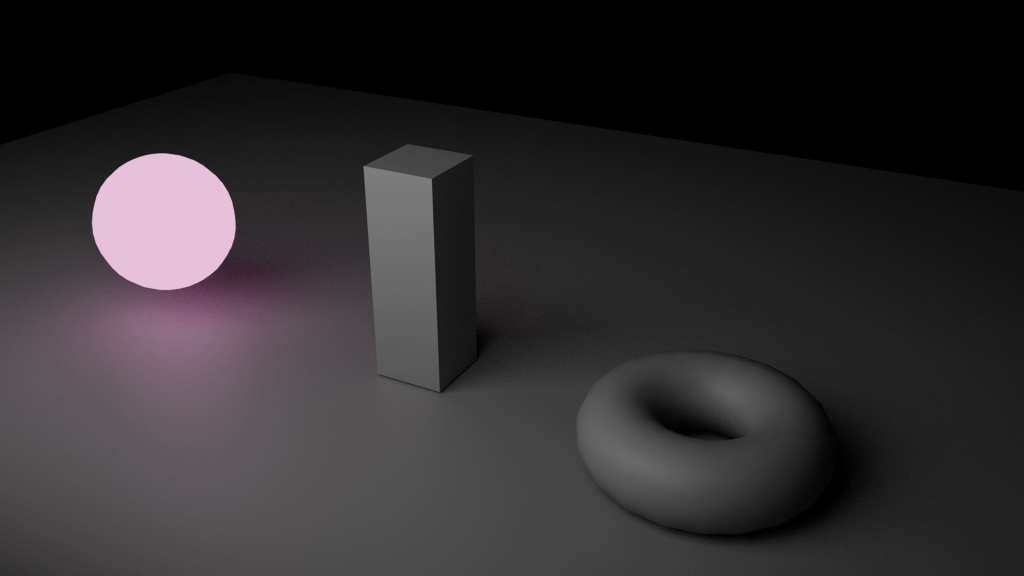
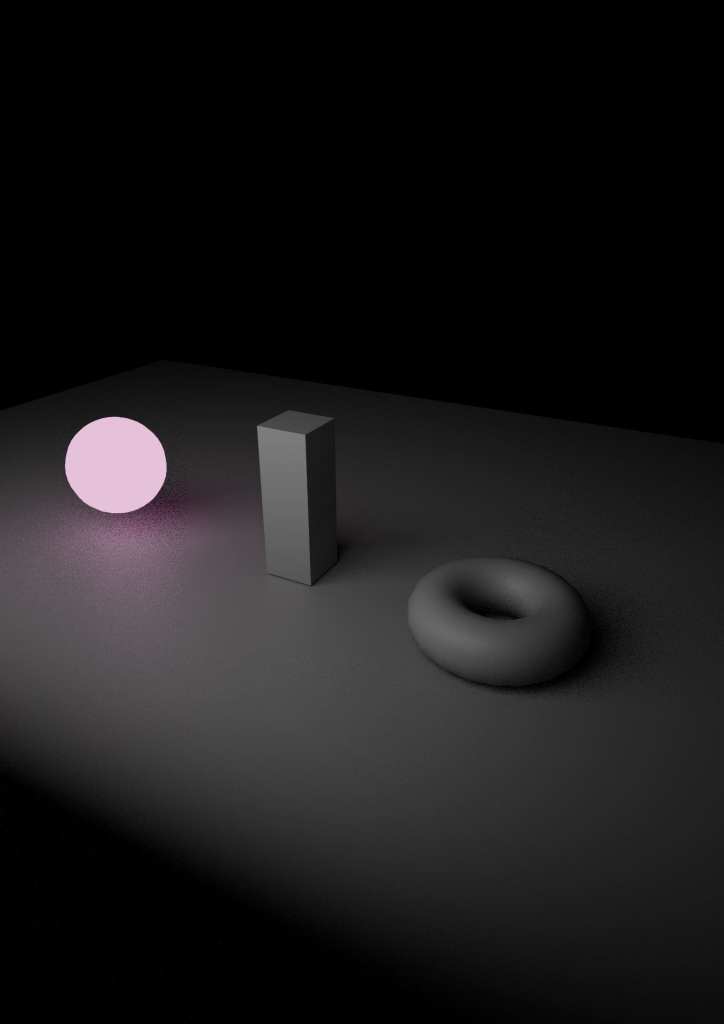
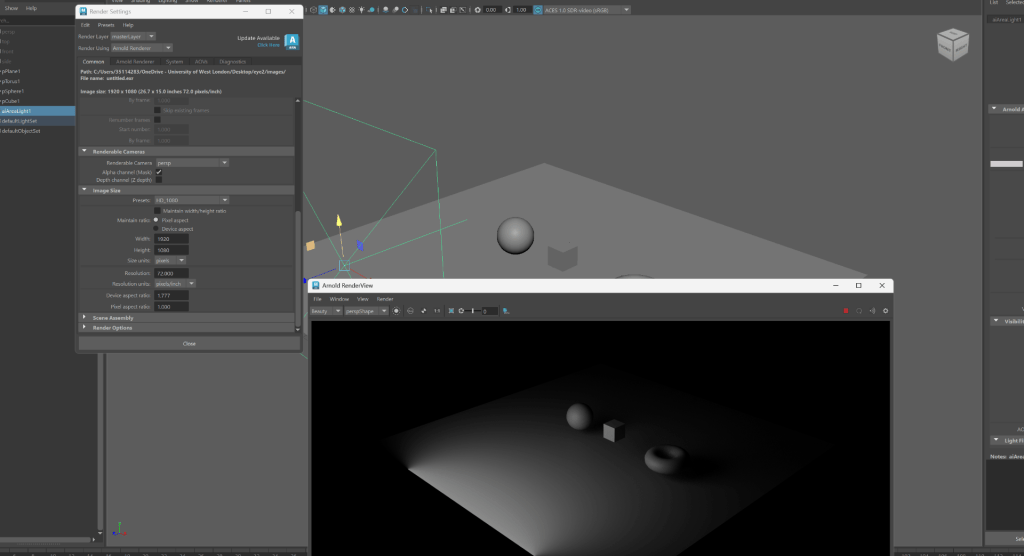
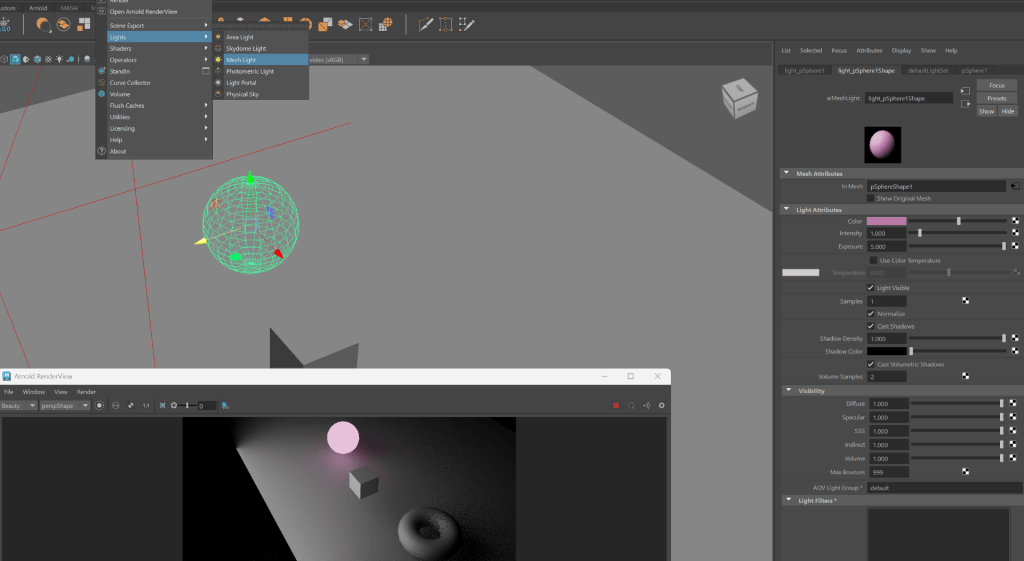
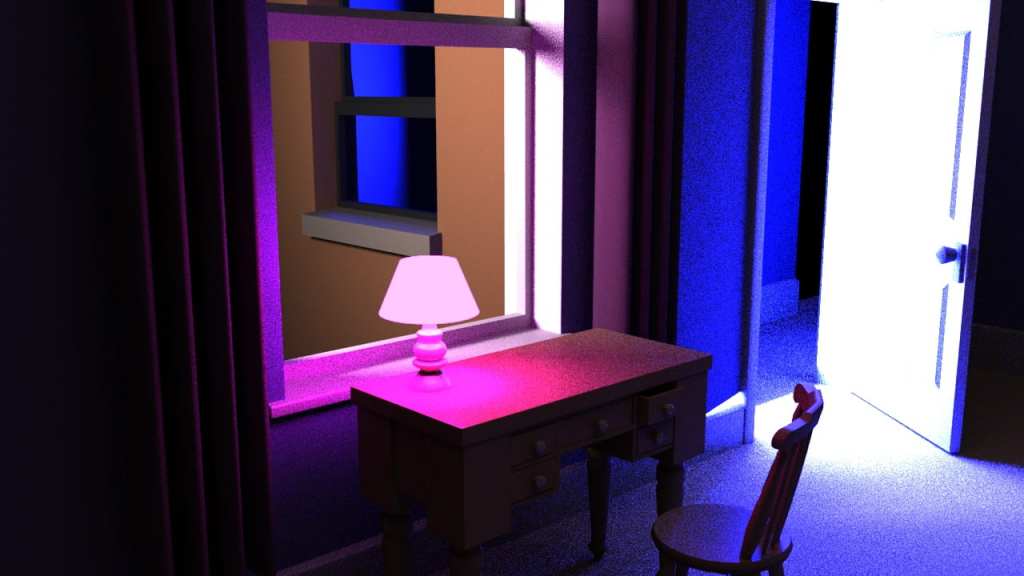
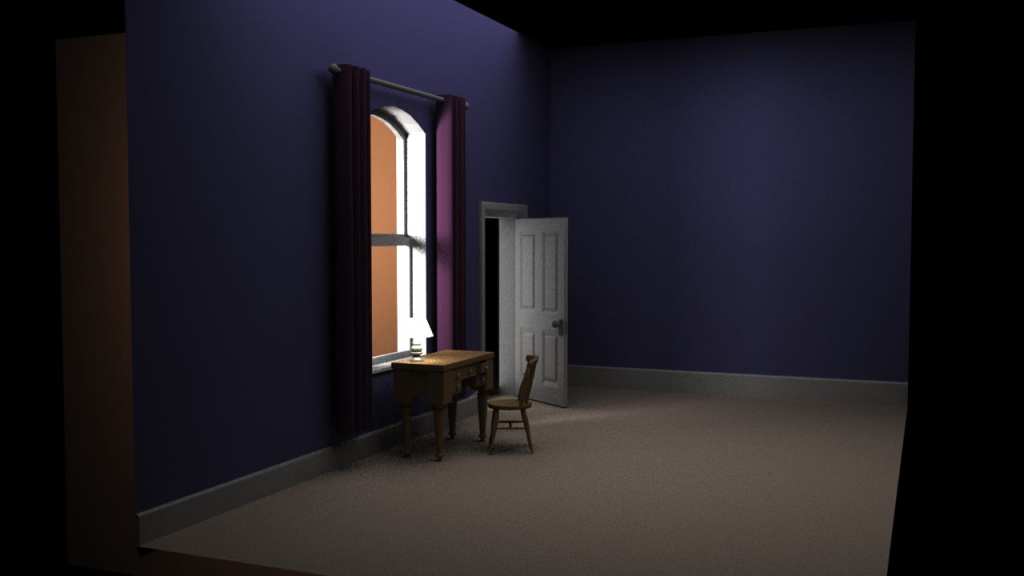
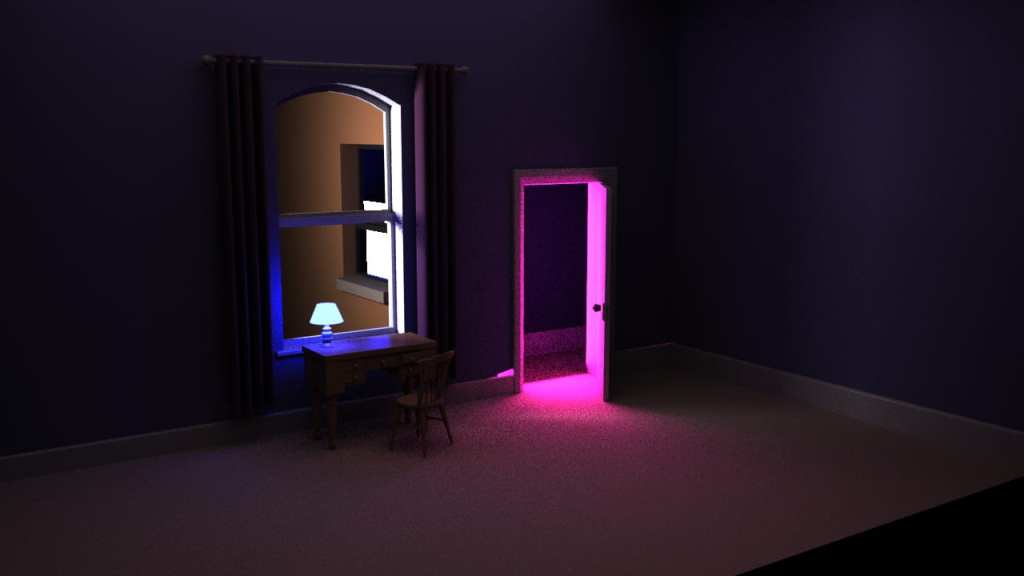
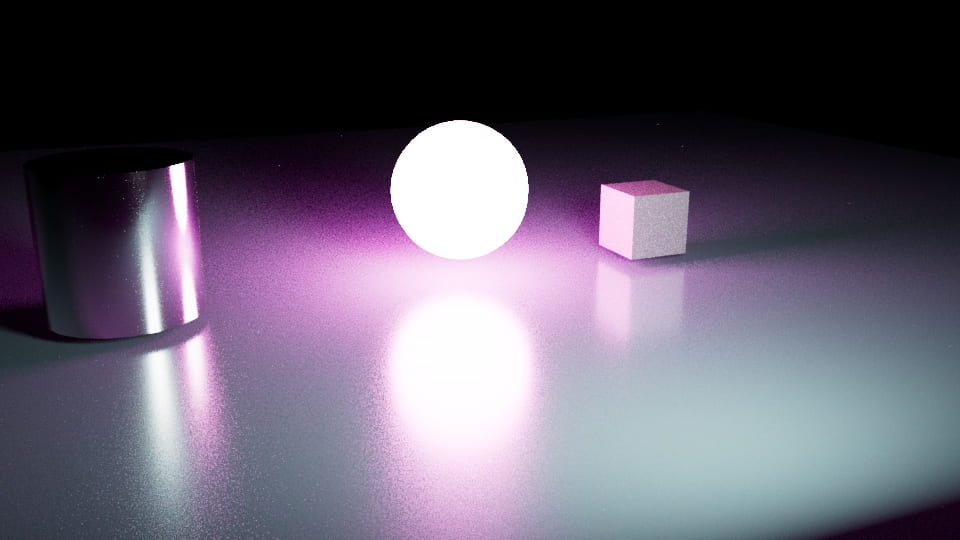
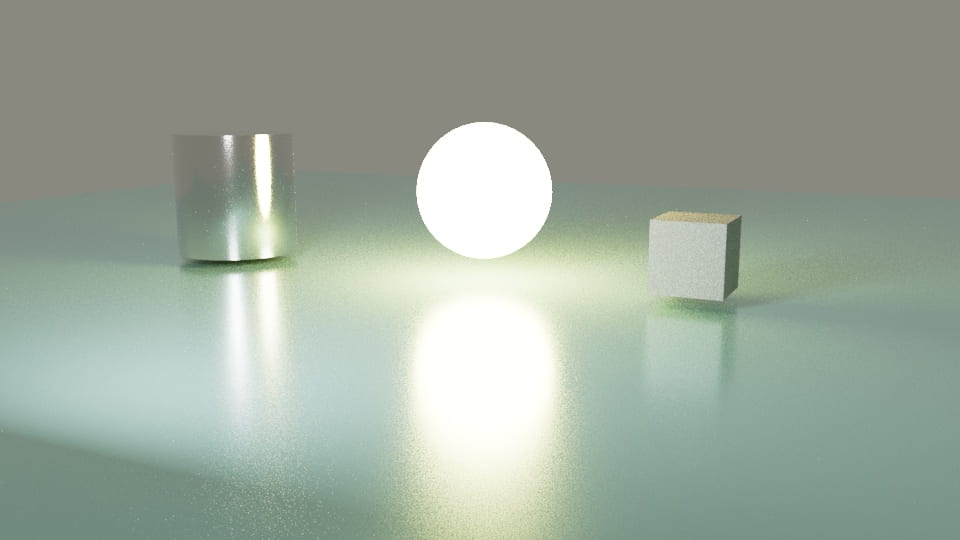
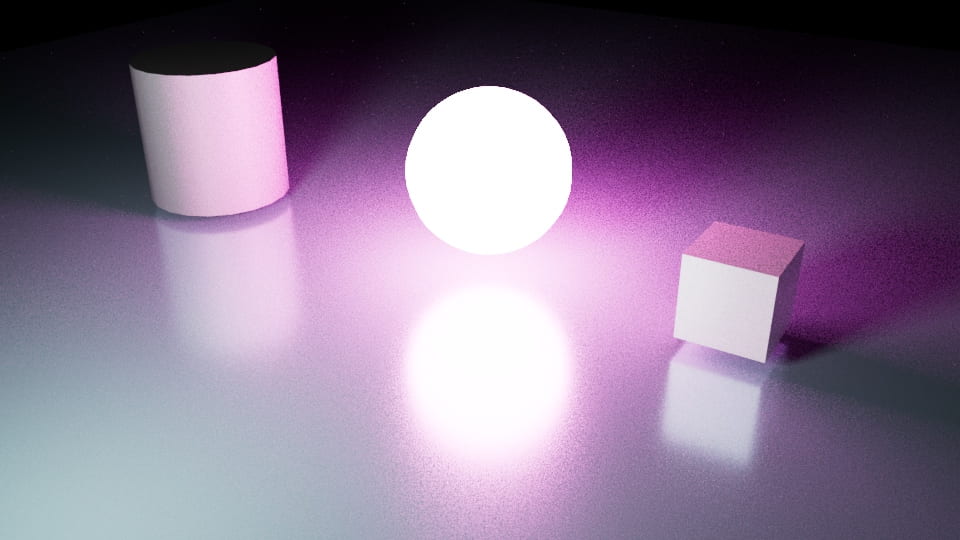
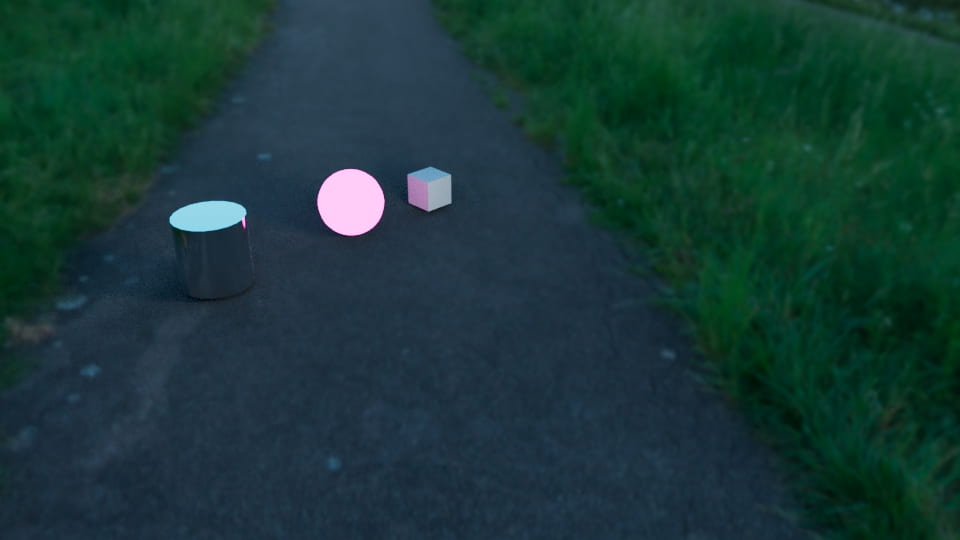
James bond gadget final ideas:
hair drier



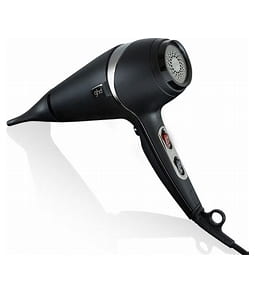
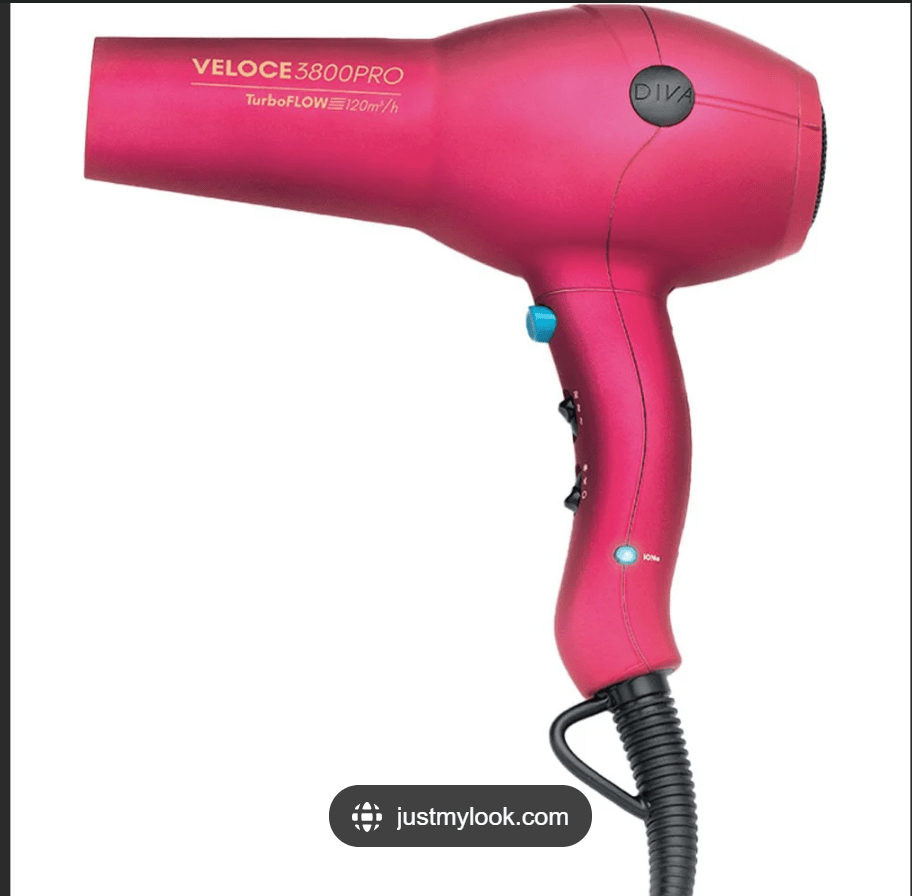
HOW I MADE MY ITEM:
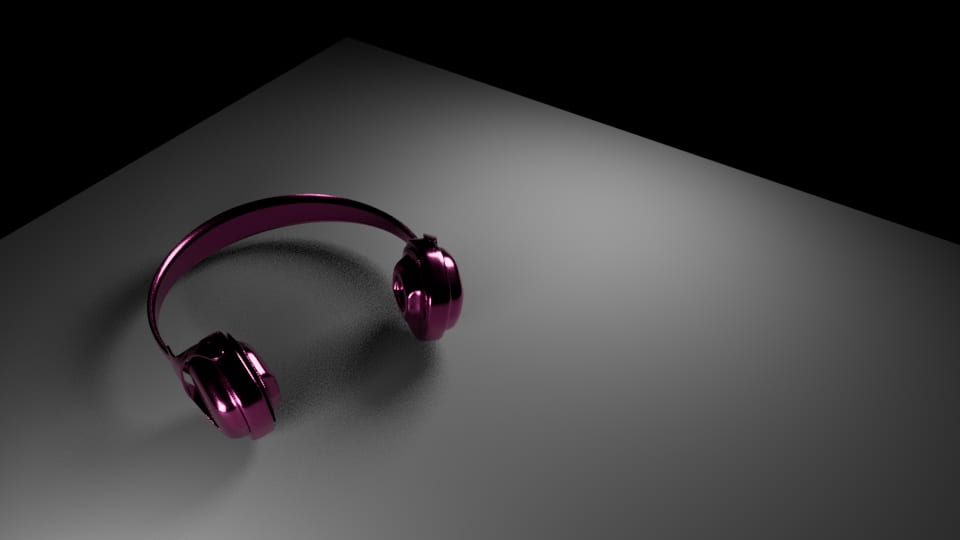
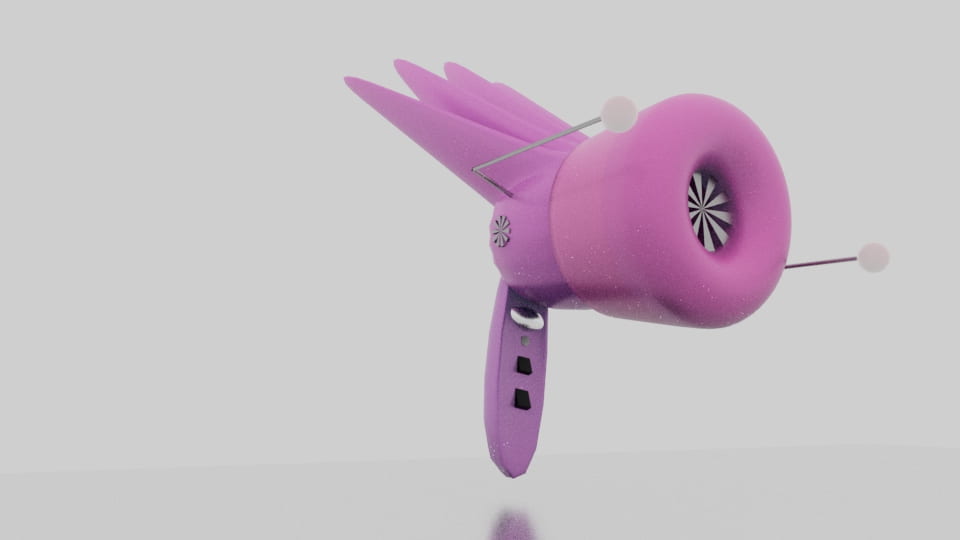
FINAL RENDERS
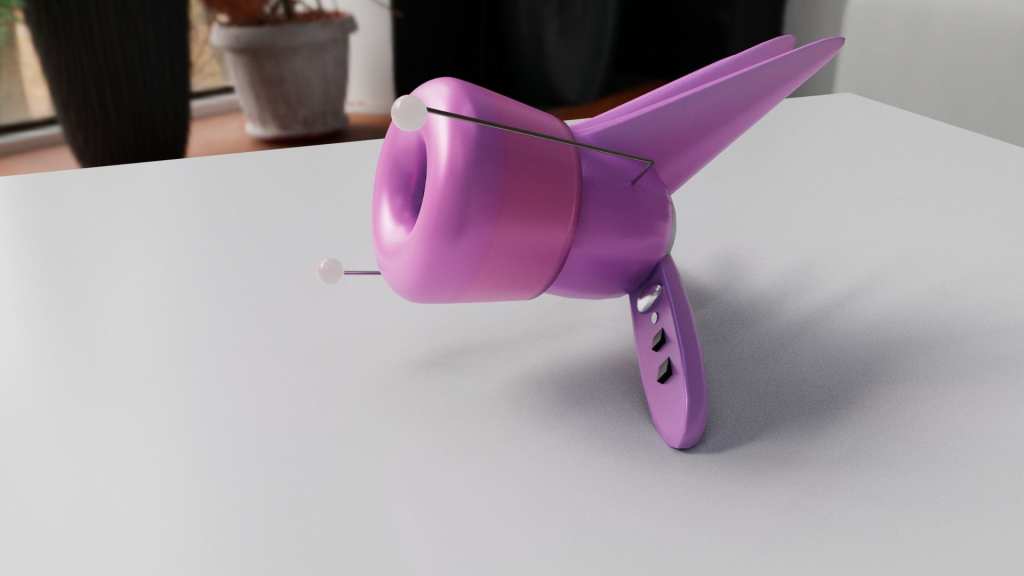
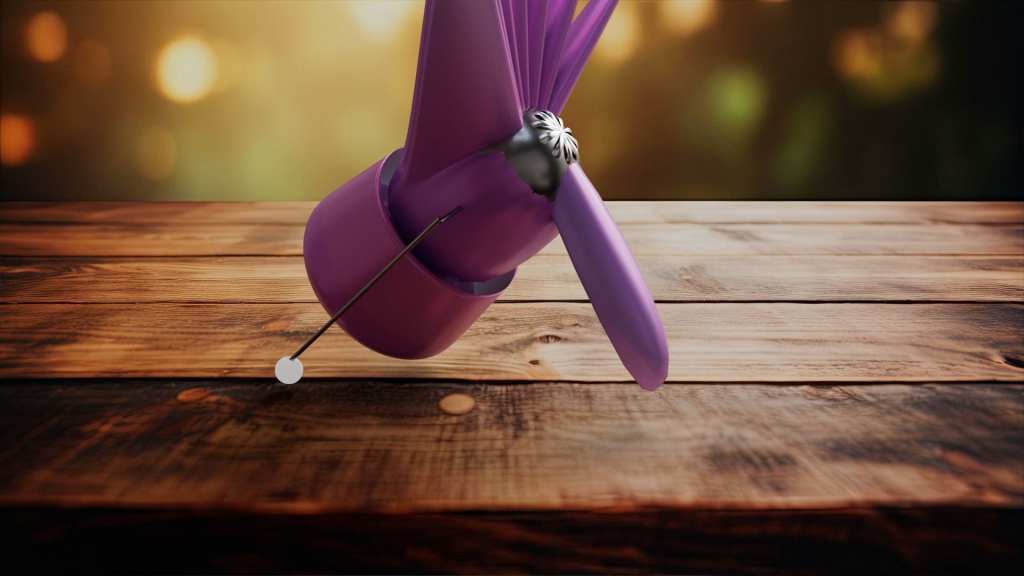
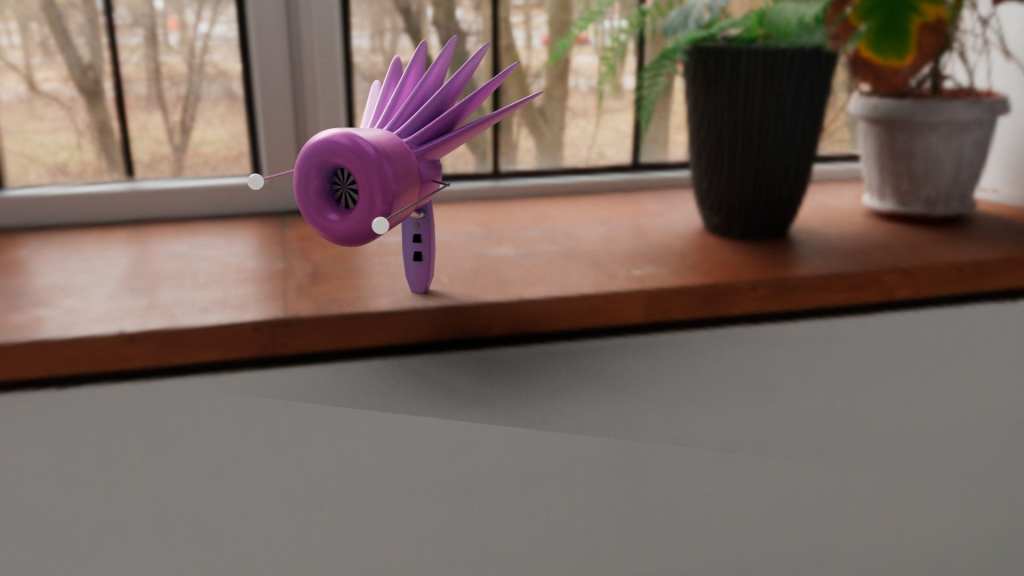
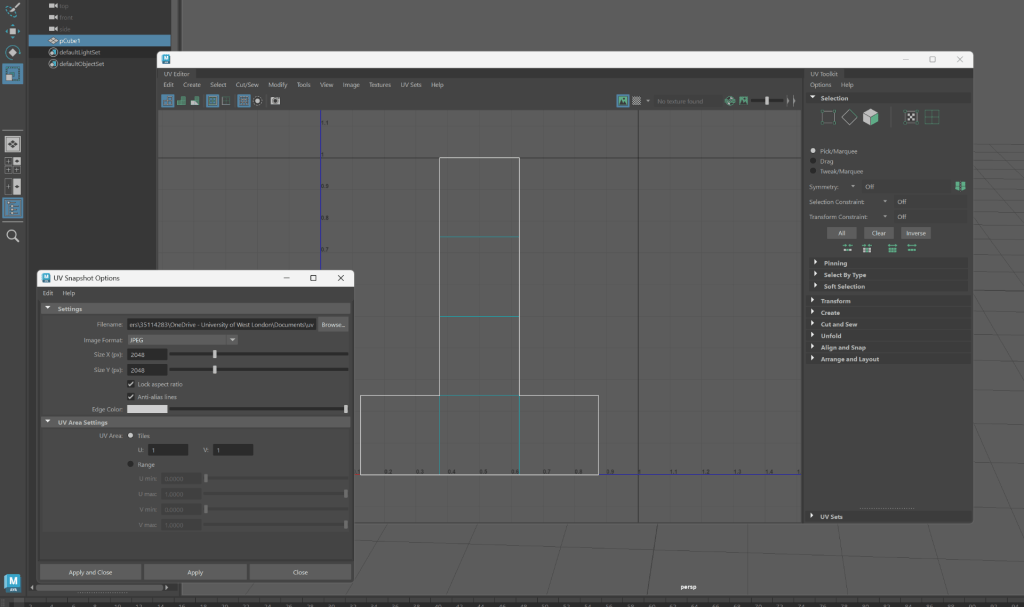
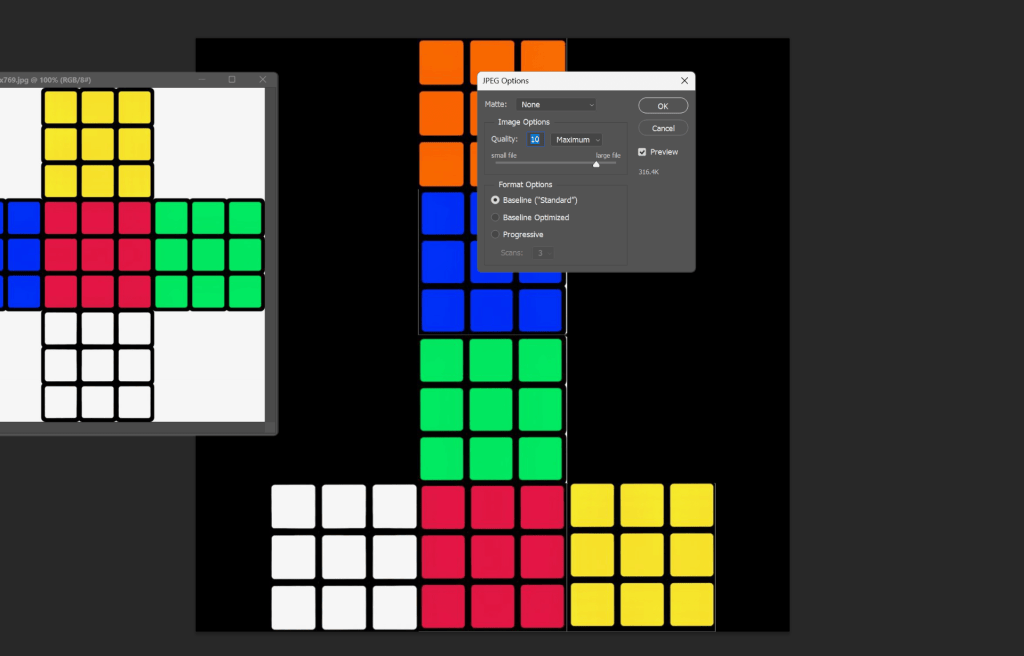
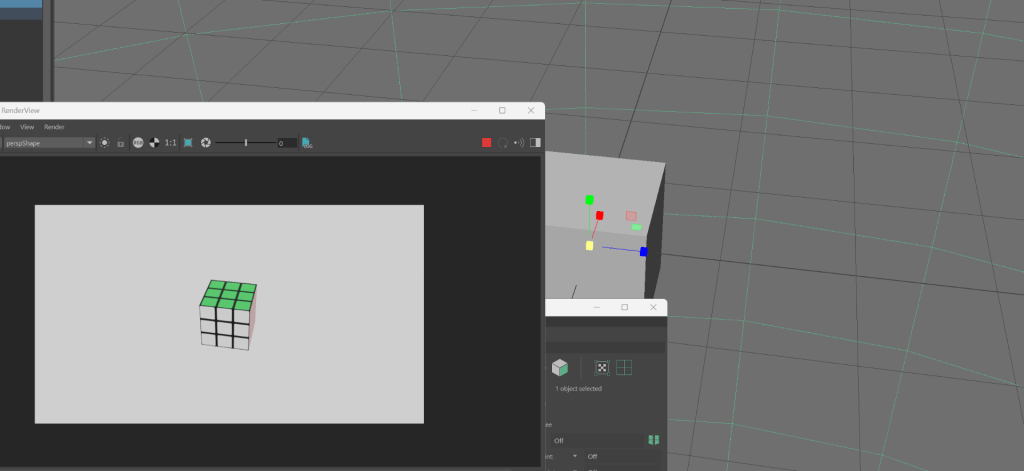
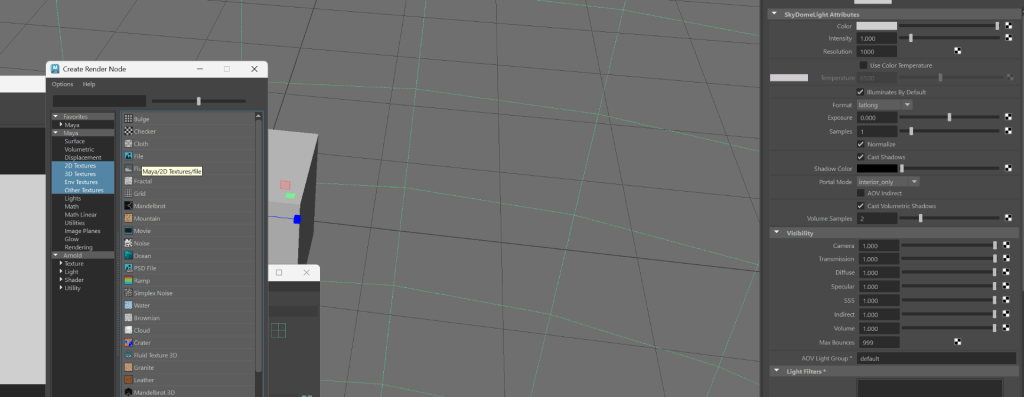
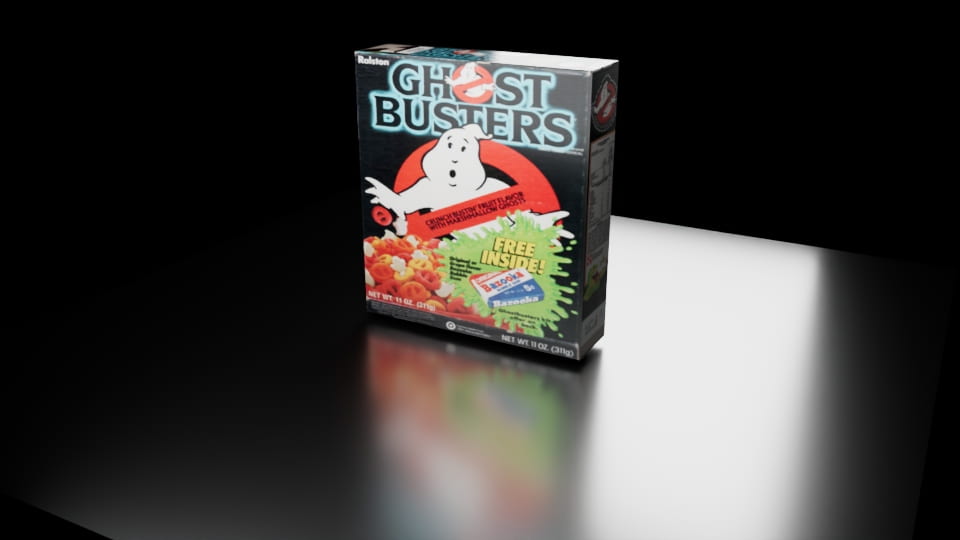
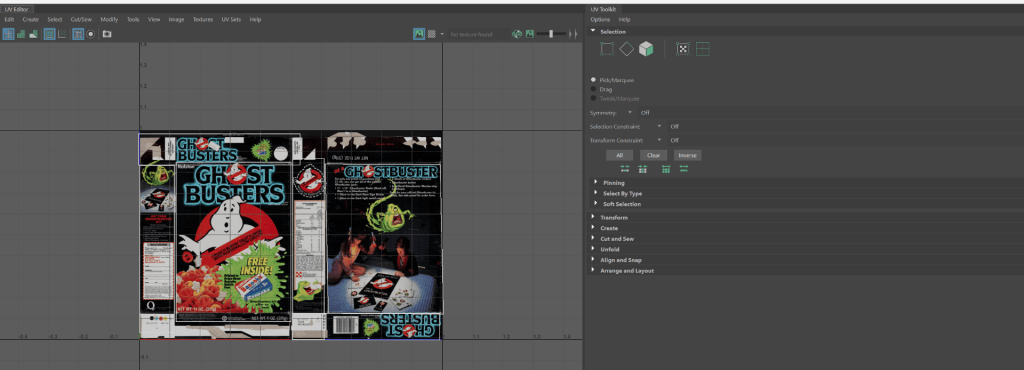
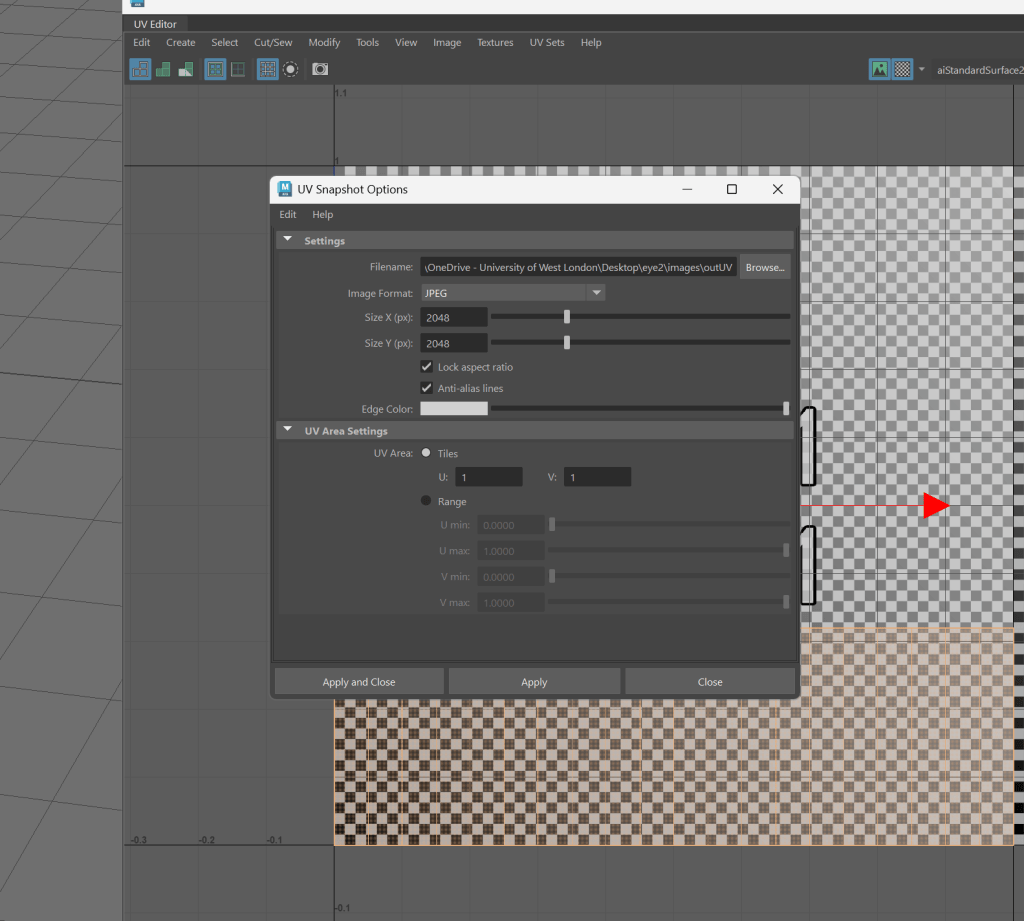
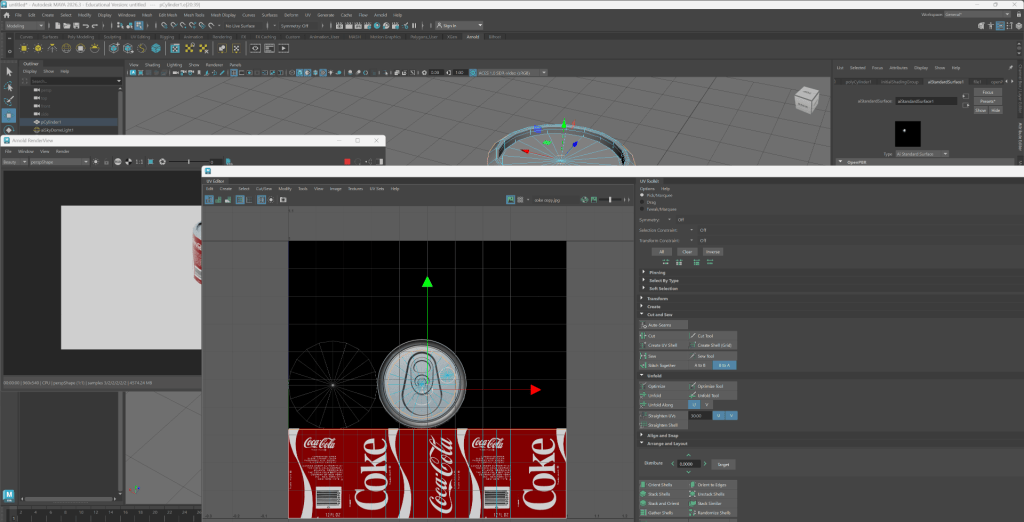
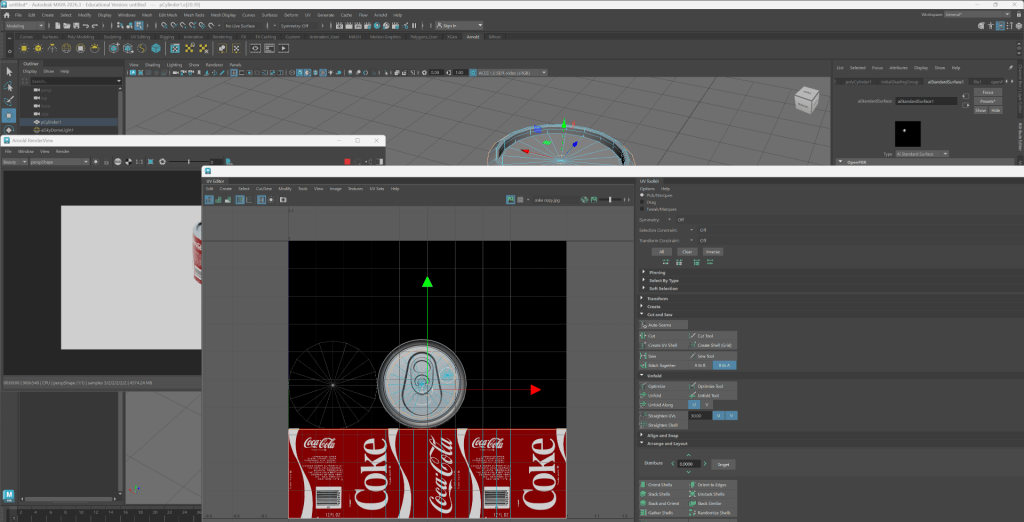
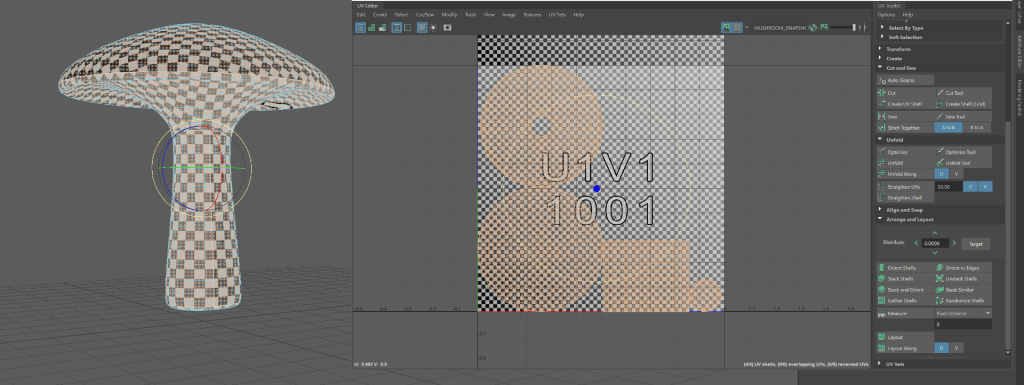
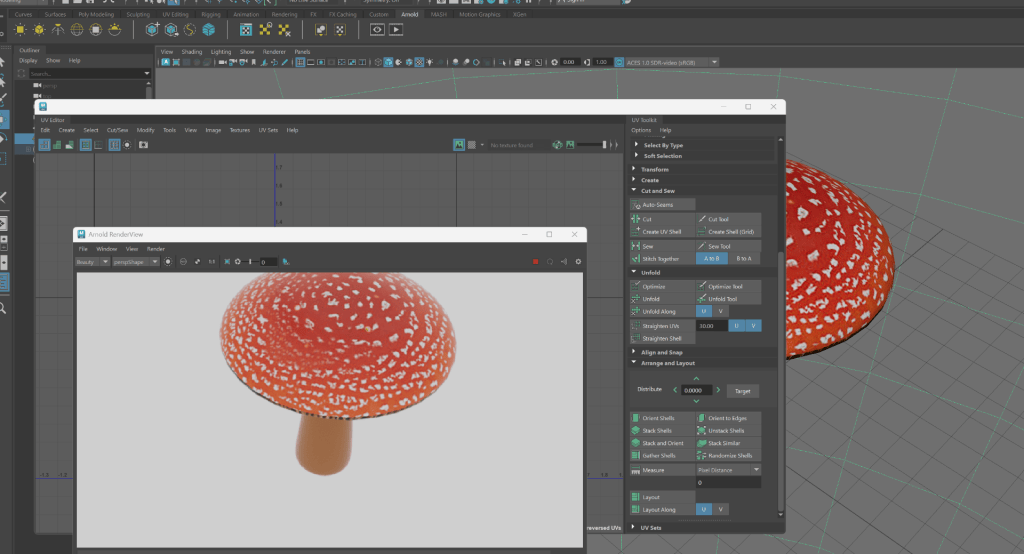
week 9 uv mapping
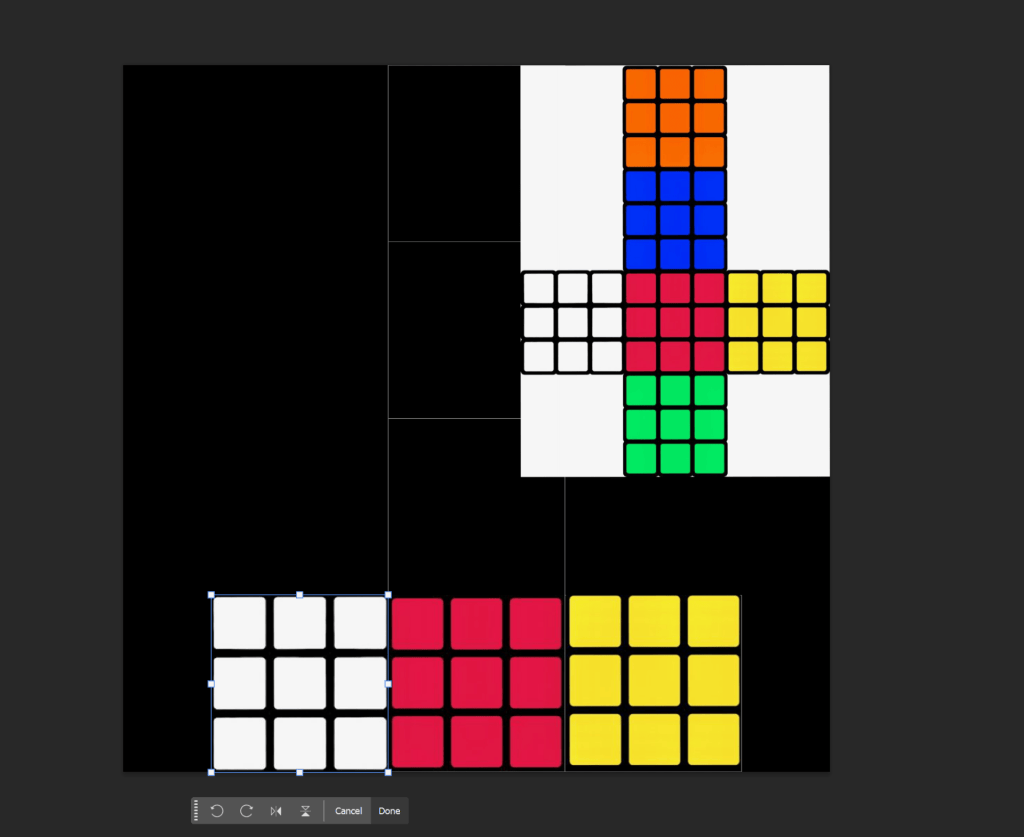

week 10
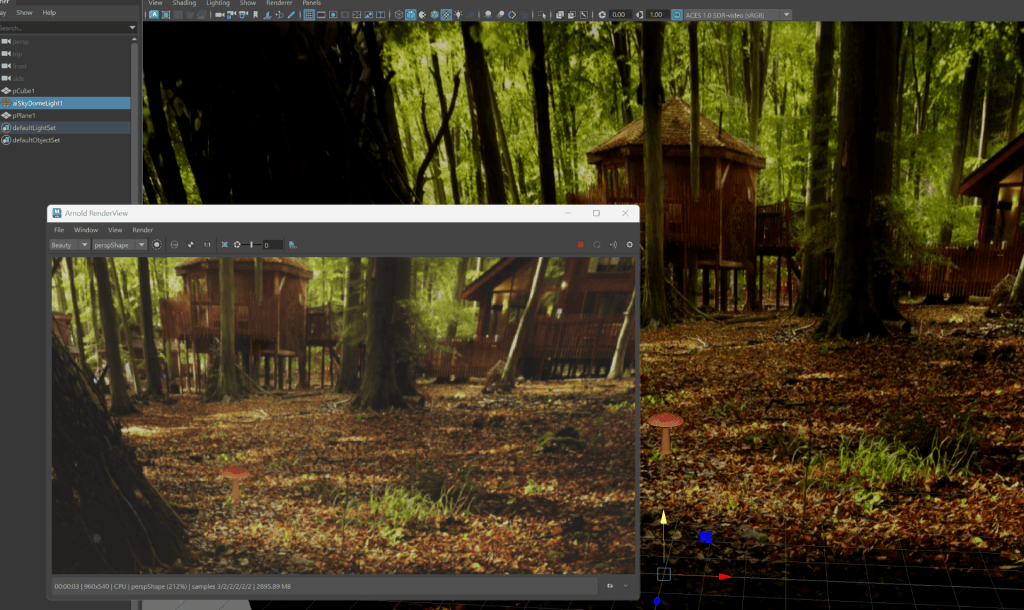
Building inspiration


MY MAIN INSPO

Practicing
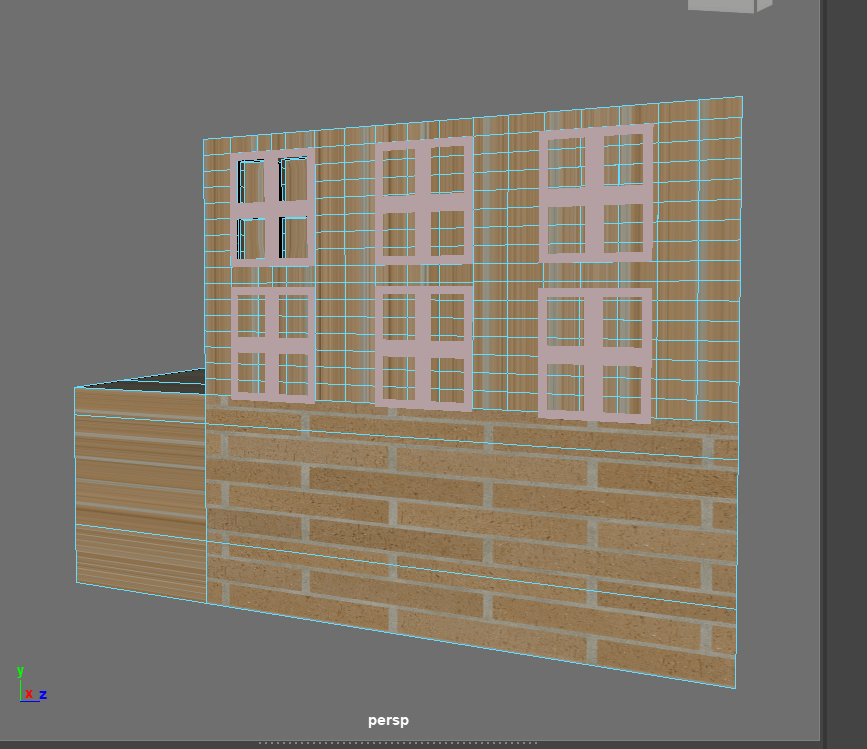
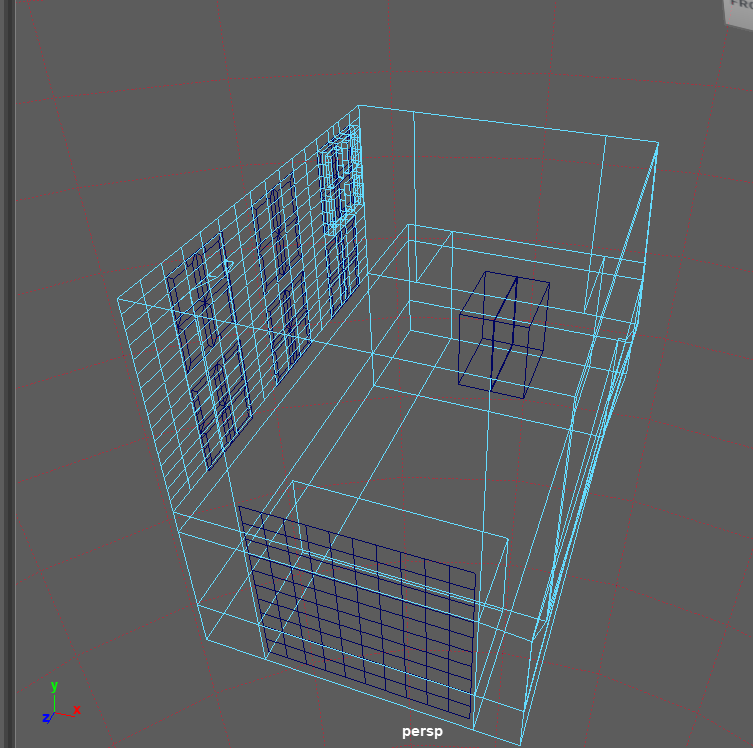
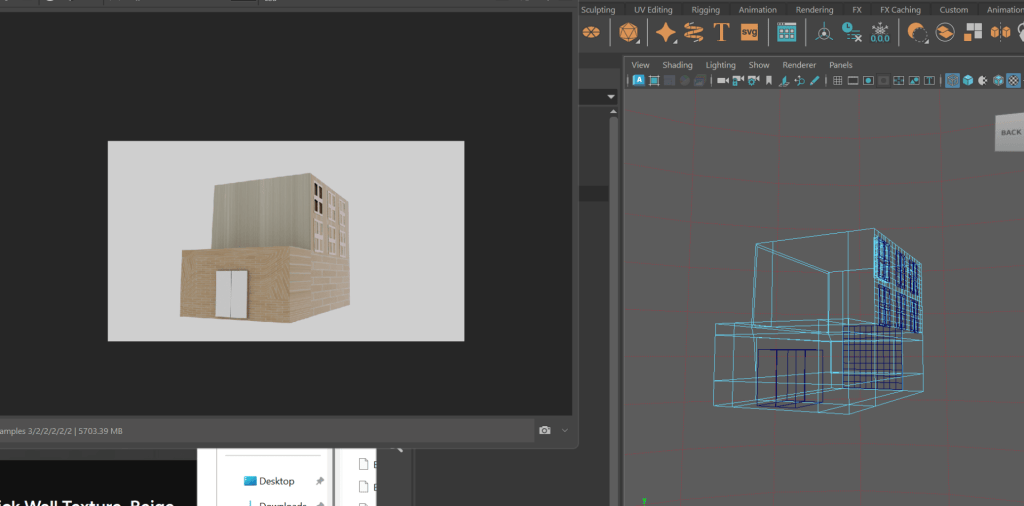
creating my building:
SUBSTANCE PAINTER
BUILDINGS
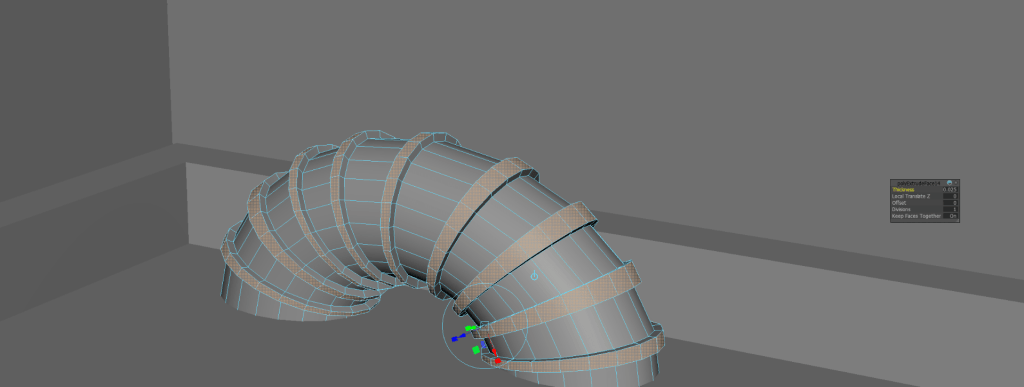
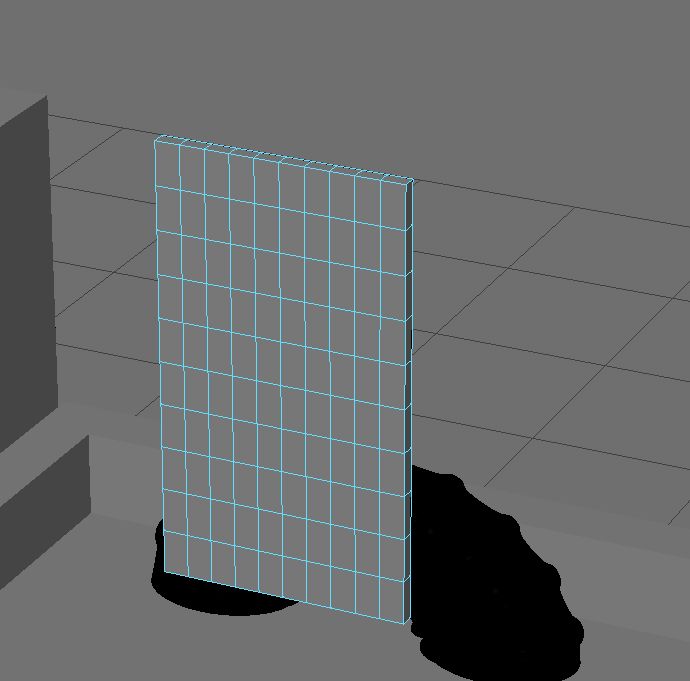
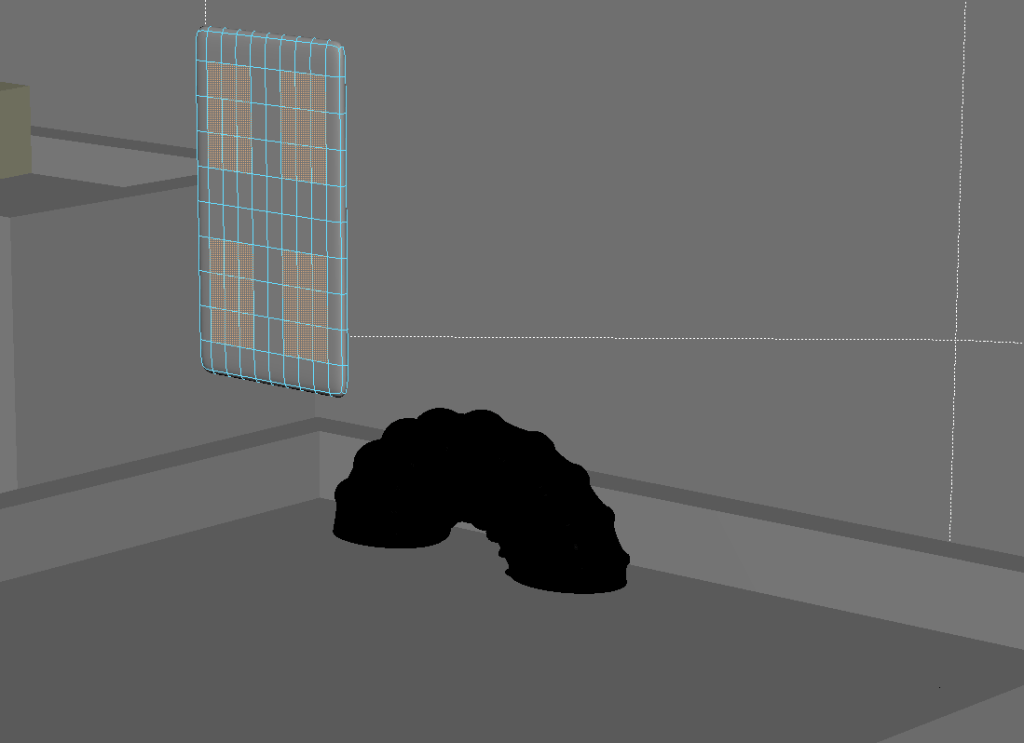
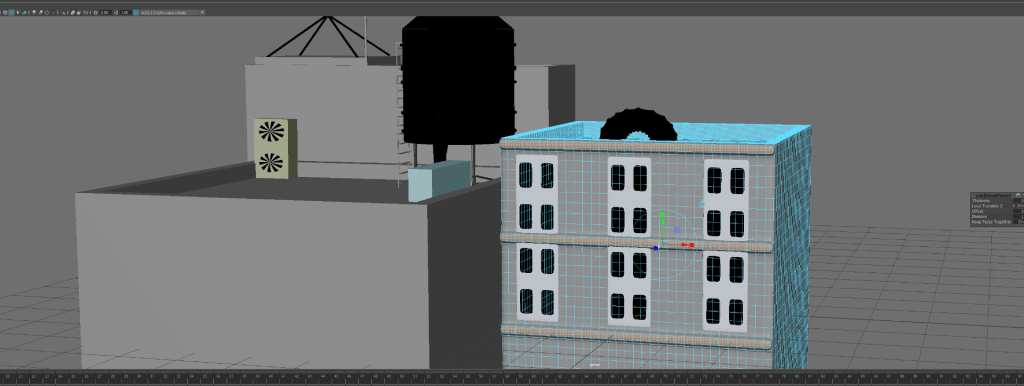
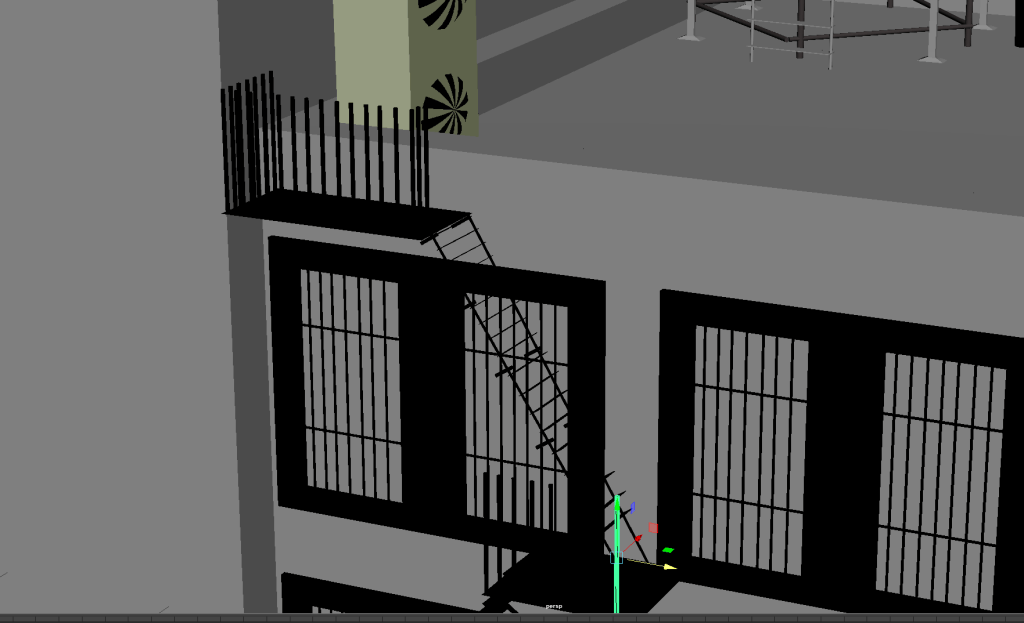
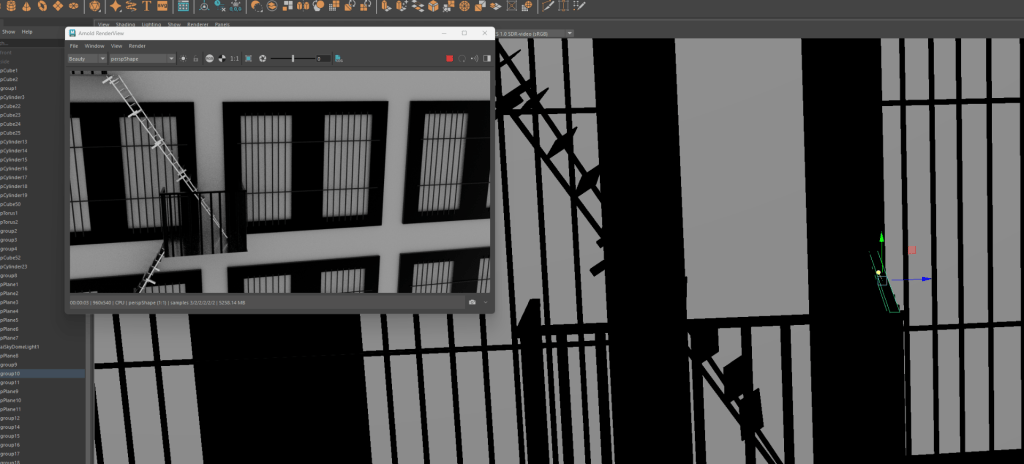
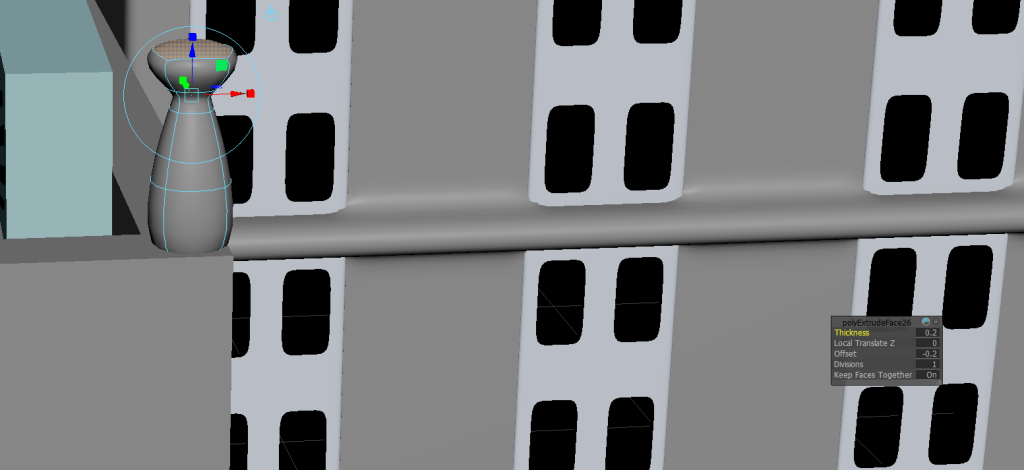
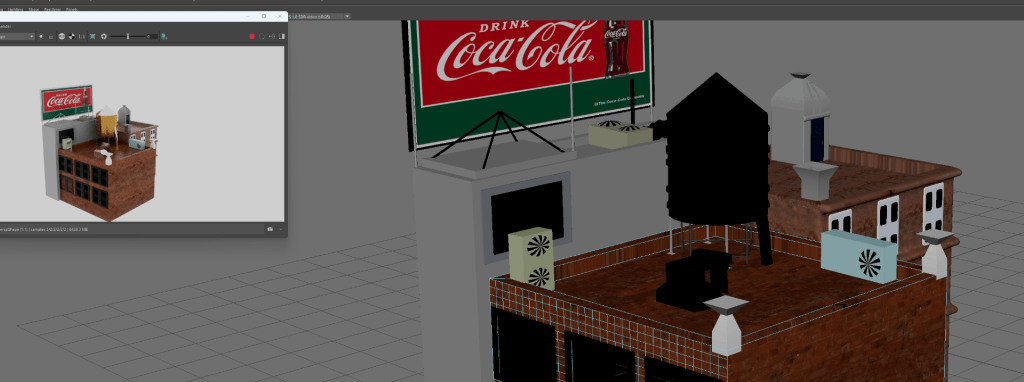
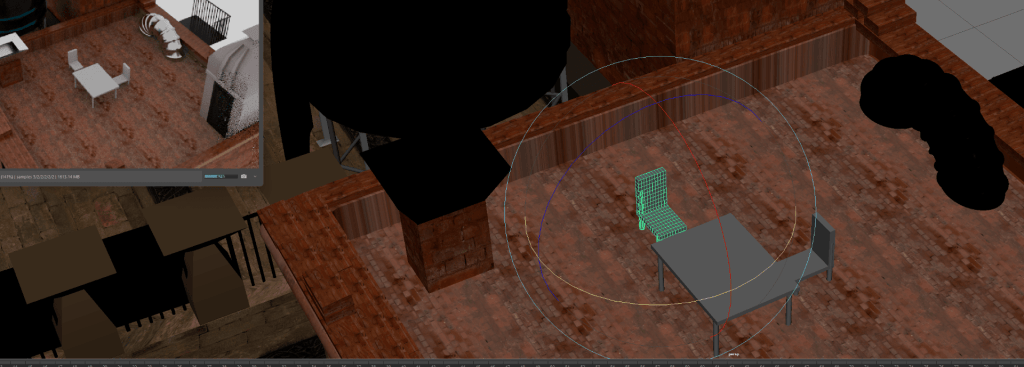
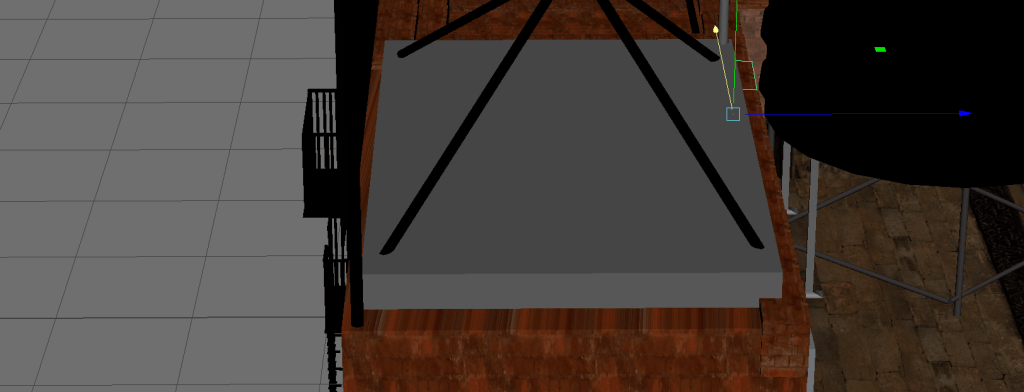
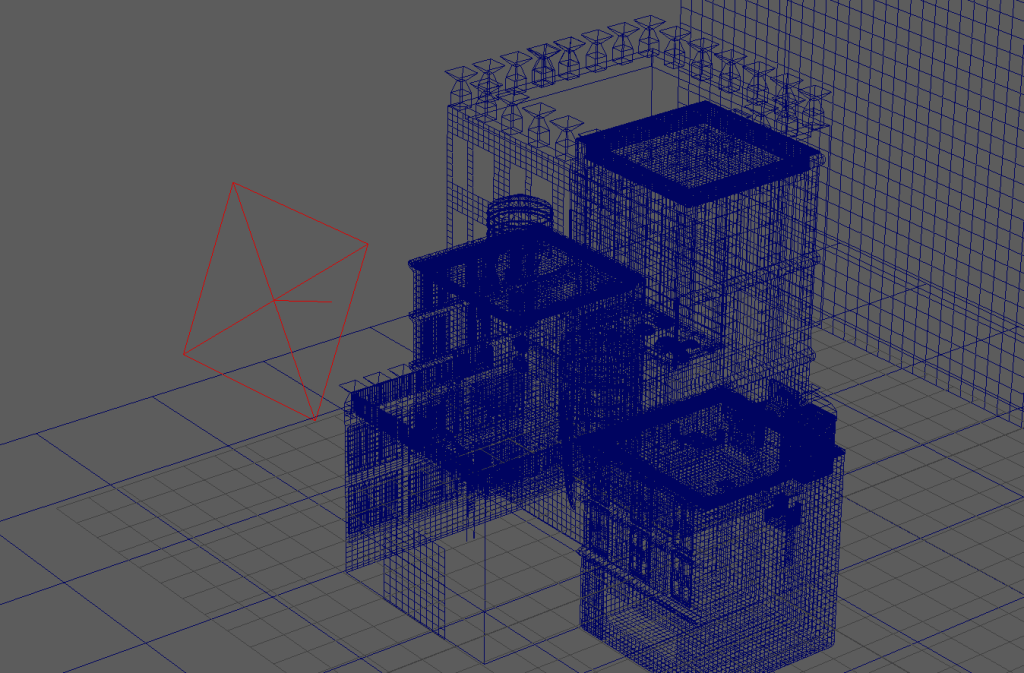
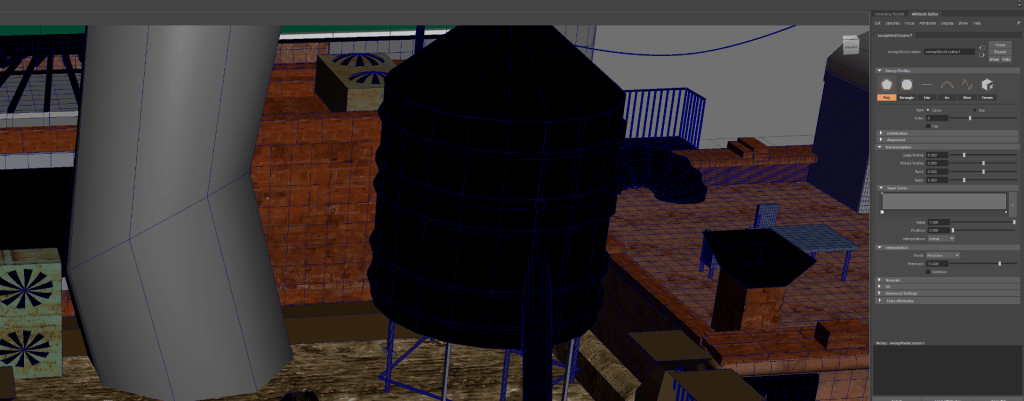
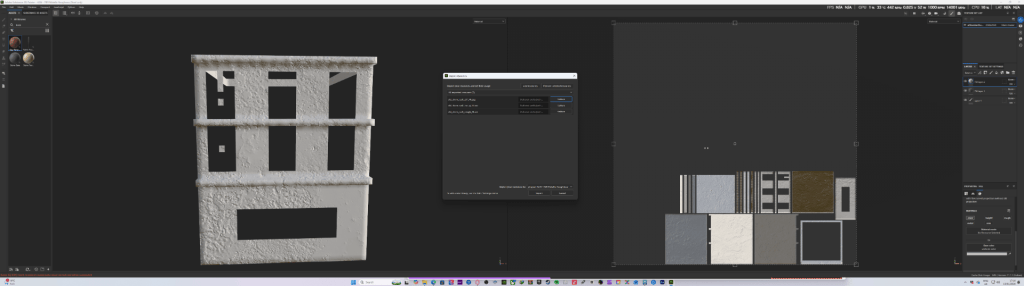
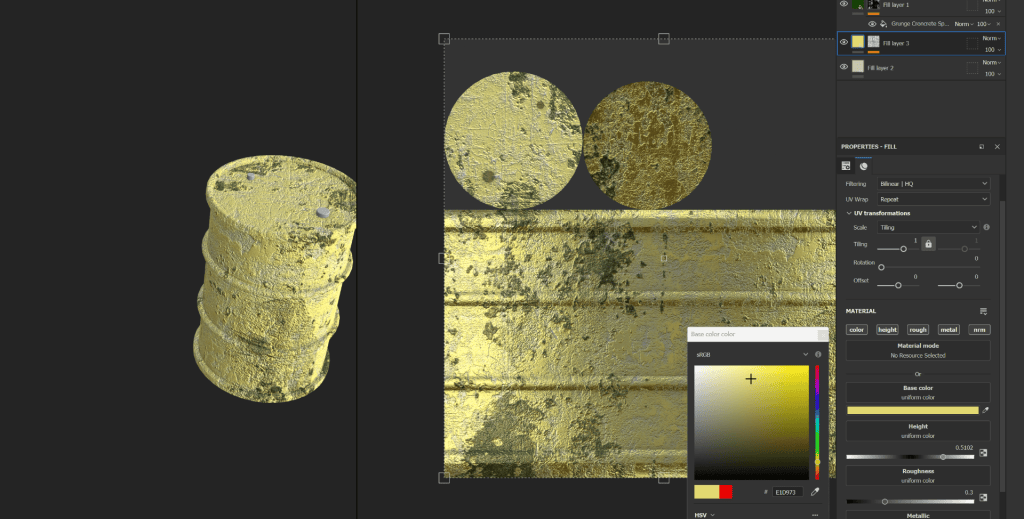
3D BUILDING:
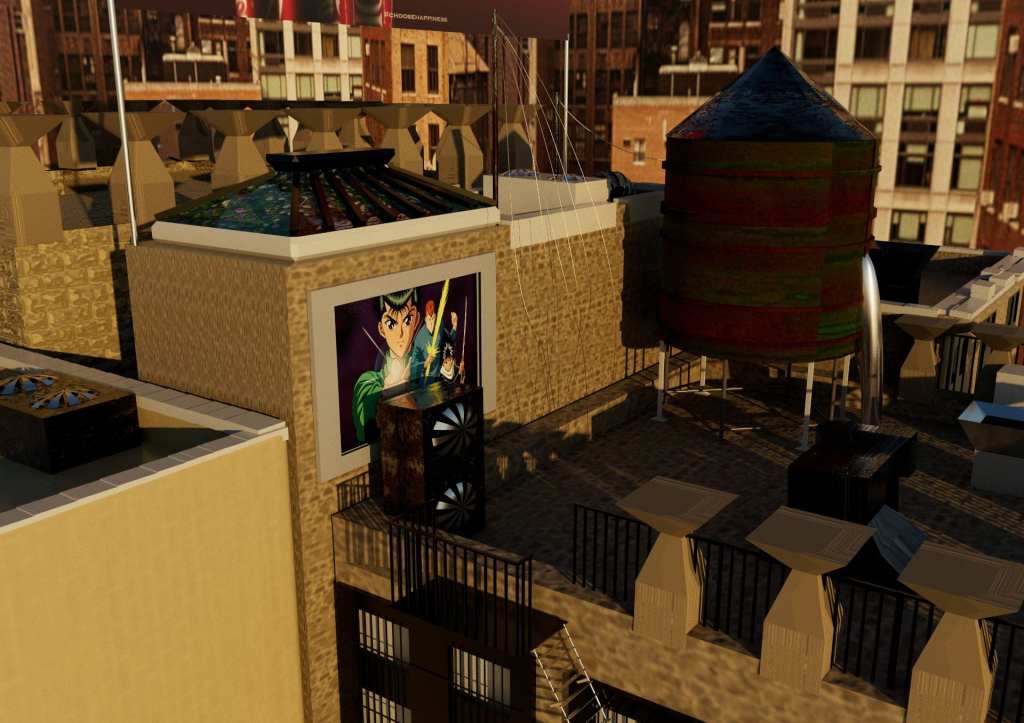
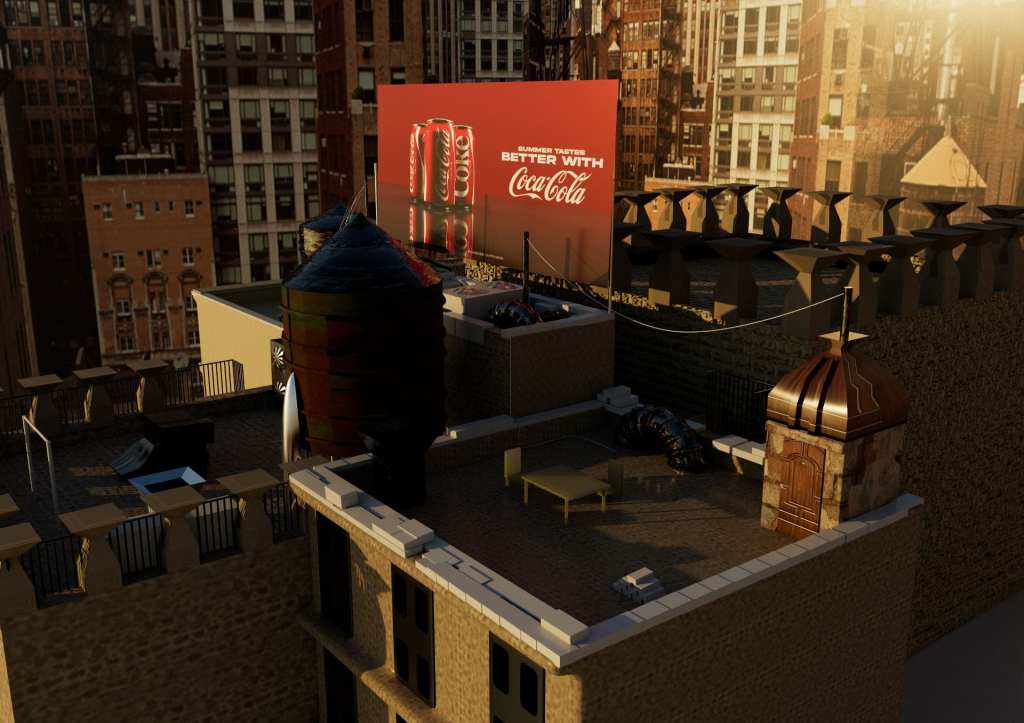
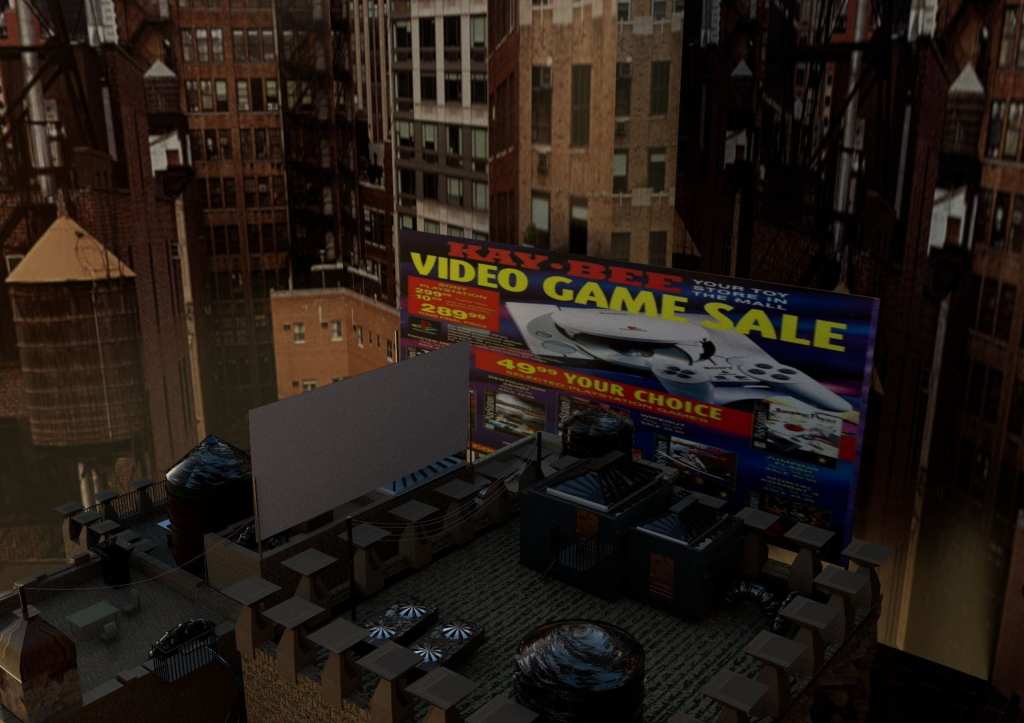
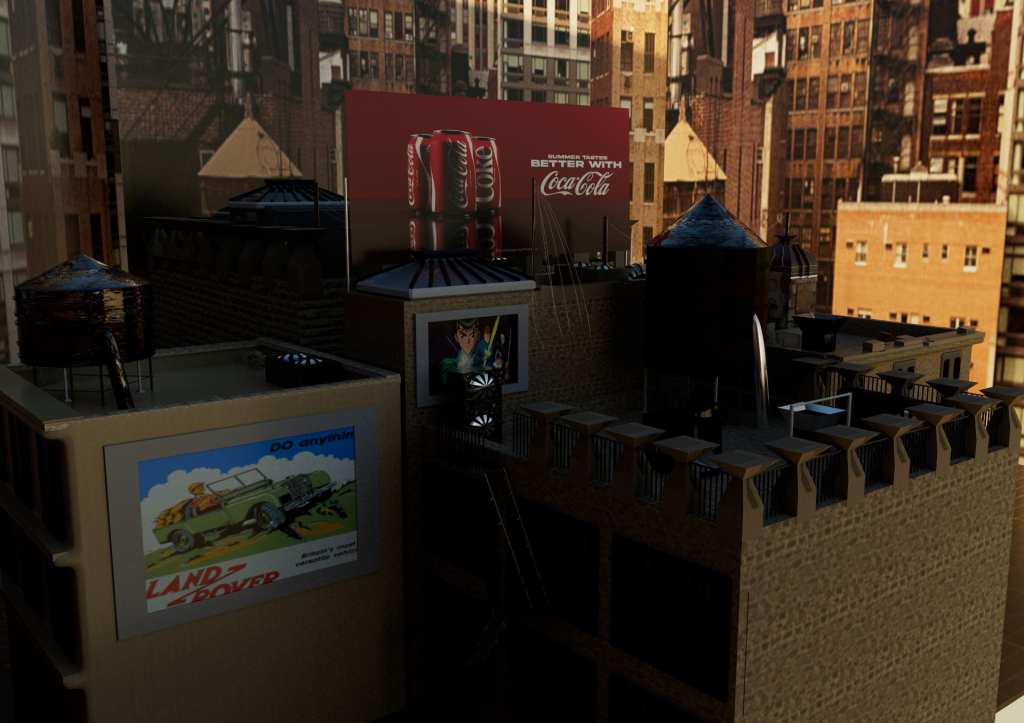
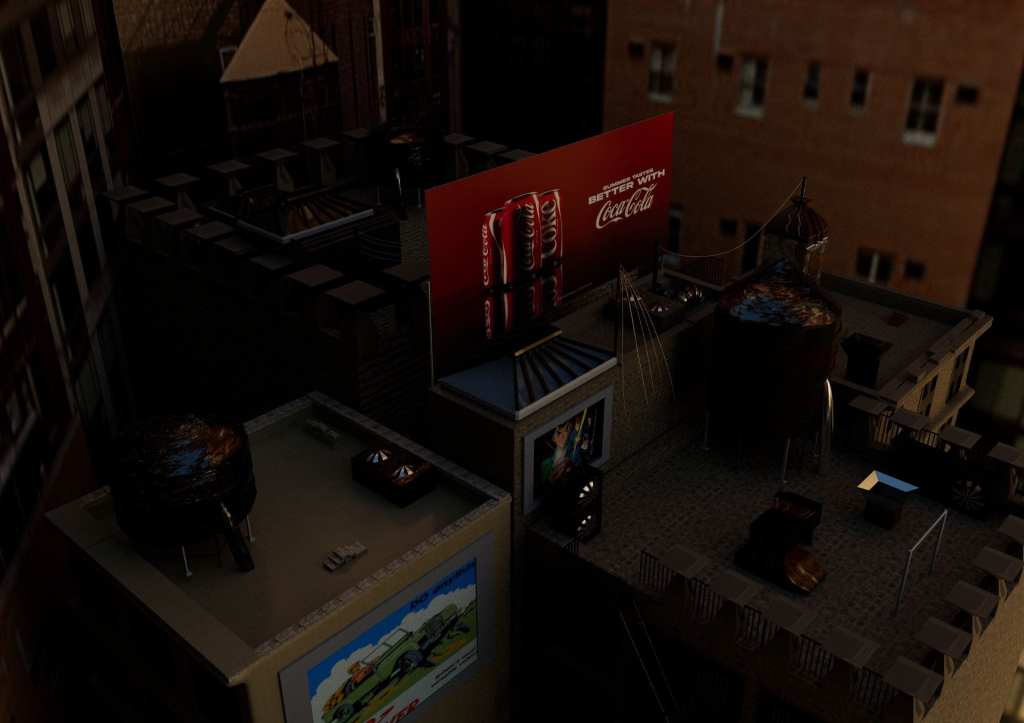
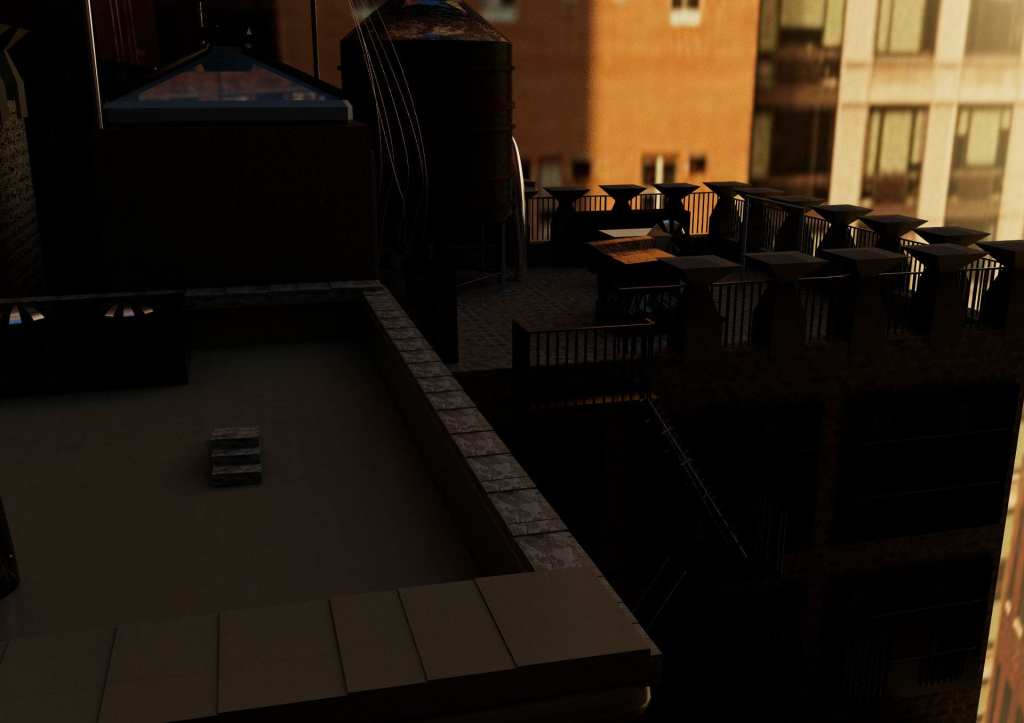
analysis:
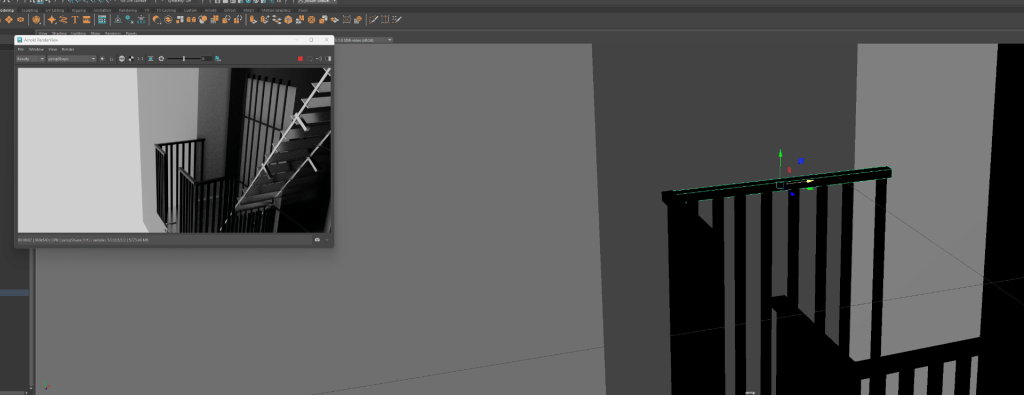
creating this new York roof top required a lot of referring back to videos and tutorials for me, especially in regard to substance painter.
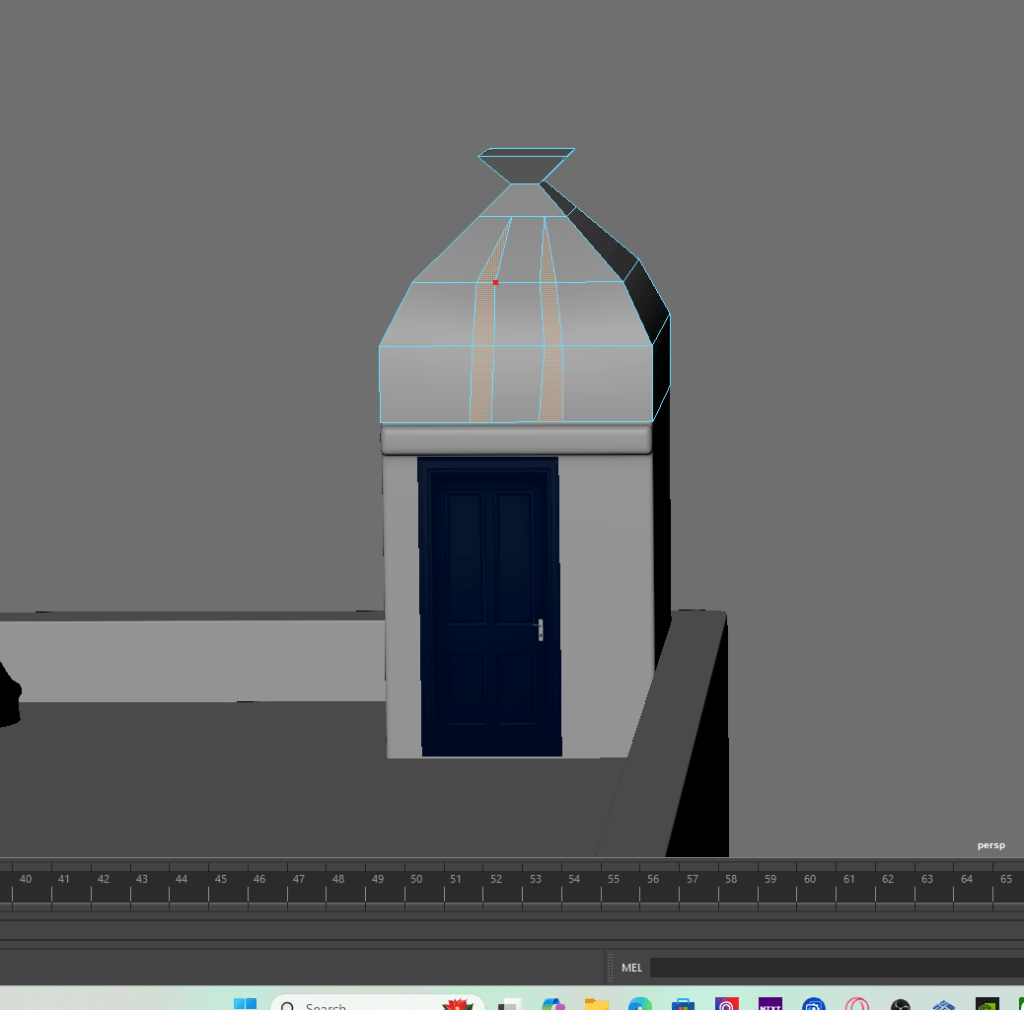
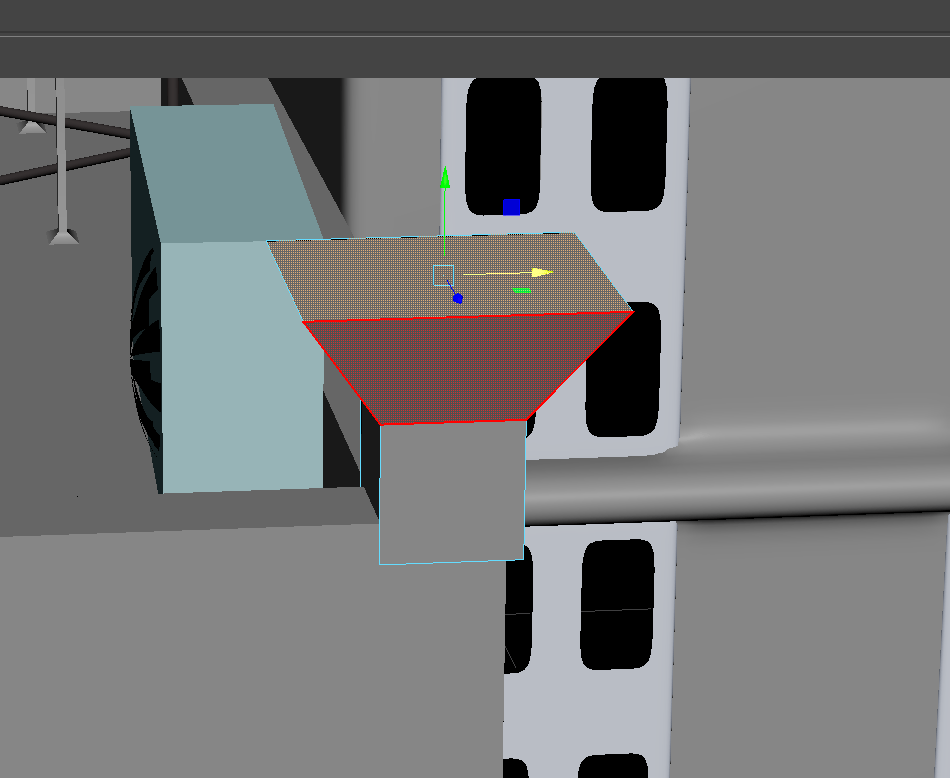
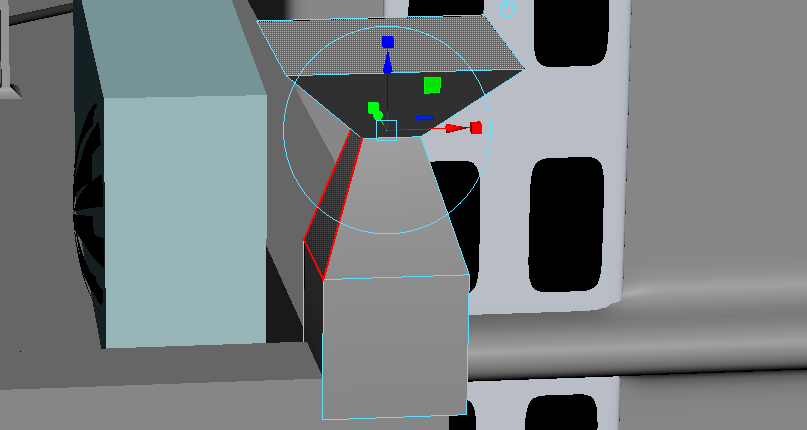
the building themselves were quite simple to make however I was taxing to create the finer details I wanted to include such as the escape ladders, roof top buildings and the various pipes and wires you would typically see on these types of buildings.
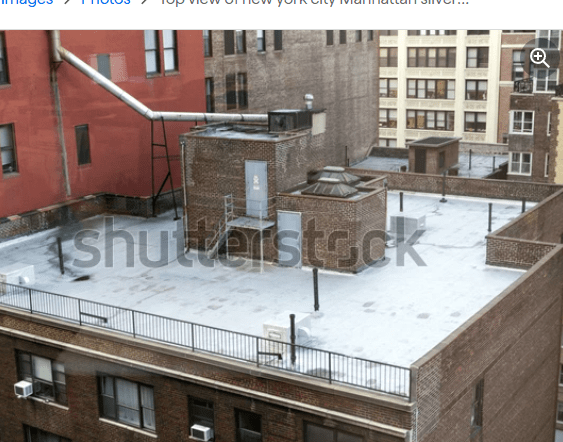
I didn’t use many references because I wanted my creation to be inspired but have a original look to it, as if I was the architect behind it. with that said however there was inspiration i definitely wanted include such as:
Being able to use an image like this truly made my building have more realistic and true to life feel.
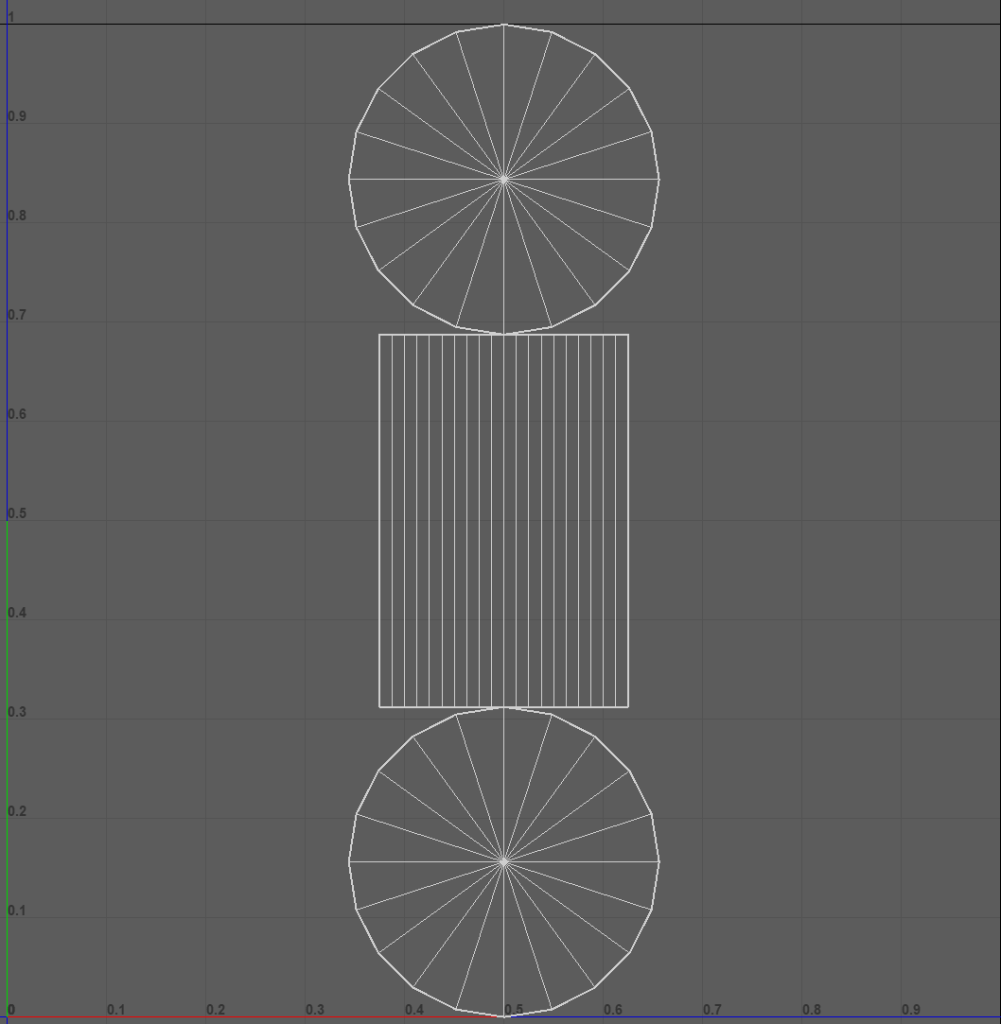
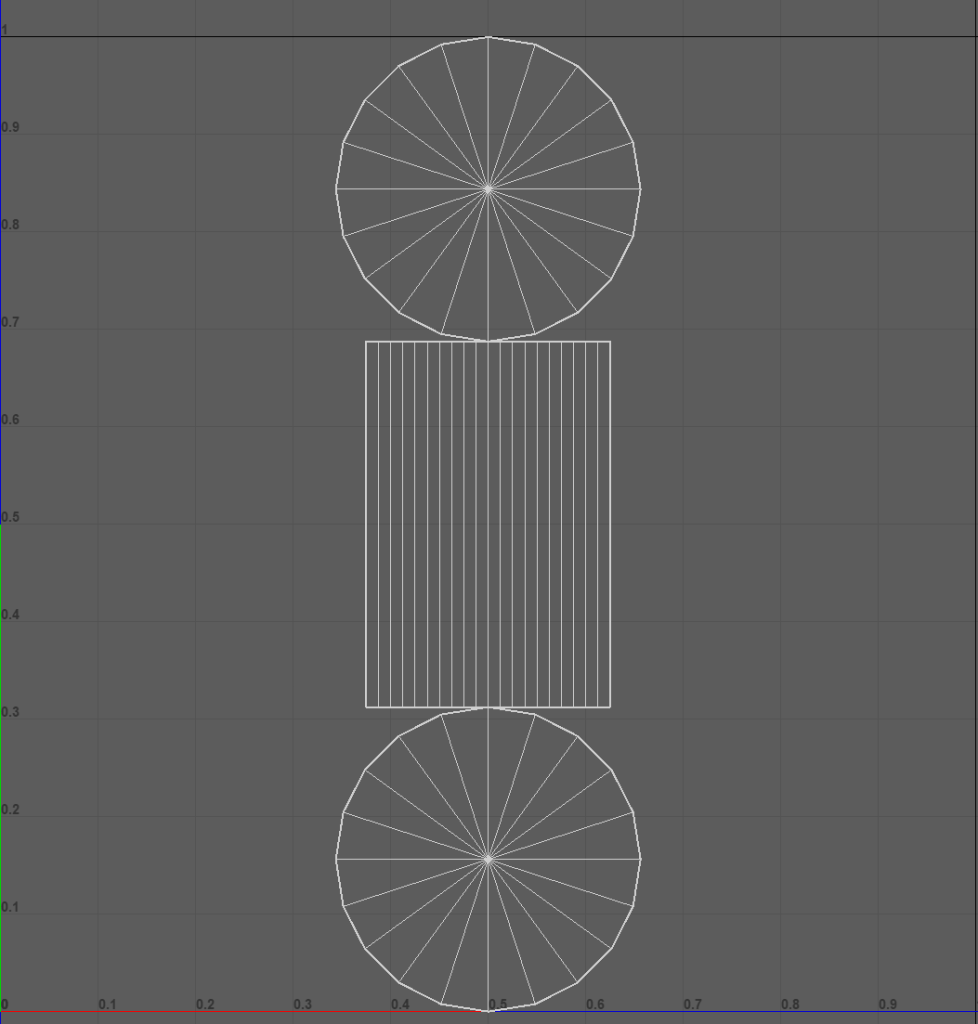
I use a vast amount of techniques like extruding, bevelling, uv mapping, making textures in substance painter and so on.
the most difficult task for me was find the right textures, uv mapping and exporting them and having to deal with the hypershade program.
Overall however i do believe my final product is satisfactory. I believe with more time delving into substance painter and lighting in maya i could have made this look much more realistic once rendered.

