WEEK1: Introduction to CGI FOUNDATIONS
Examples of CGI
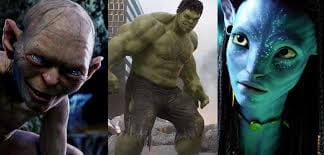
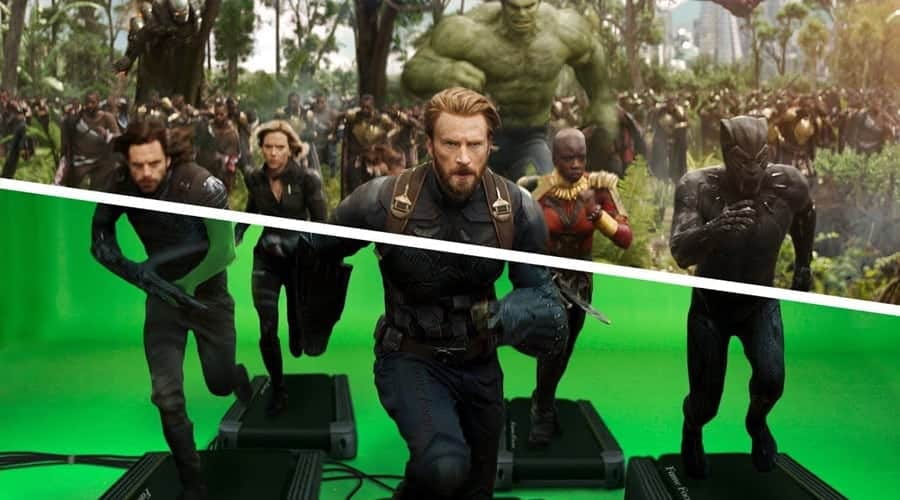
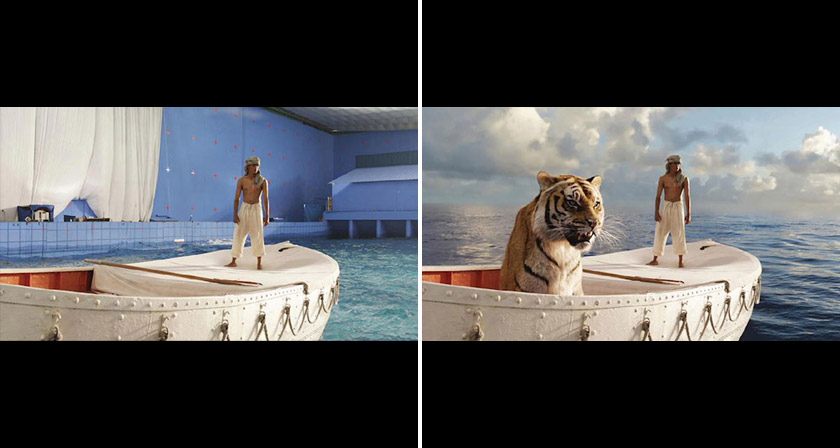

500 WORD CGI TASK:
The matrix is a movie that uses a multitude of CGI techniques that affected the way films and Hollywood would go on to film movies. Not only did it create techniques such as “Bullet time” (Campbell, S. (2024) How ‘The Matrix’ and bullet time changed cinema history) but it also also implemented pre-existing techniques such as “wire-fu” from Asia, this is cited as merging western and eastern FX ( University of Greater Manchester How the matrix movie changed film forever (2021). Given that the matrix is a movie that explores the ideas of what is real, what is digital, how reality ought to be and how difficult it is to perceive and/or understand theses ideas, it is no surprise that the mast amount of said movie is built upon CGI whether that be for visual narrative or for spectacle. The bullet time effect is the most popular effect used. By using various cameras at differing angles and stitching together the images the effect of a slow mo is given off on the target while the motion of the camera appears to still be very fluid and natural. Not only did this serve as great visual storytelling which would be Neo becoming closer to “the one” but also served as a new technique that would go on to influence the culture. movies such as: Xmen Days of future past (2014) and Swordfish (2001) took inspiration and used the effect.
Undoubtedly a vital use of CGI in the movie is digital compositing. This technique involves taking live action footage and computer generated images or scenes and combining them. The matrix boasts an extreme amount of visual work that is downright impossible for the real world such as “loading” into and out of scenes within the matrix from a dojo to a rooftop in america. Digital compositing is a requirement both for the narrative aspect and for the practicality of the scenes. More specifically there is a scene in which our protagonist and his mentor are seen on said roof top and are jumping across a building to another. Digital compositing is used to give off the illusion that the jump is made. Similarly, our protag Neo makes the jump however he falls to the ground with floor bending inward like a rubber surface and shooting him back upward. Of course such a feat this impossible and will result in death, so this use of creating a scene digitally and combing it with the live footage is the best and most logical way to create such a scene.
The last use of CGI id like to mention is the creation of digital humans it comes as no surprise that they would be used by they are used both in action scenes and build up scenes. this allows for there to be less hires and people on set while still fulfilling the narrative and having either more room and space for probs or items on set. it also allows full control of what is happening in action scenes such as reactions to computer generated environmental damage as opposed to an actor having to act it out but not being able to see it on set.
Overall The matrix is an excellent example of CGI being used and has so many techniques used within it that it makes it a great study case when talking about CGI in modern media.
week 2: Environmental design

(Mood board)
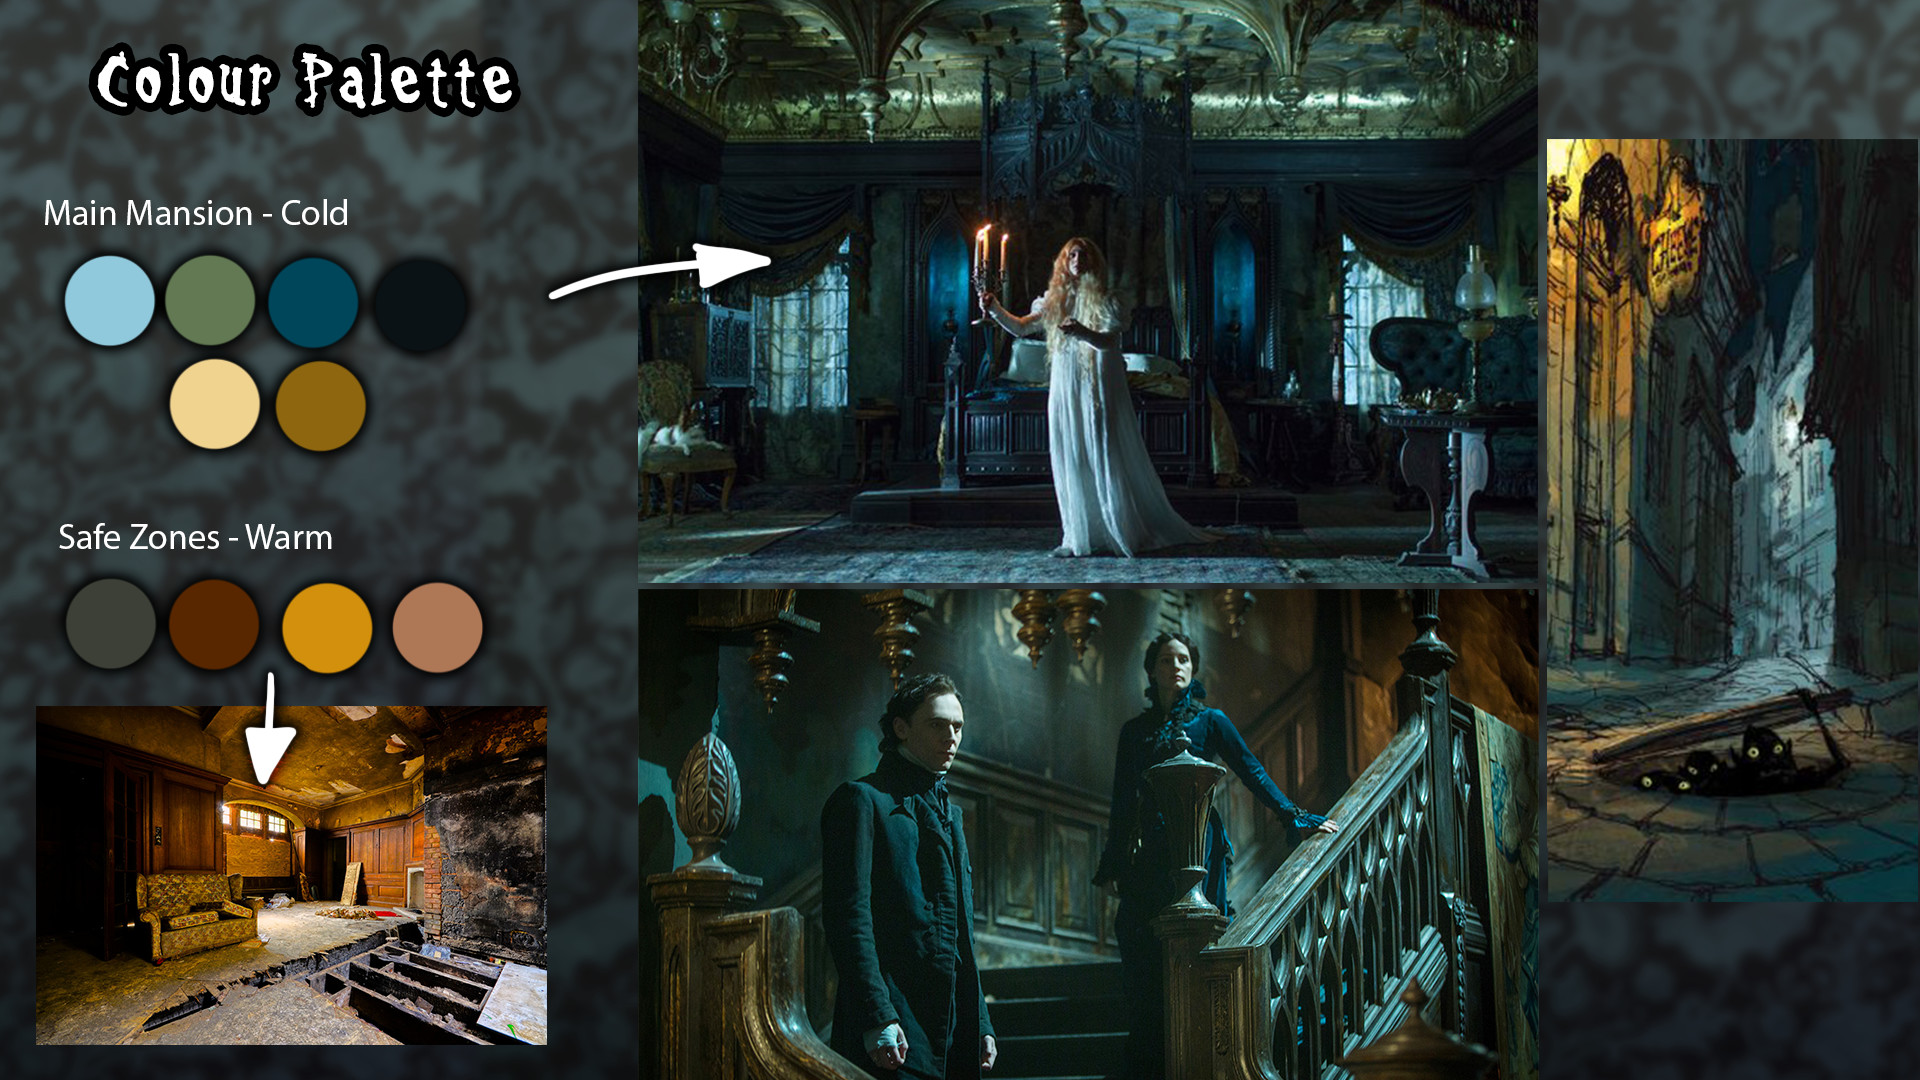
(Art Bible)
In todays lesson we looked at the use of MOODBOARDS, THUMBNAILS and ART BIBLES. researching these allow us to gain insight on what they can be used for and how it is easier to create clear expectations for of products, environments and work flow.
(Classical)

(Brutalism)
Beyond that we took a look at how the culture and people who live in an area can affect the type of buildings and artwork that can be seen in the environment. We also looked at different real life styles used in modern media such as classical/neo classical. brutalism and more.
CONCLUSION:
To begin wrapping up our research we also looked at fictional environments and tried to understand how you can reverse engineer an environment if we do not particularly have an idea in mind based on what type of people or items we would want in it.
MY MOODBOARD
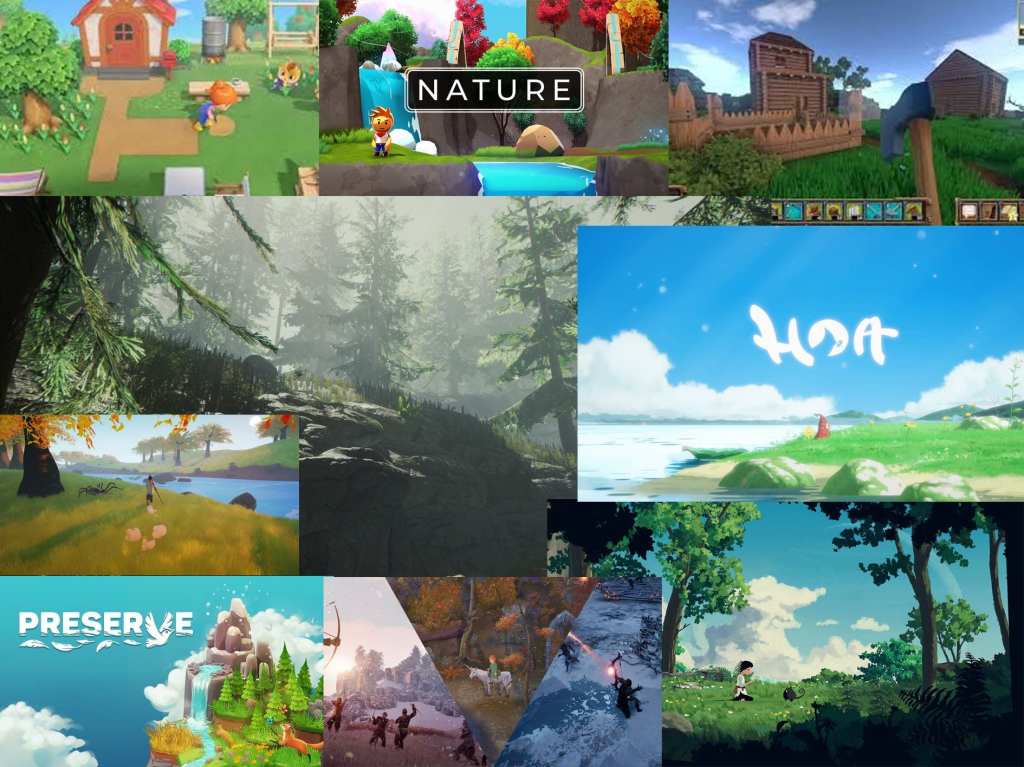
My Idea is based around the indie, bright nature games. I enjoy the joyful vibe and nature environments that may include buildings that feature classical aesthetics like bridges, markets, shops and various npcs. The landscape must appear warming and inviting and ready to be explored with colours that expose its alluring charm. Nature will be vibrant but detailed.
WEEK3 introduction to unreal engine
In this weeks lesson we looked into the concept of classes, objects, attributes and methods. We also had explored the principles visual scripting and how they can relate to the work we do as vfx artists.
Moving on from that we began to learn how unreal engine works, looking at its asset library, fab and the how those can be imported into our worlds.
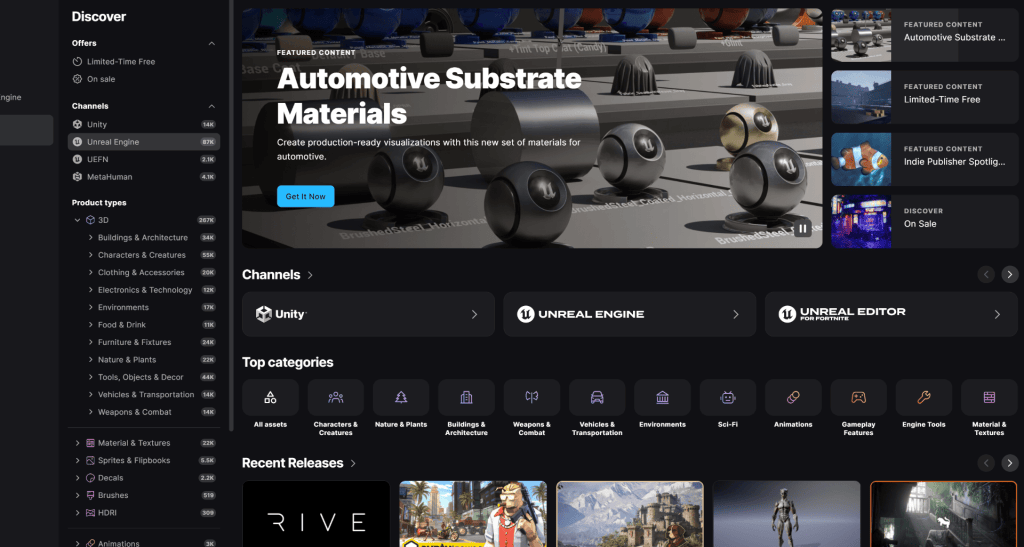
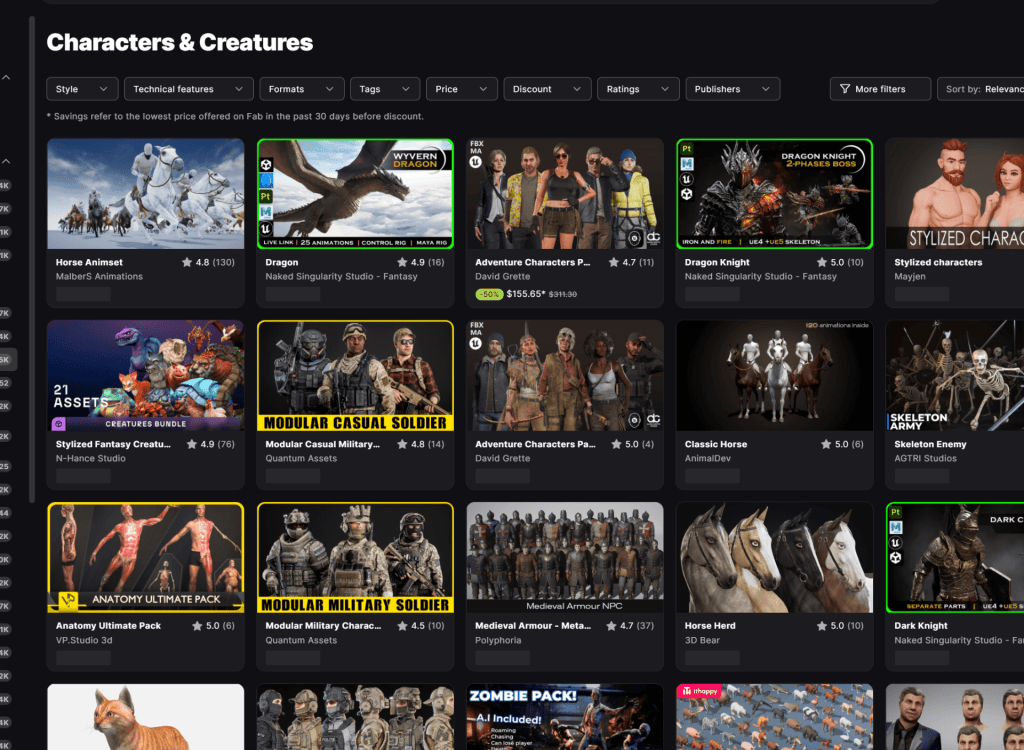
Once we had our projects open and some assets we started to look more closely at the interface and how we can use different docked attributes to move objects, scale them up, rotate and more. it was very beginner friendly and allowed me to understand how the world would be created in real time.
Looking at the world outliner and content browser and becoming familiar with them has been of great help. the details panel has the information of highlighted objects which and be used to add components like light.
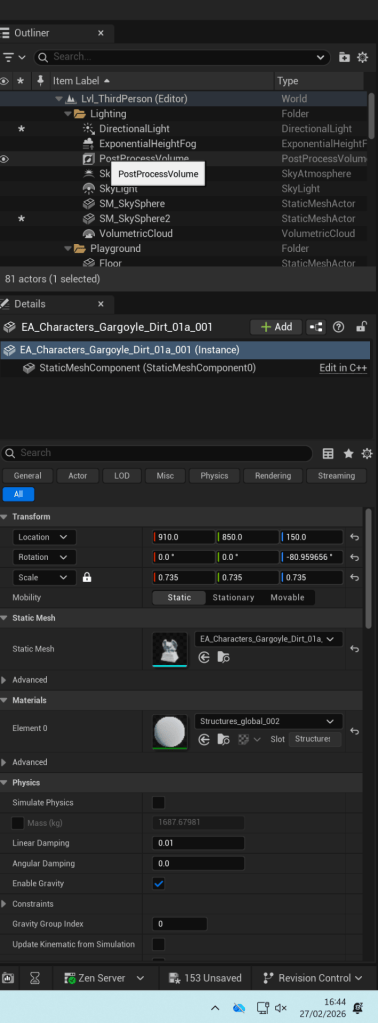
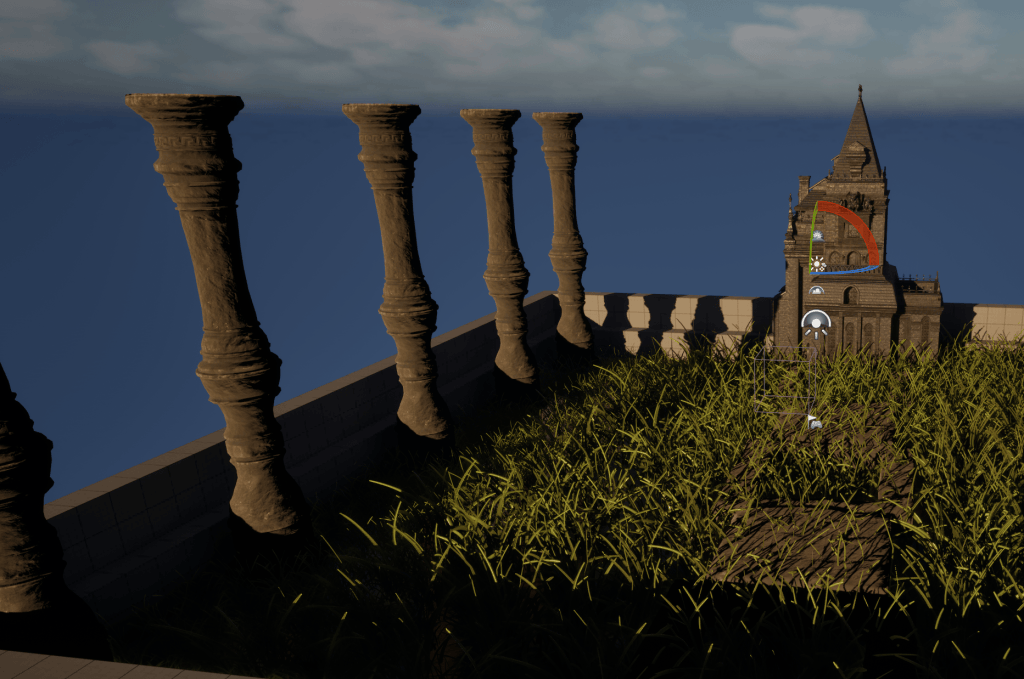
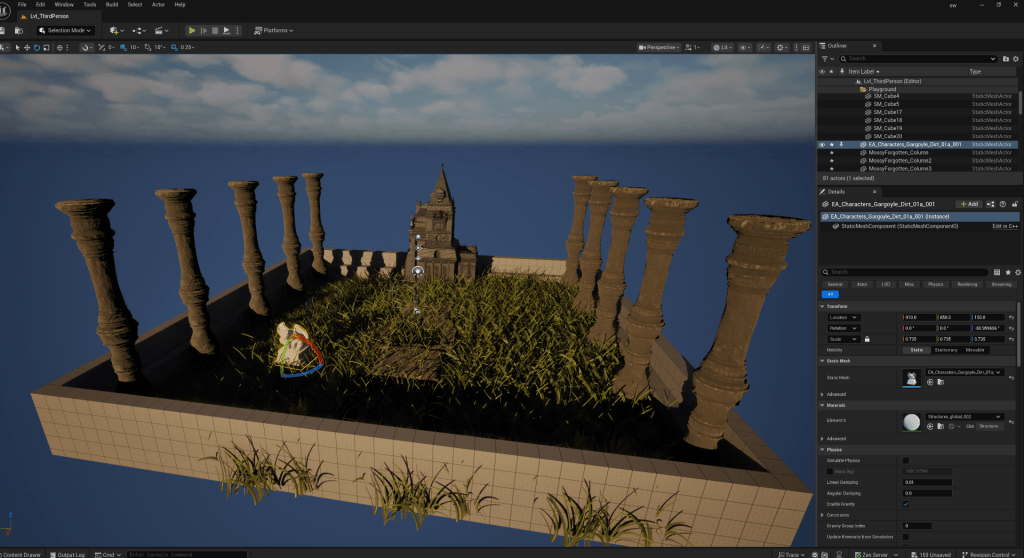
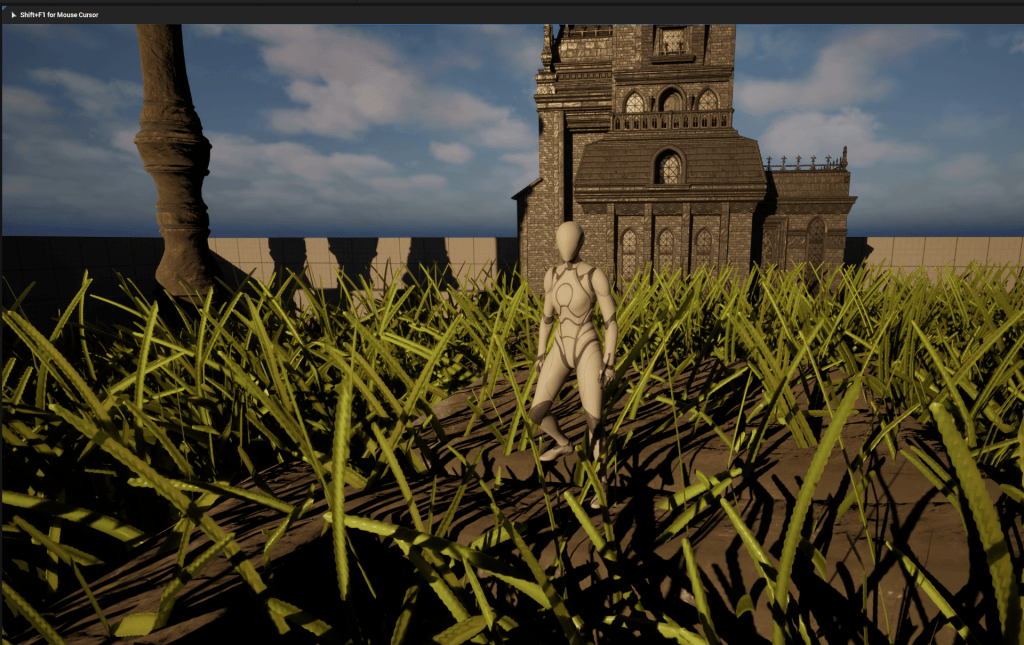
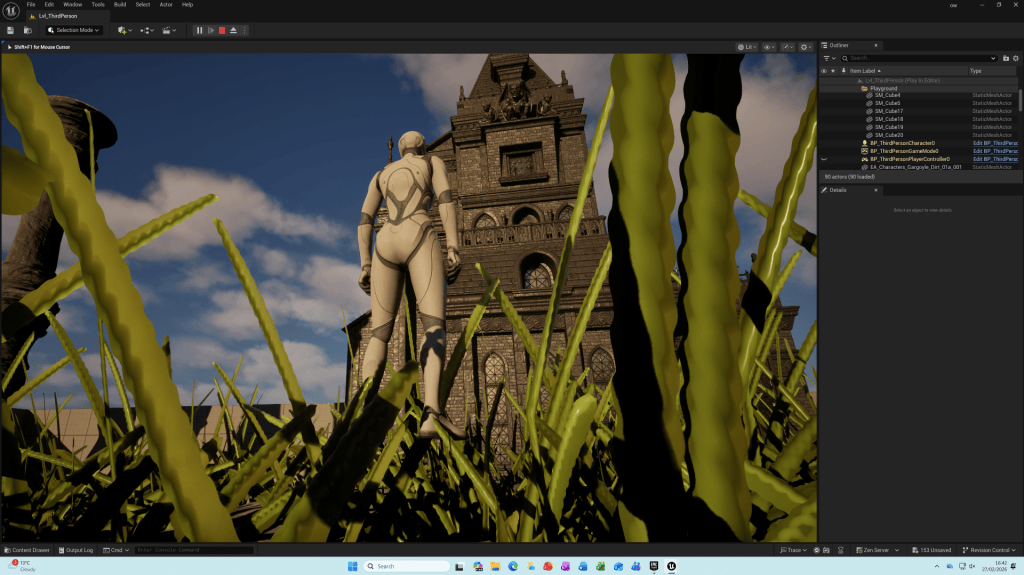
After getting used to moving around and importing assets i began to structure my world.
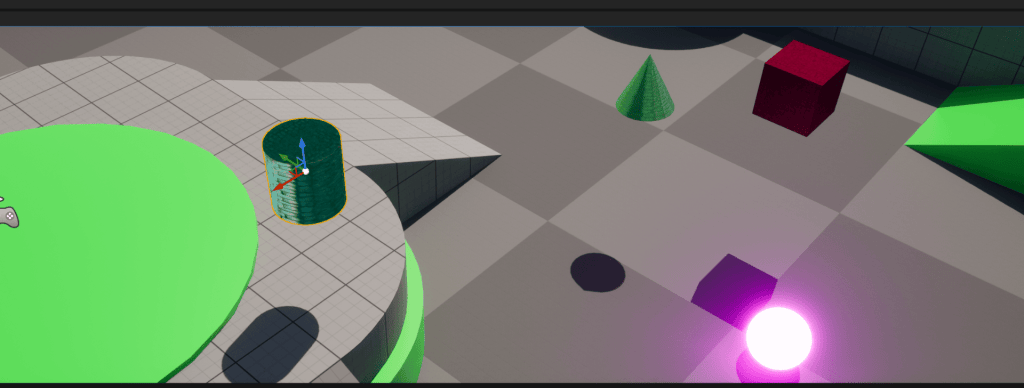
I scaled up the pillars and the church and created a field of grass.
I tampered with the sky lighting to attempt to make the world darker.
after using the viewport and rending the world to let me do a play through I came to realise the scale of some items were in fact huge in comparison to what I had initially thought. I intend to take into consideration the size of my assets next time.
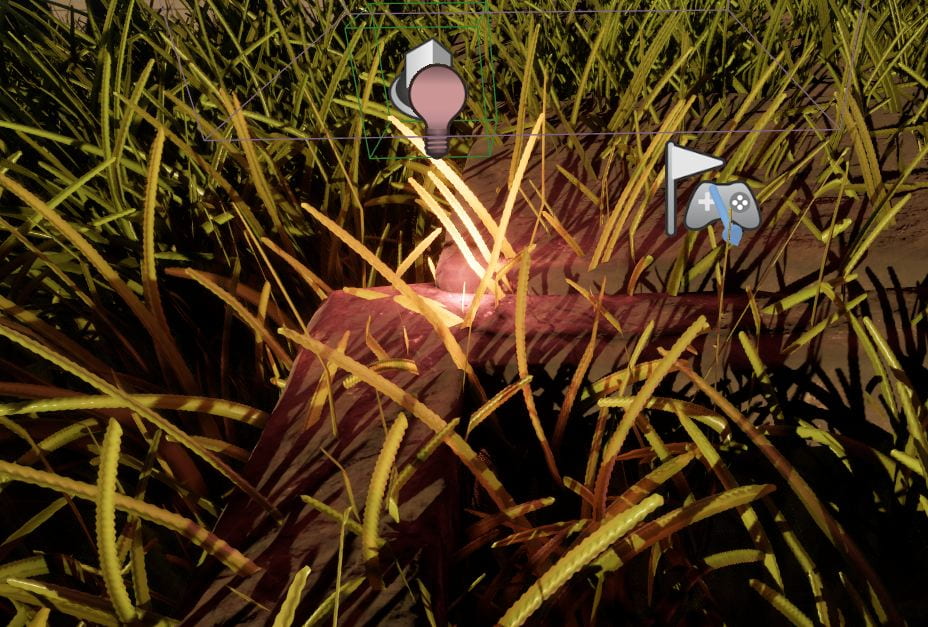
HOMEWORK TASK LIGHT CHANGING TRIGGERBOX LIGHT:
WEEK 4: Learning Blueprints
This lesson focus on how we create blueprints so that we can give objects functionality. in this case we was changing the colour of a light by having a character interact with it.
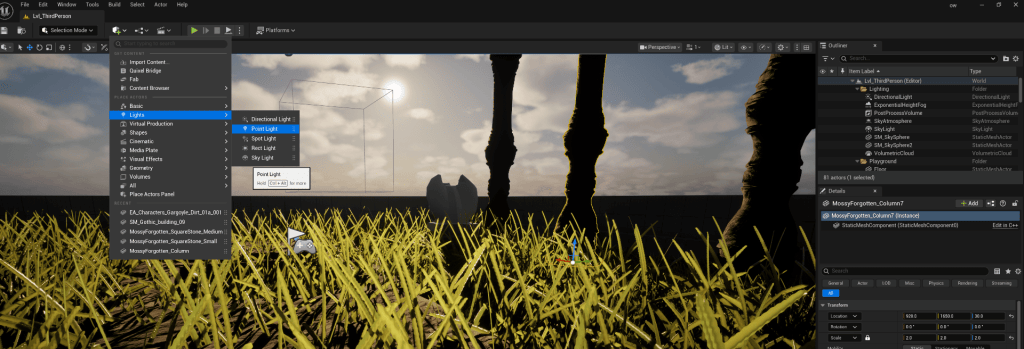
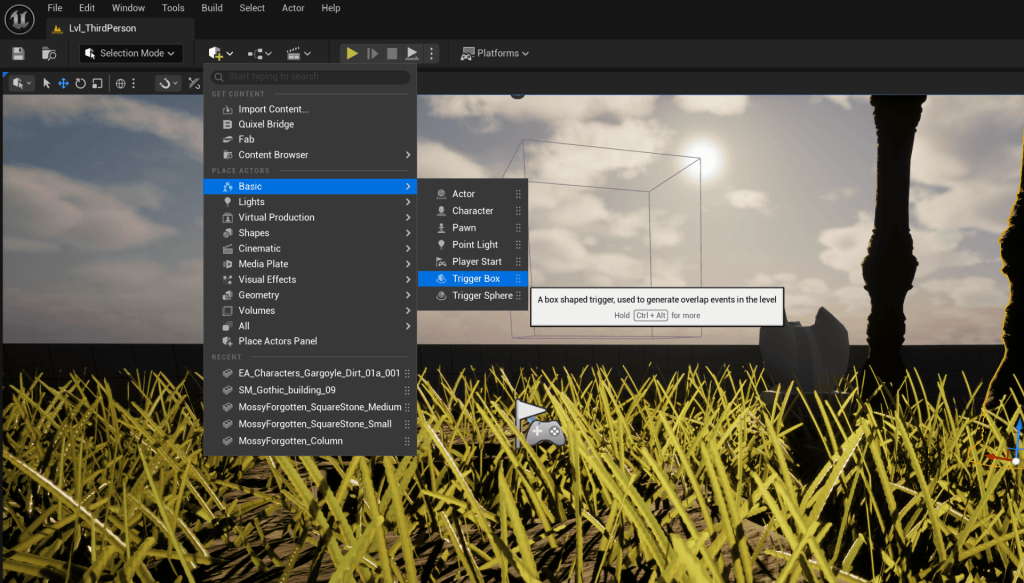
To begin we added a trigger box and added a light within it so we know where are light is and where the point of interaction will be.
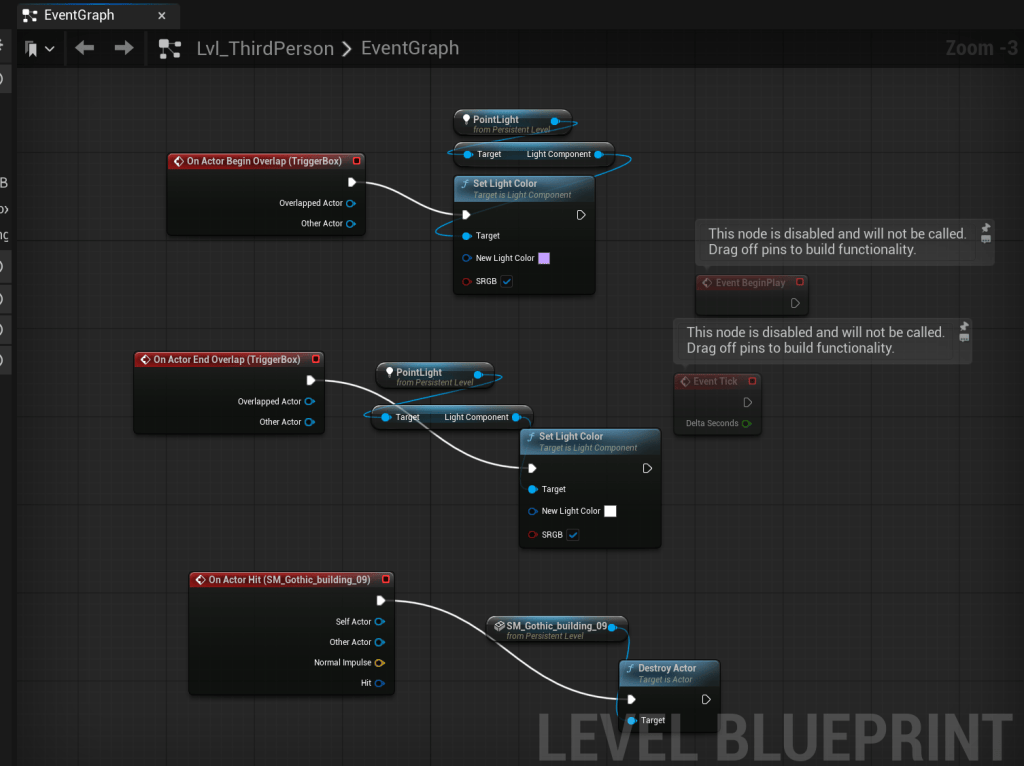
After this we added an on actor begin hit trigger box and then dragged our highlighted light onto the blue print. following this we added a set colour and attached it to the trigger box.
To change the light back to the original colour I added an on actor end hit trigger box and then dragged our highlighted light onto the blue print, set colour and put it as the original colour.
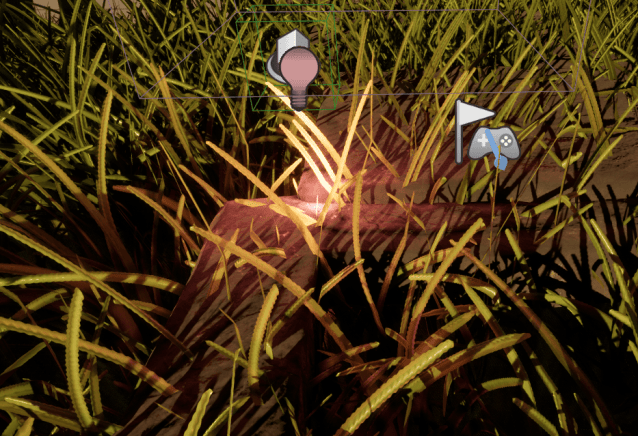
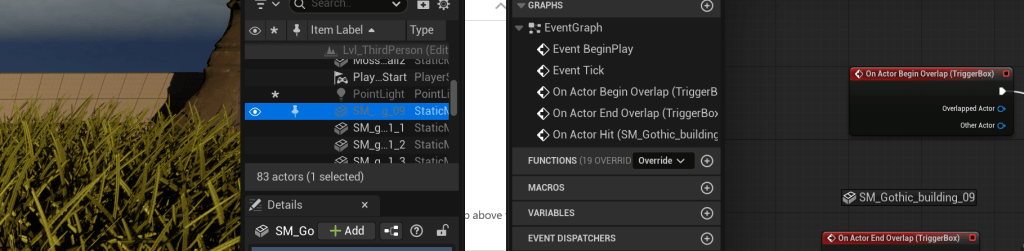
In order to fully ingrain the knowledge I used this principle to destroy objects that came in contact with the character, following the layout I understood from changing colour and replacing that with “destroy actor”
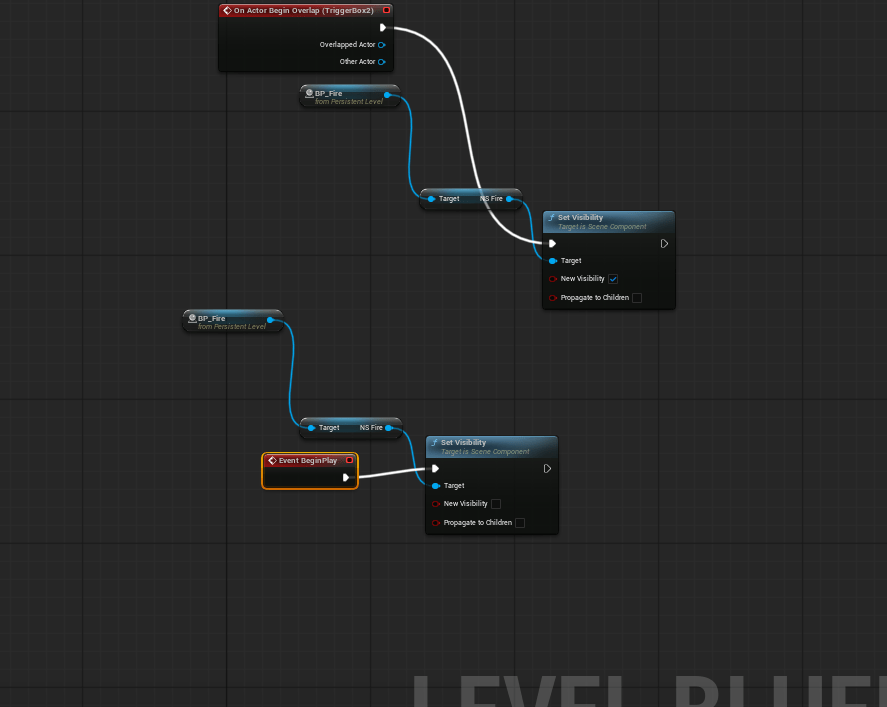
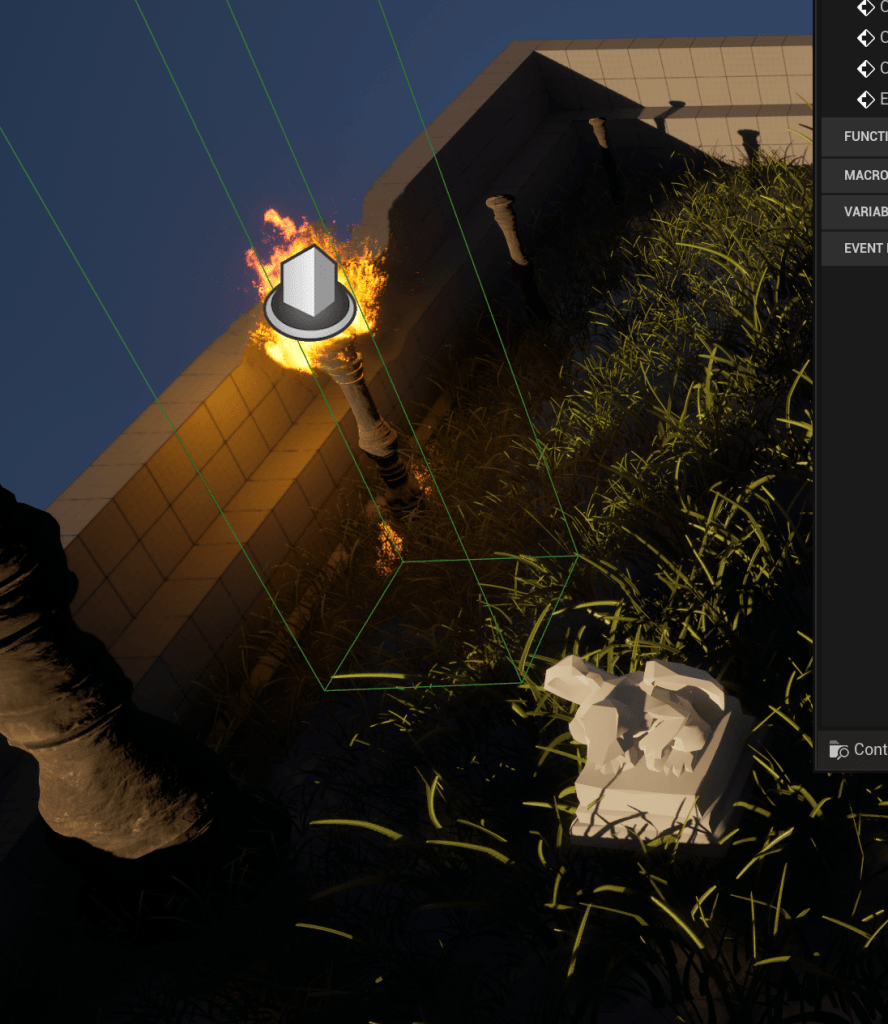
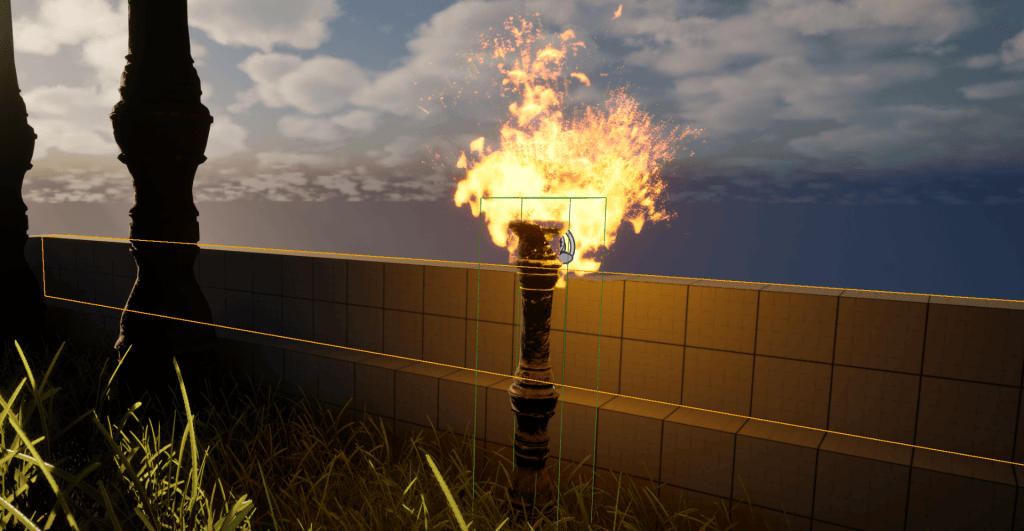
To end the lesson I wanted to try out using fire and making it visible and invisible when I walk past and overlap the trigger box. To do this inserted a on actor begin hit trigger box attached a trigger visibility attached to target the BP fire which was then attached to the on actor begin hit trigger box.
However that was only to turn it on, to have it invisible from the beginning I needed to add a ” begin play” attach a trigger visibility attached to target the BP fire which was then attached to the begin play
week5: Materials
in todays lesson we explored materials, how they can be applied and how we can use input nodes to take information such as textures and apply it to surfaces and materials we have created or imported. By creating certain notes and giving them names they become assessable in the objects description to alter.
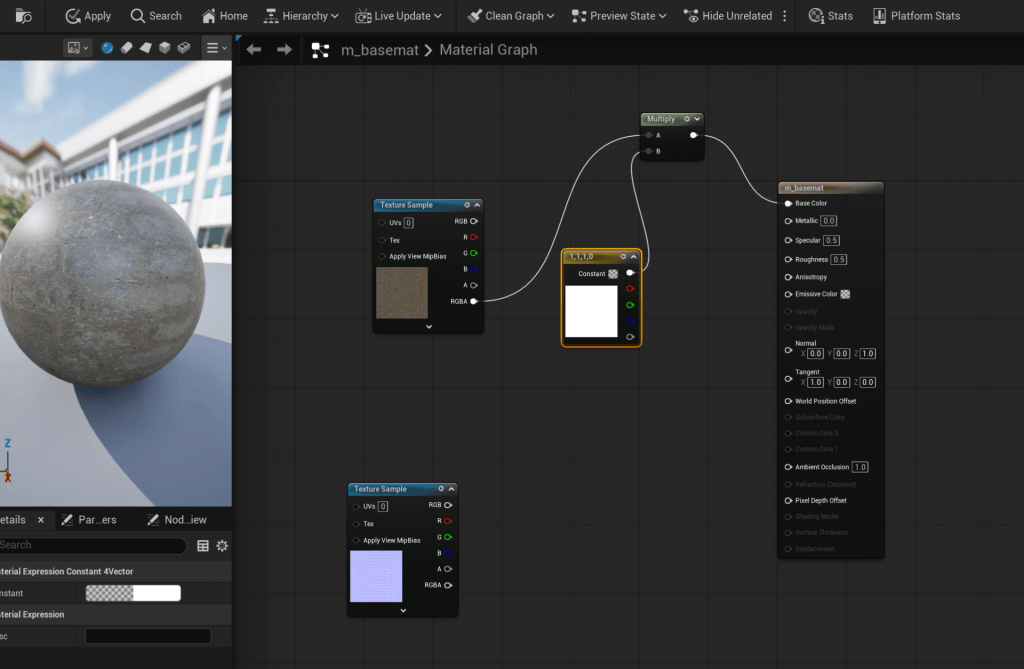
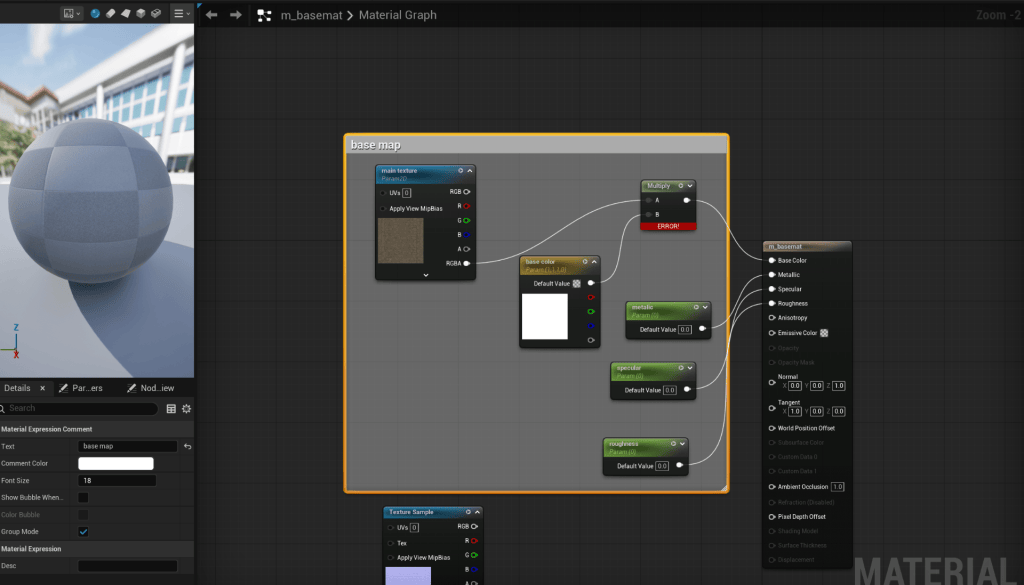
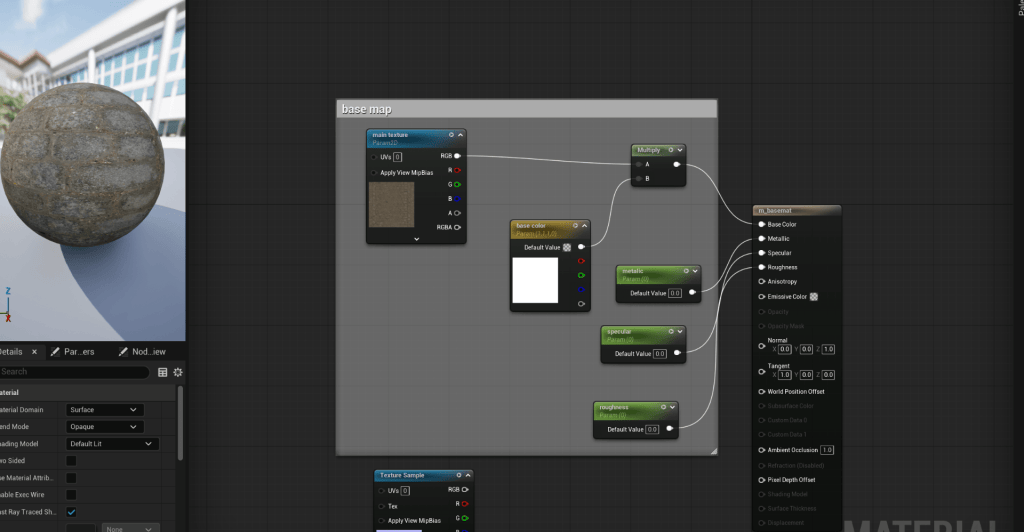
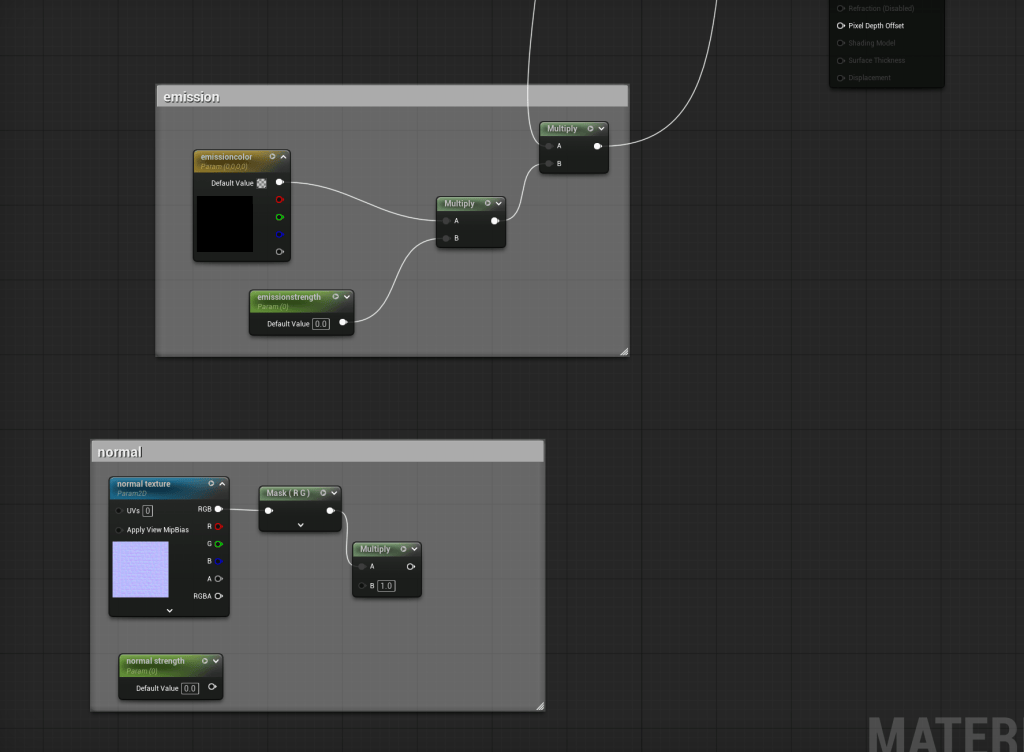
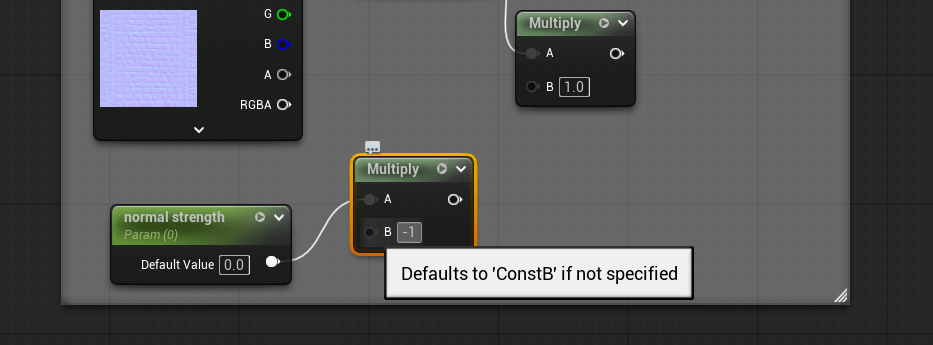
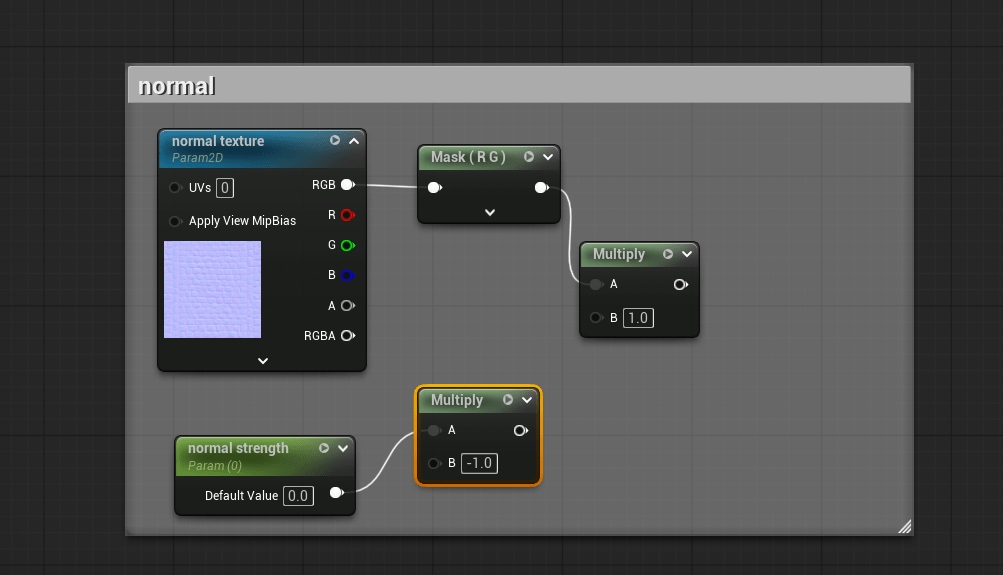
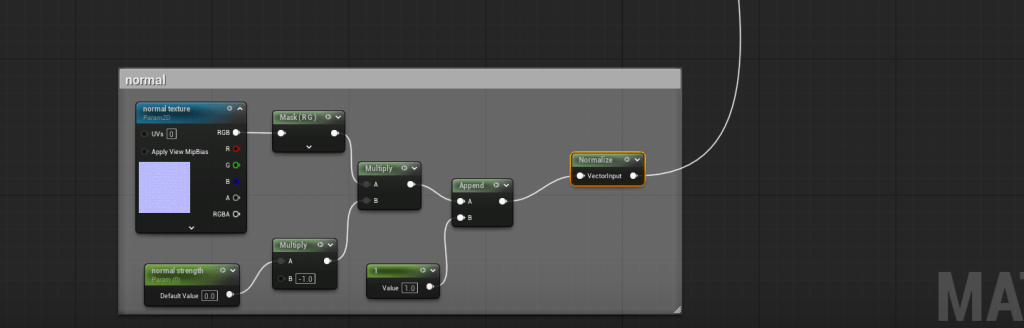
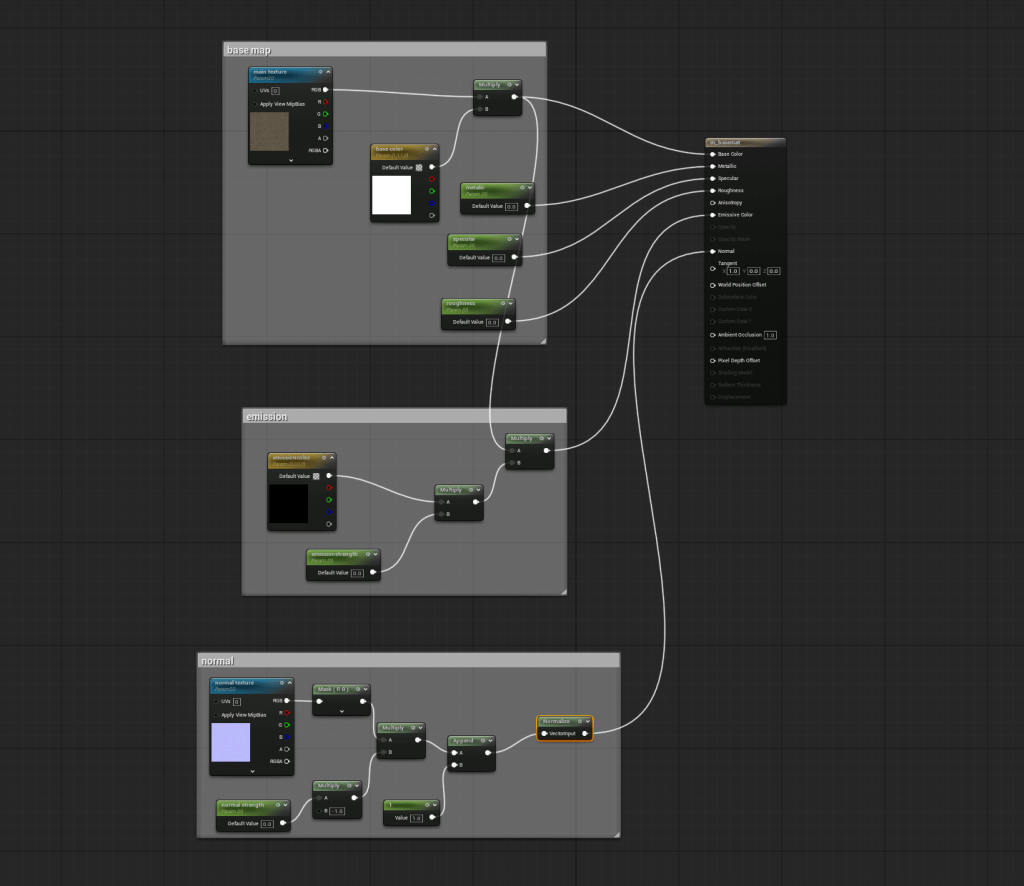
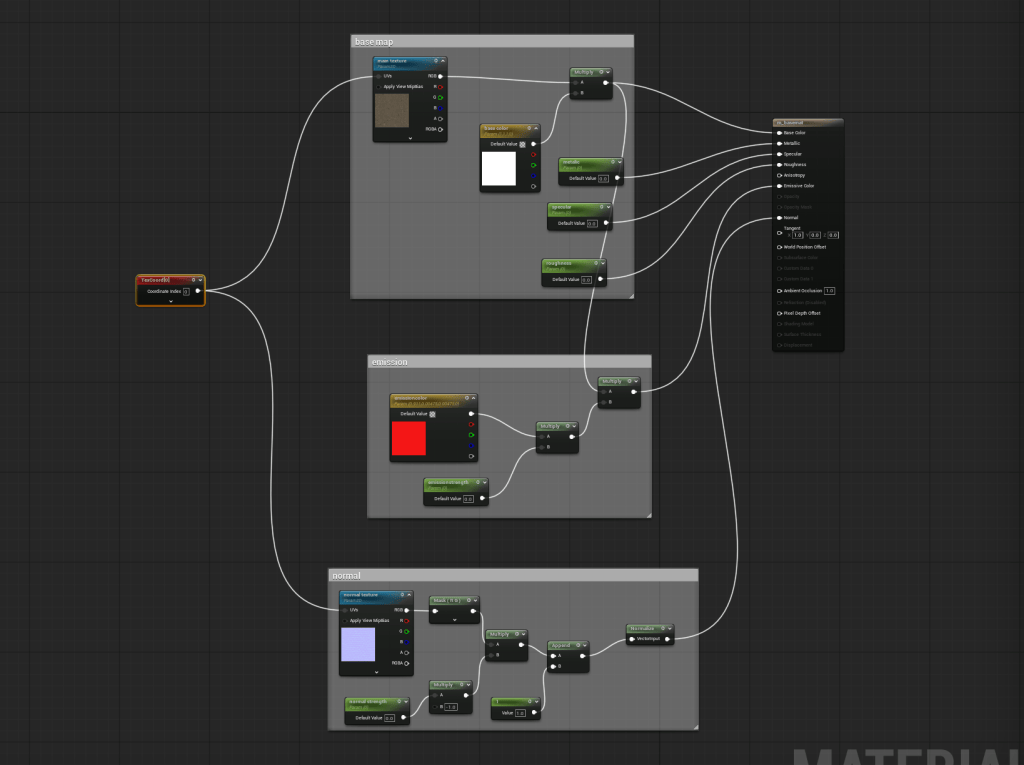 Above is a breakdown of how to create a base material, which can then go on to become an instance material that can be changed at any moment both texture and the values of normal, roughness and metalness to fit the needs of our project
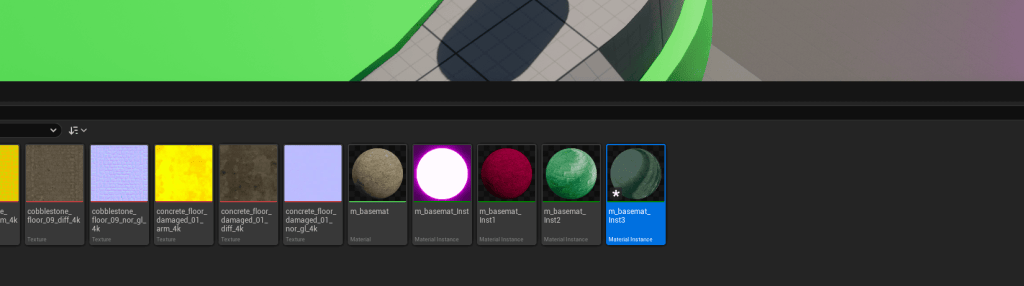
homework task: create 5 materials
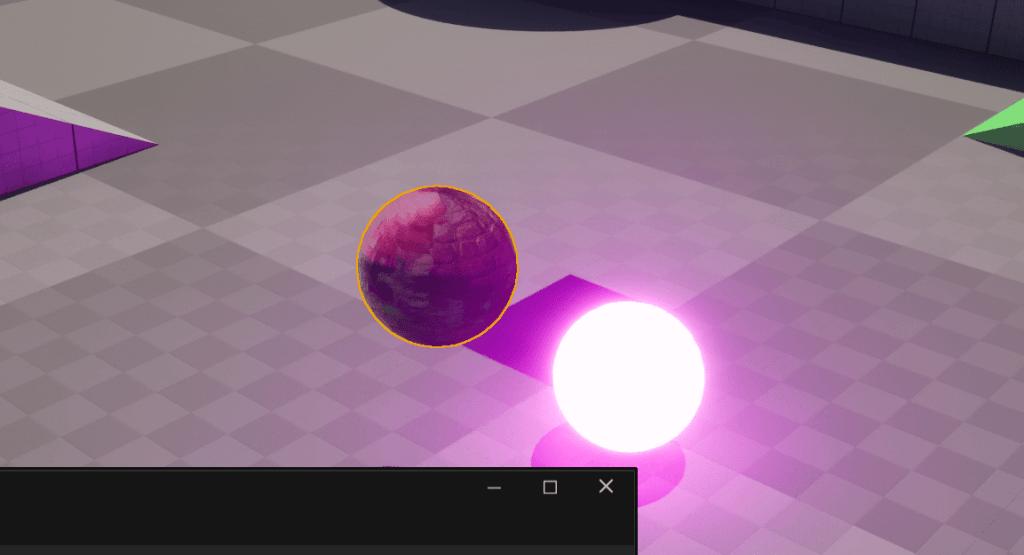
By changing the values in the details panel i am able to change the appearance of the materials. This allows me to not need to create multiple different material instances and take up lots of time and just re use the initial and create what i need from the original where aplicable.
week 6: landscapes
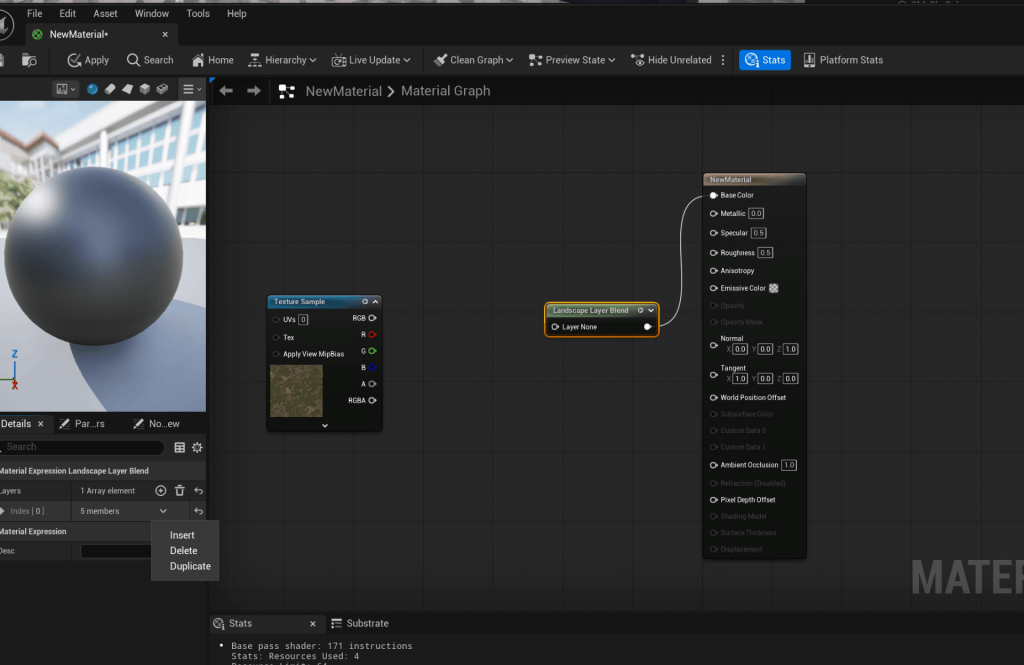
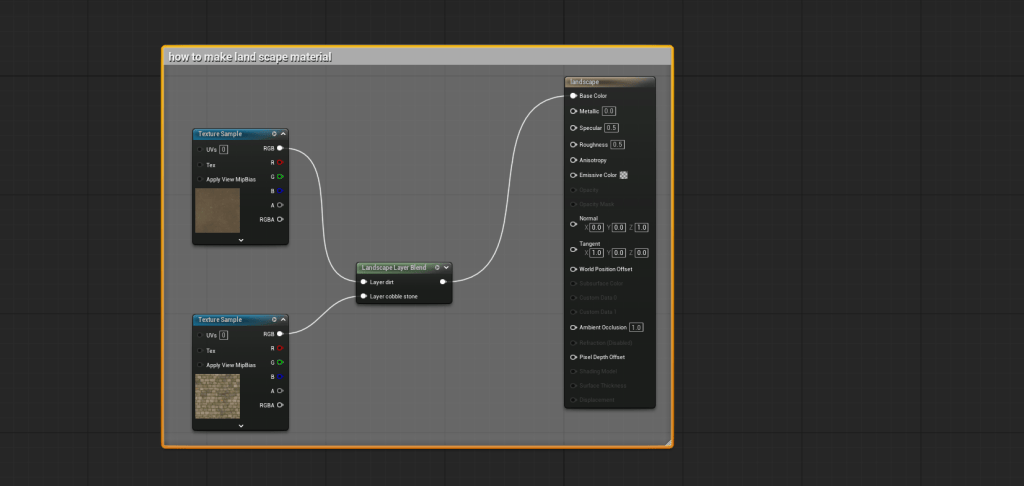 In this weeks lesson we looked at creating a material instance that will become our main landscape materials. which would allow us to alternate between different materials within it and also allow us to control aspects such as light, height and more
.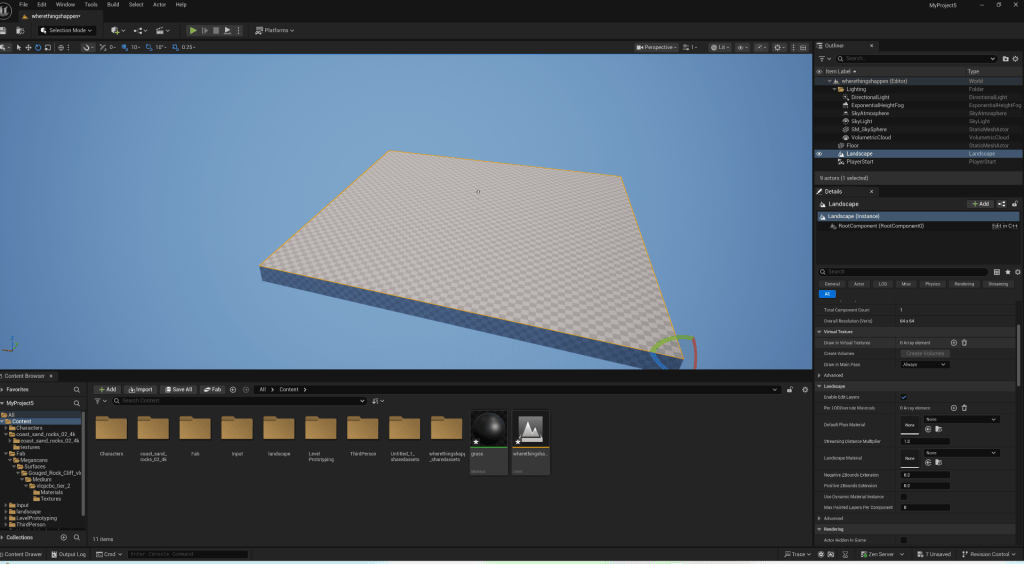
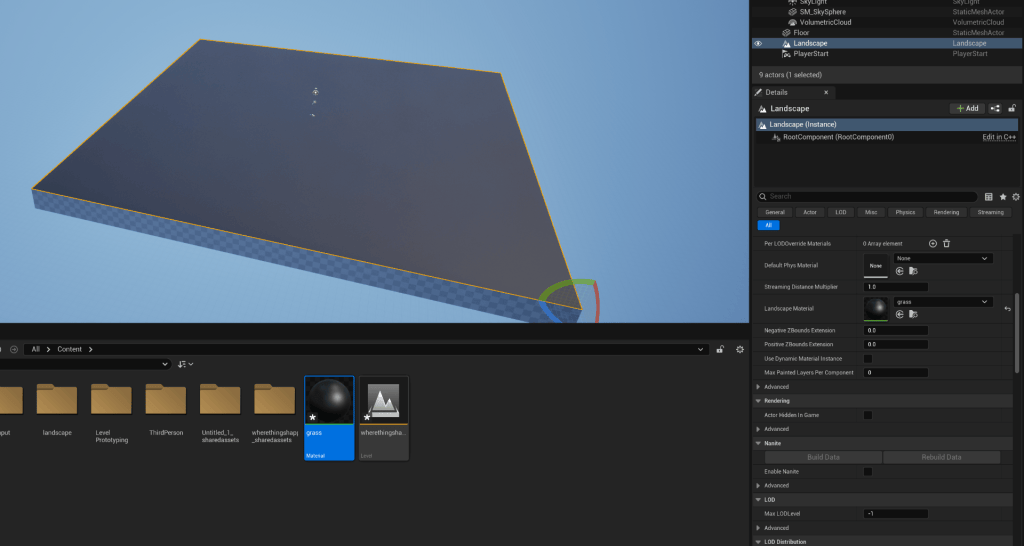
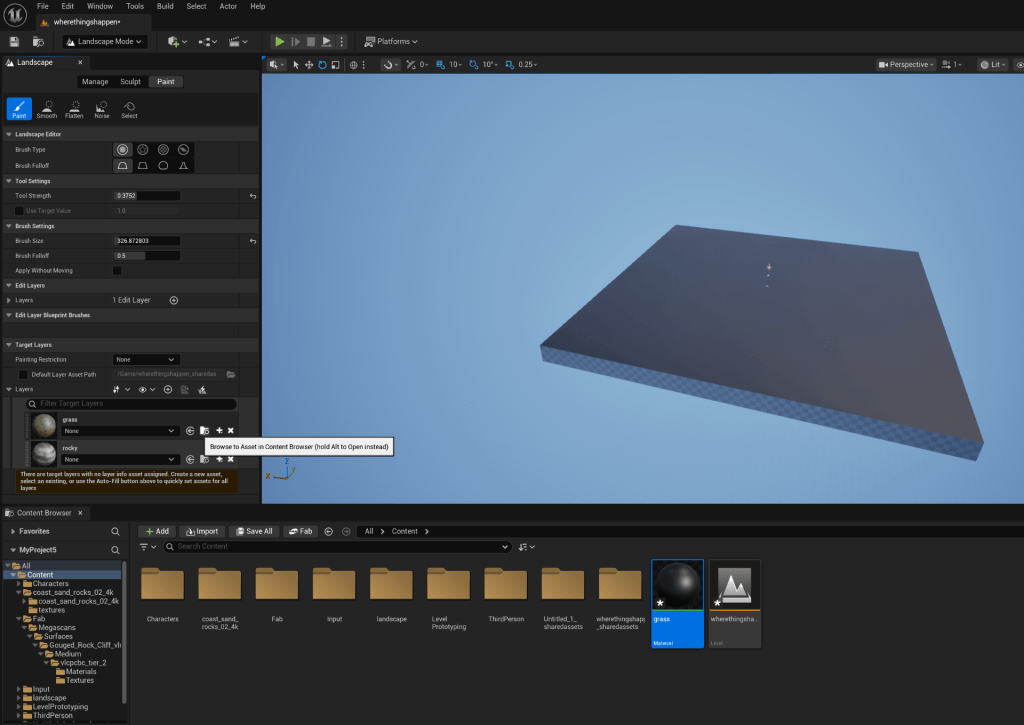
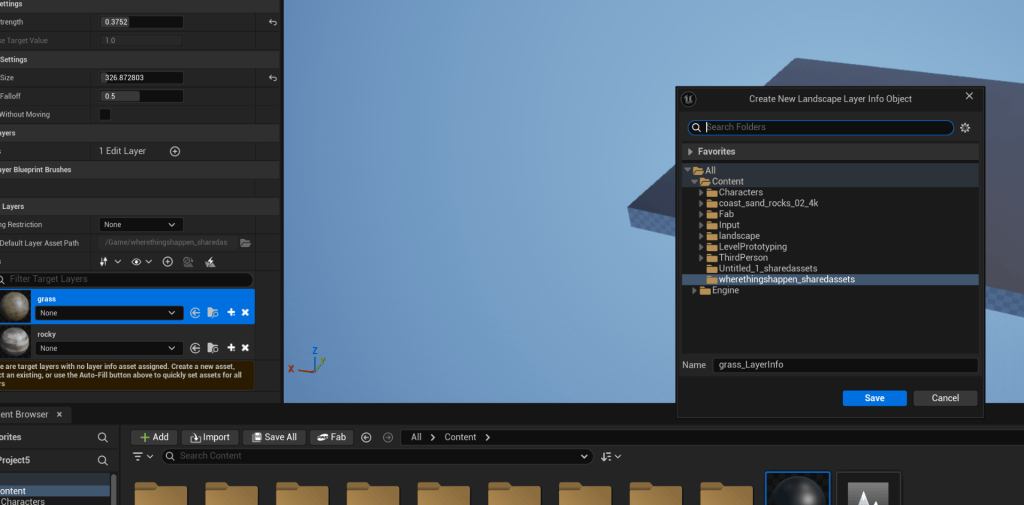
above i was prepping my level so that the material i created could be added to it. i created the size of my level/landscape and created a box to surround it.
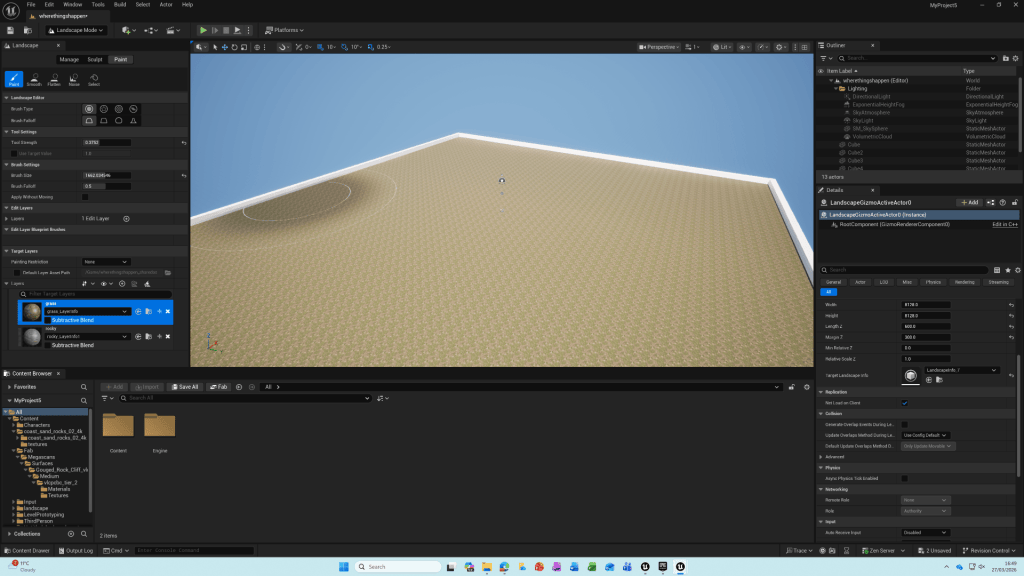
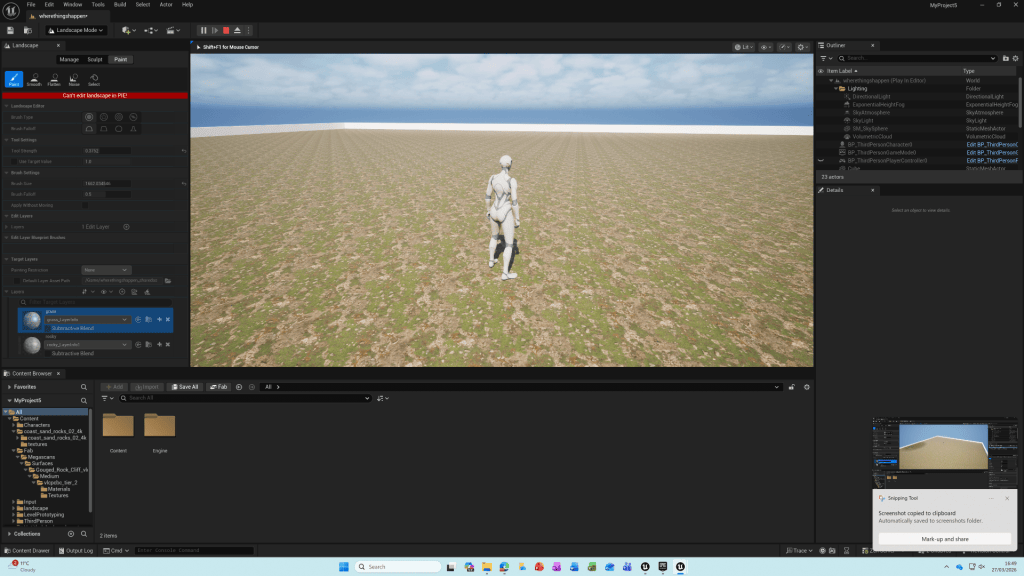
Above you can the the texture material I have created applied to the floor.
The is a lack of depth and a realistic look that is due to me not applying a height, normal and instead just importing from fab. If however i created my own material it would be able to look more realistic
week 8: sequencing
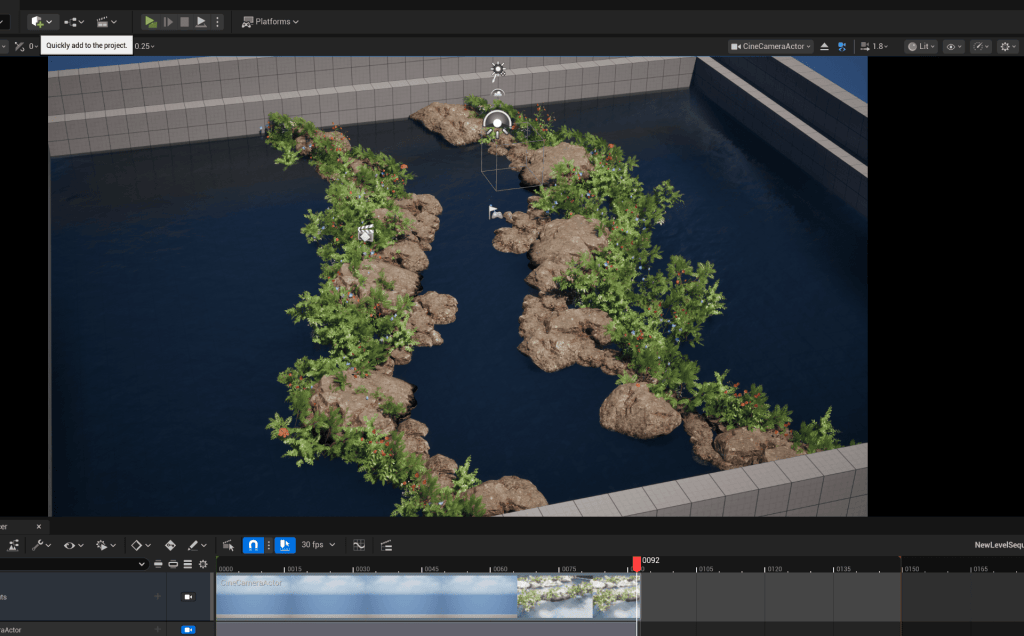
In todays lesson we looked at using the level sequence. by using this we are able to move around our level and capture footage that can then be used to transition into game player. We also looked at how to key frame objects and have them move as well as the camera. above you will see some examples of the work. Open your project and insert a Cine Camera Actor.
Select “Add Level Sequence.”
In the Content Drawer, right-click and choose “Level Sequence.”
On the Camera Cut Track, press the + icon and pick the Cine Camera Actor.
Go to Transform and hit Enter to place keyframes in your scenes.
After doing this the film can then be rendered out and formatted to mp4.
Creating my environment:
Below is a break down of some of the steps i took to build up my environment.
i began by clearing out the landscape I was given, adding a imported mesh for water, rocks and vegetation.
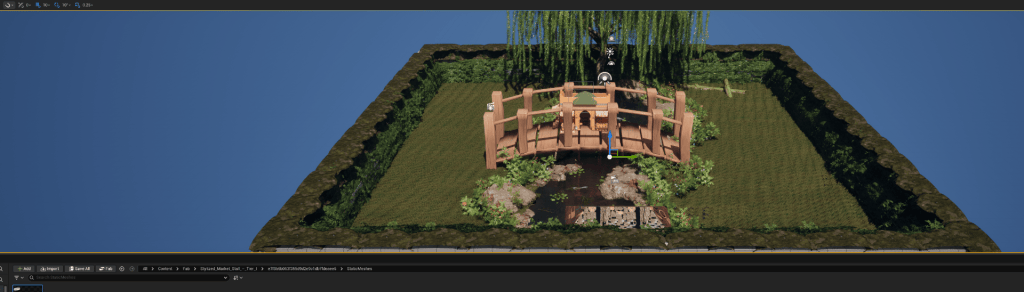
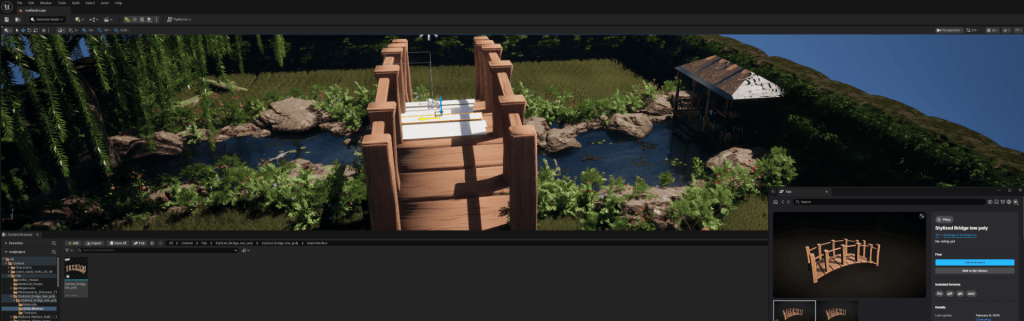
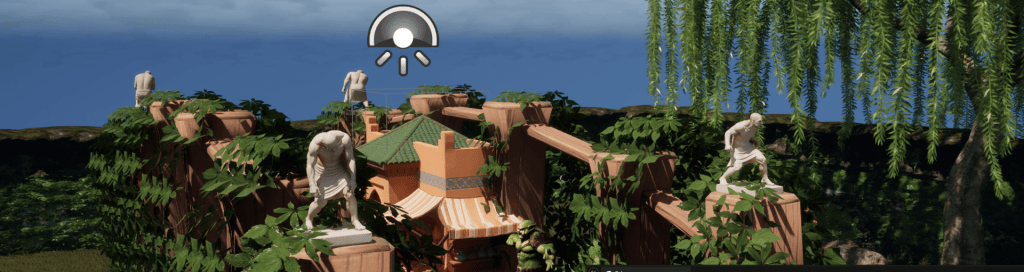
I applied static meshes such as grass, trees, statues and a bridge.
Instead of trying to edit the static mesh I used the ones I have already and combined them to give new looks to my looks.
For example i added vegetation and vines to the bridge to give it an older and more worn out look.
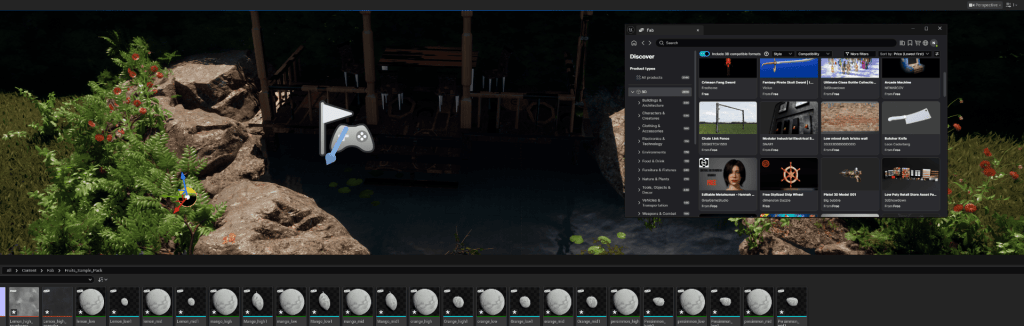
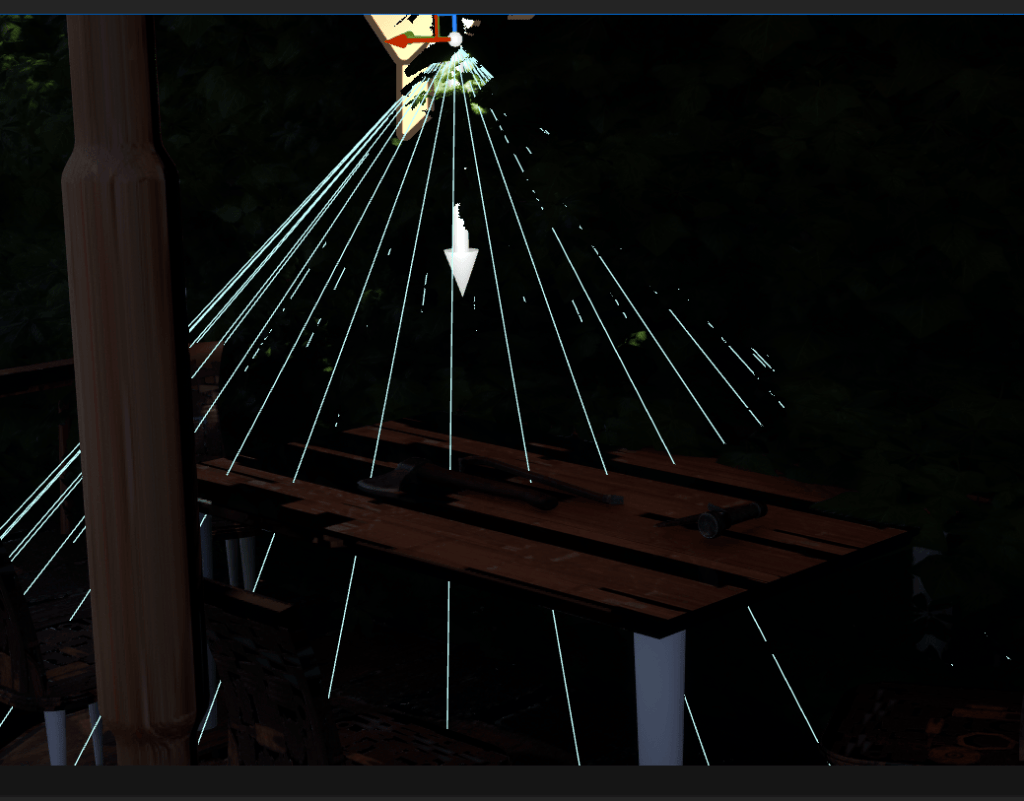
I also added open shed, that has a bench and some chairs, the sky light would not reach so i added a spot light so that the inside of the shed would be more visible. i added a couple of work tools and a flash light that would also be lit and visible.
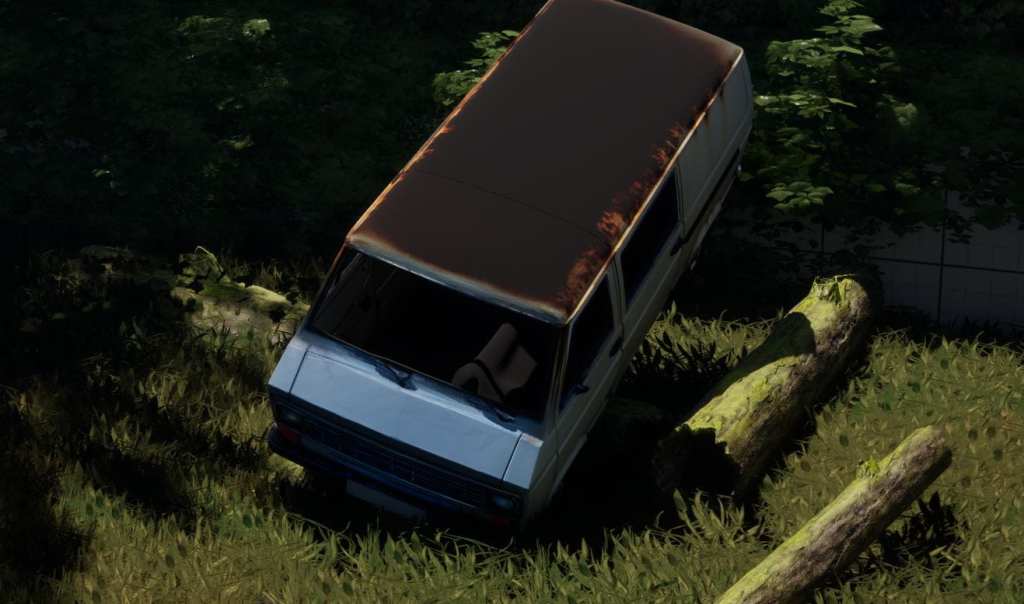
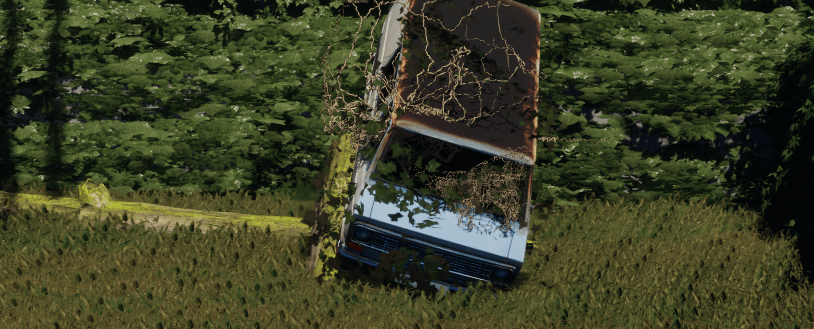
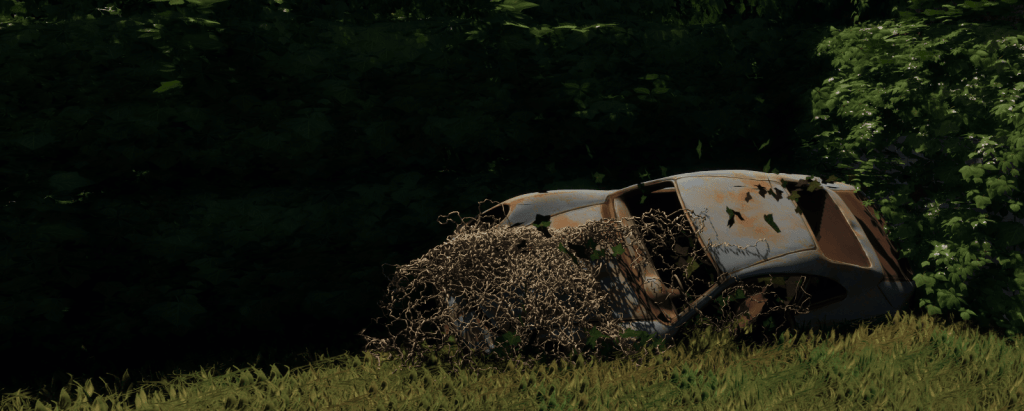
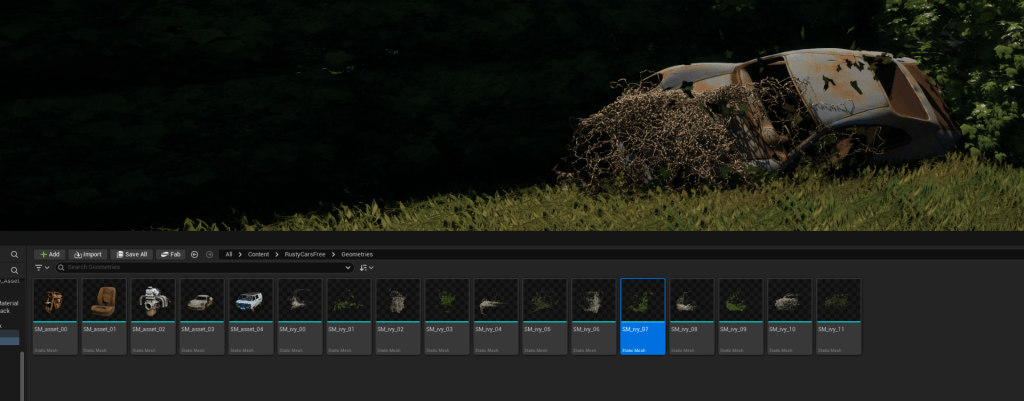
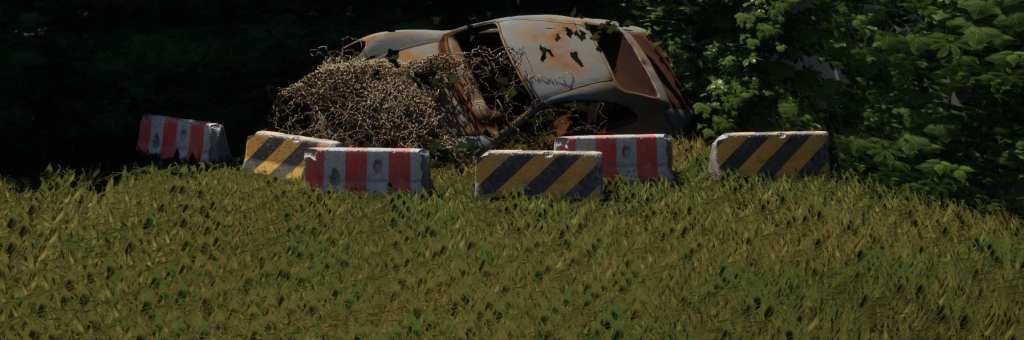
I did the same for the cars, van and logs by angling them and adding static meshes in order to change the look of the original mesh for my intended purpose.
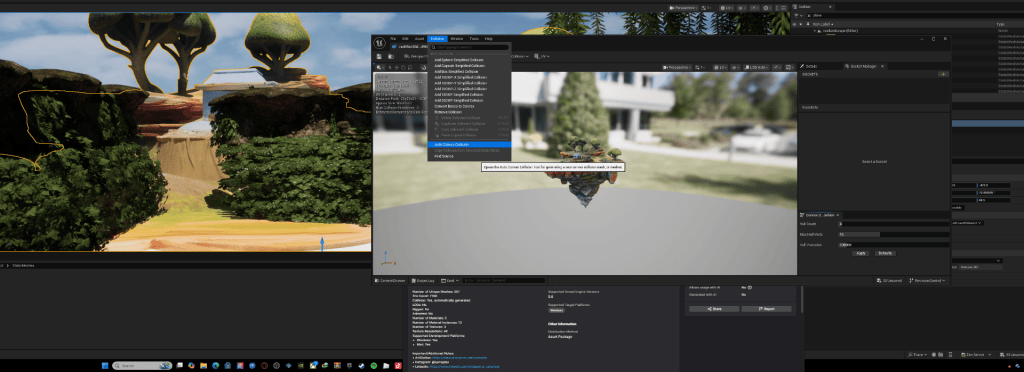
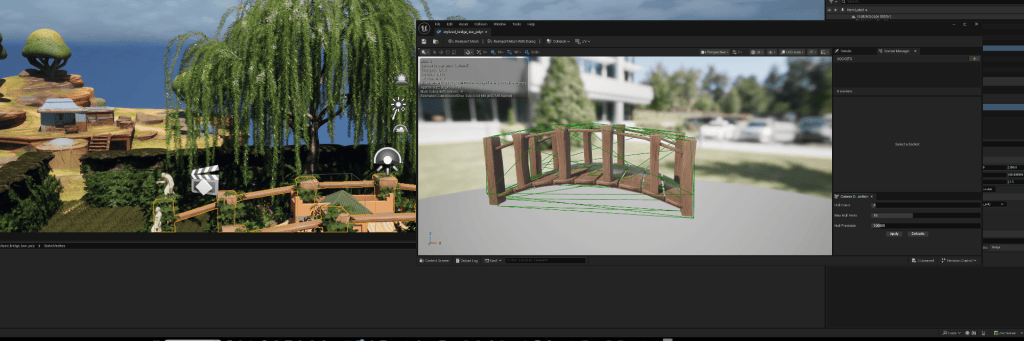
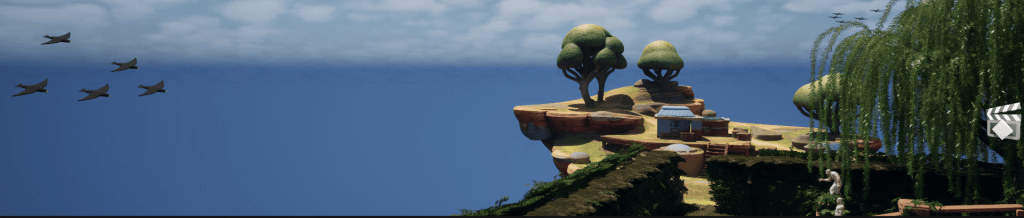
Above is me apply a collision/box that would allow me to walk on and interact with static meshes that would other wise block my path or have my player slide off it or have me fall straight through the map.
I also cleared a path within the landscape box that would allow me to connect a static mesh that i applied a collision to. Doing this made a seamless connection that gives off the affect that is still apart of the landscape.
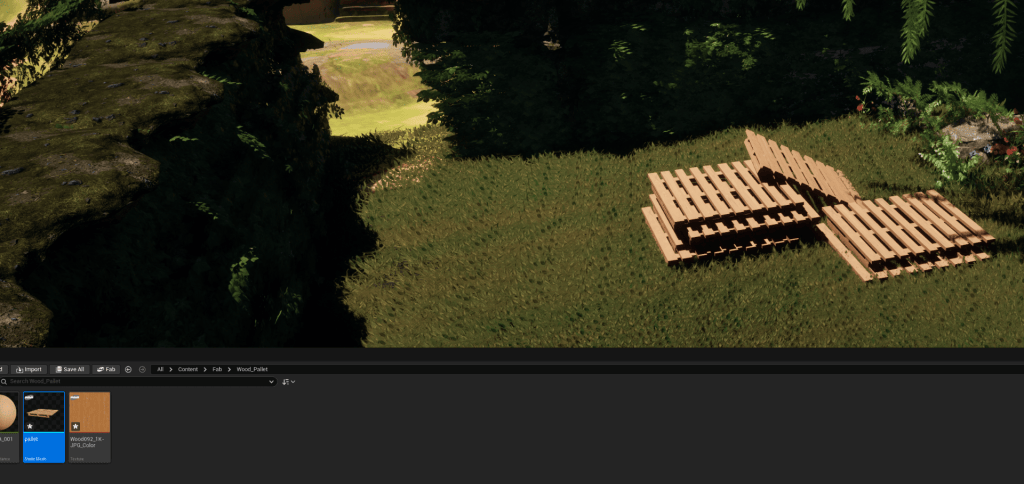
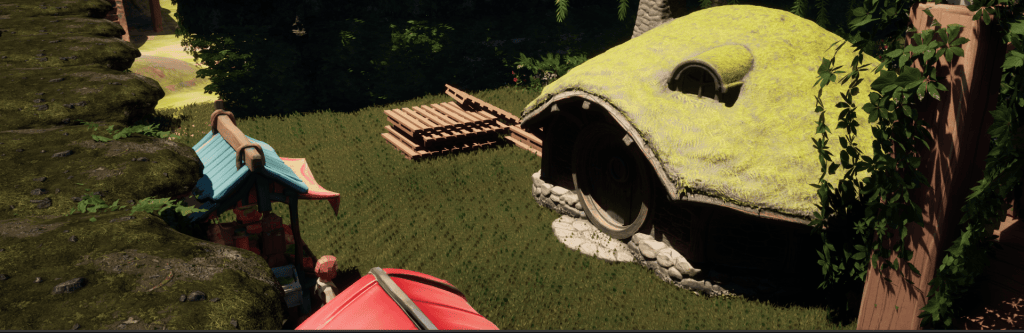
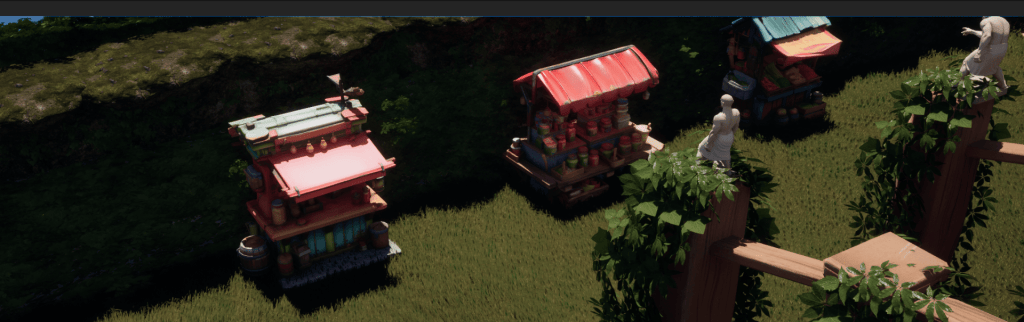
Here above, is some shots of the additions i have made to my world: food stalls and a cottage.
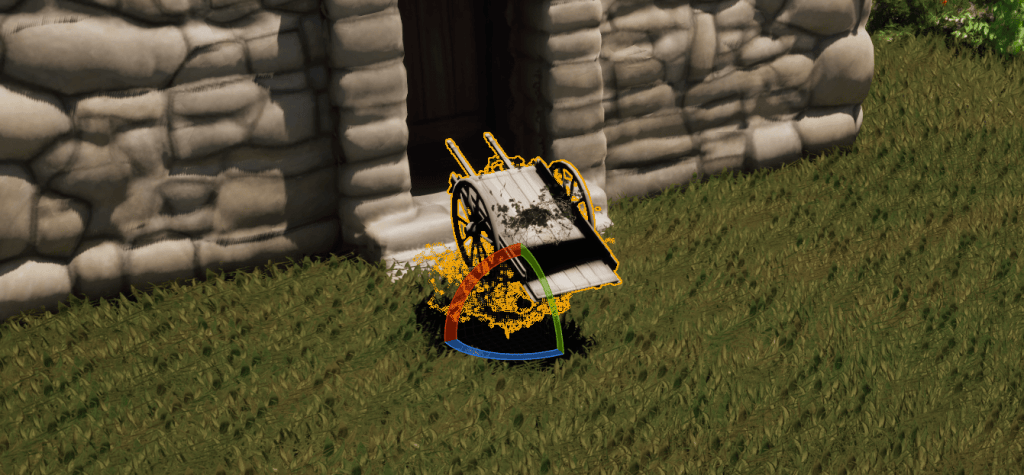
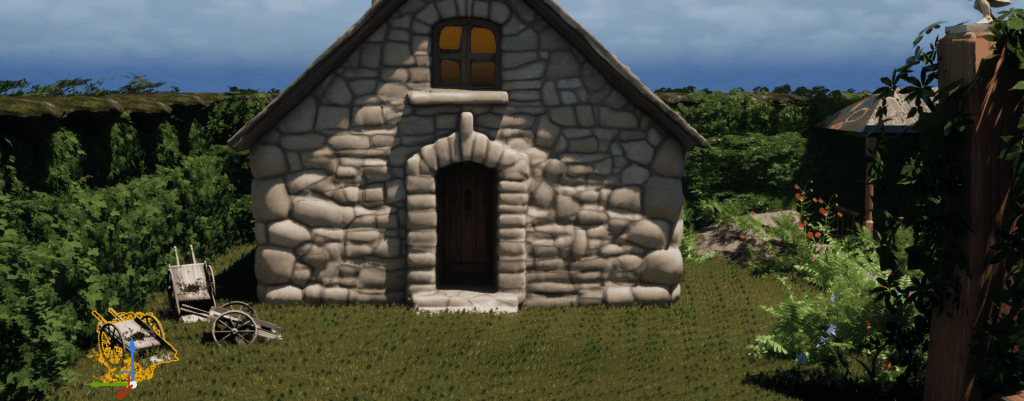
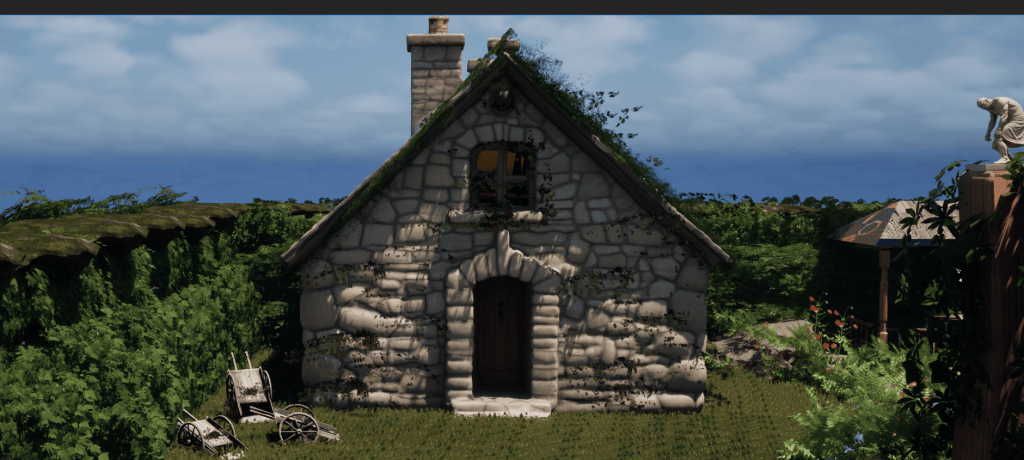
The most recent addition to my world is a house that is to scale with the character and i have augmented its appearance with more static meshes of vegetation. To seal the deal on the visual narrative i added some wheelbarrows to the side of the house.
WEEK 9: Advanced Blueprints & Widgets
In this lesson we looked at more applications of blueprints and widgets, we looked at examples such as making a vehicle start a select amount of times and having it fail until a event tied to a reset input is activated. we also looked a creating a health bar that is reduced as a player comes into contact with something.
we explored gates, sequences, castings & multi gates.
How blueprints can help with VFX and workflow pipelines?
Based on what I’ve learned blueprints can help by cutting out time that would have been spent recreating things. For example it is possible to trigger particle systems by having events in the blueprint with things such as a Collison box. which can then be applied to all to each instance you need this to happen while still allowing the details/parameters to be changed without needed someone to recreate whatever effect or particle again and again. this is also true for many other situations like having a blueprint that allows for colour change of a characters aura as the lose health or having weather systems change density as certain conditions are met rather than making them manually for each instance. overall it helps by having our assets turn into reusable and changeable things we can use and allows for the pipeline to operate smoother and have easily findable and changeable assets. also it would be great for vfx because, if for example a asset stops work and you have blueprint for it you know exactly where to look rather than it being scattered around in the project file.
A good example from one of my own projects is i have fire in my scene and do not want it visible until a player comes into contact with a particular object. Not only does this save processing power but it not also being rendered in the scene but now that i have created a blueprint for this, its become accessible for all times i would need this and can be used even in new projects. It also means anyone can now use it even if the dont know how to build it themselves.
Creating my environment continued:
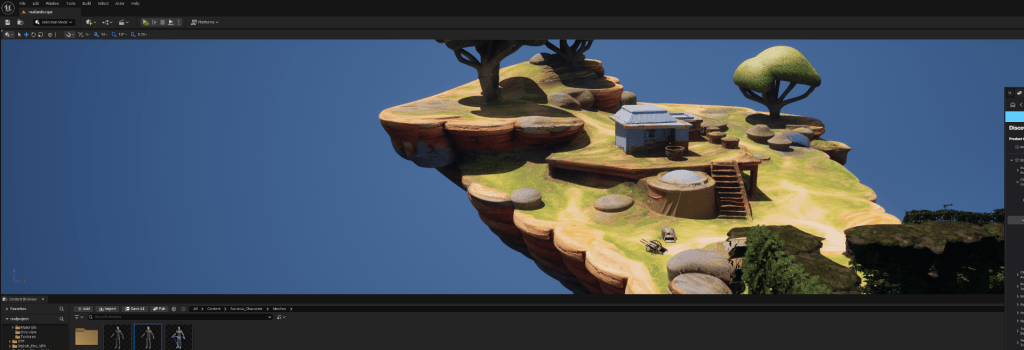
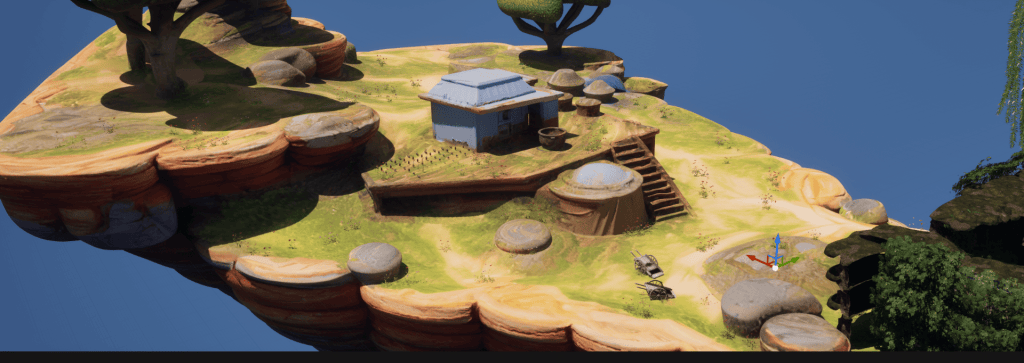
(Hard to notice but flowers have been added)
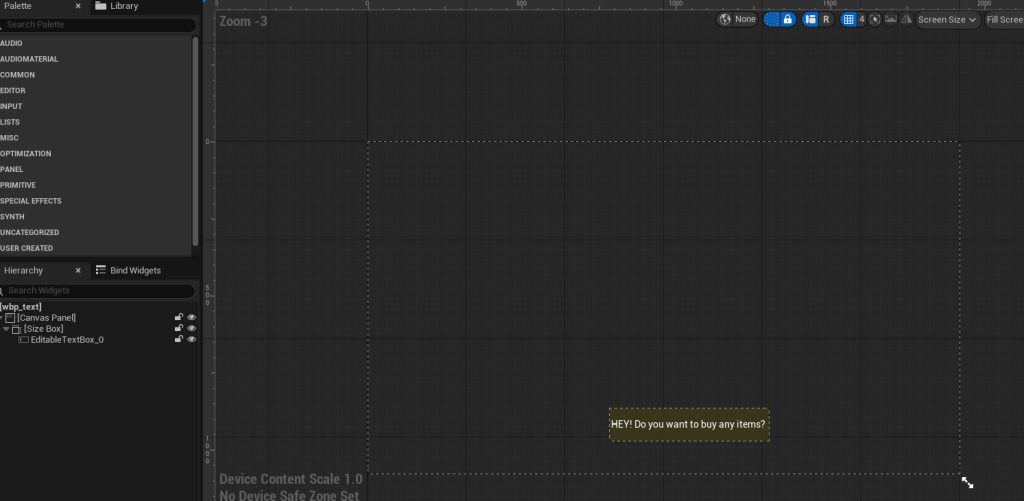
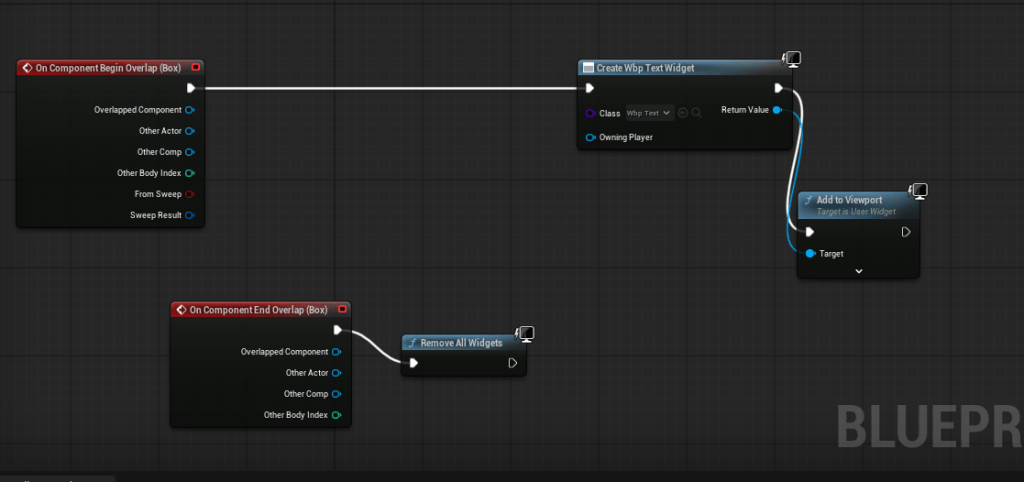
Creating a blueprint thatll allow for a text dialog when walking near certain areas.
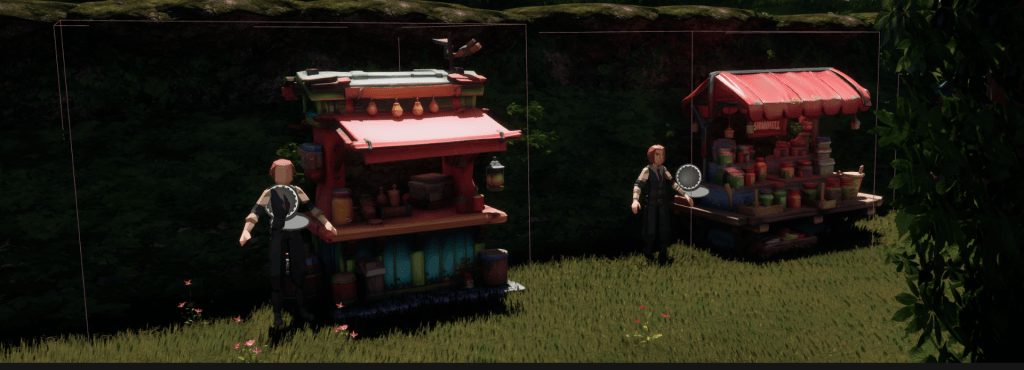
EXAMPLE OF HOW IVE USED MY BLUEPRINT:
week 10: Creating a Niagara system
In todays lesson we created a niagara particle system. I used the burst template and changed both the size and colour to fit my desired outcome. I used this to create an aura like appearance for the assassin in my world.
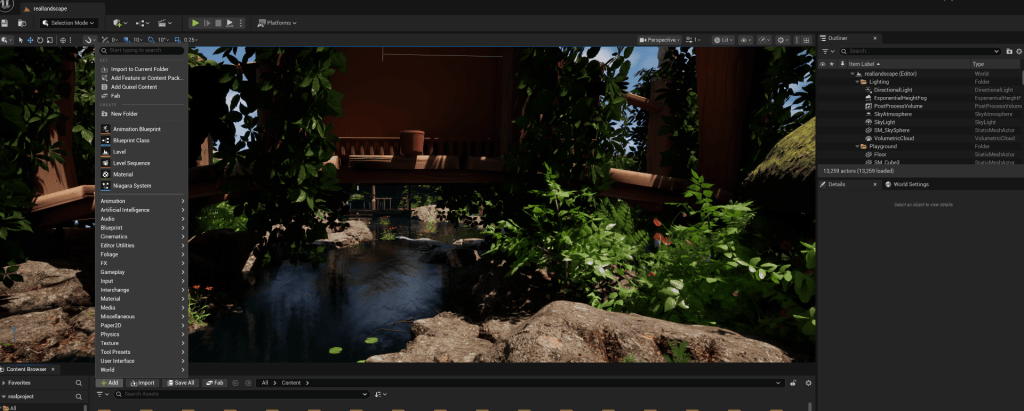
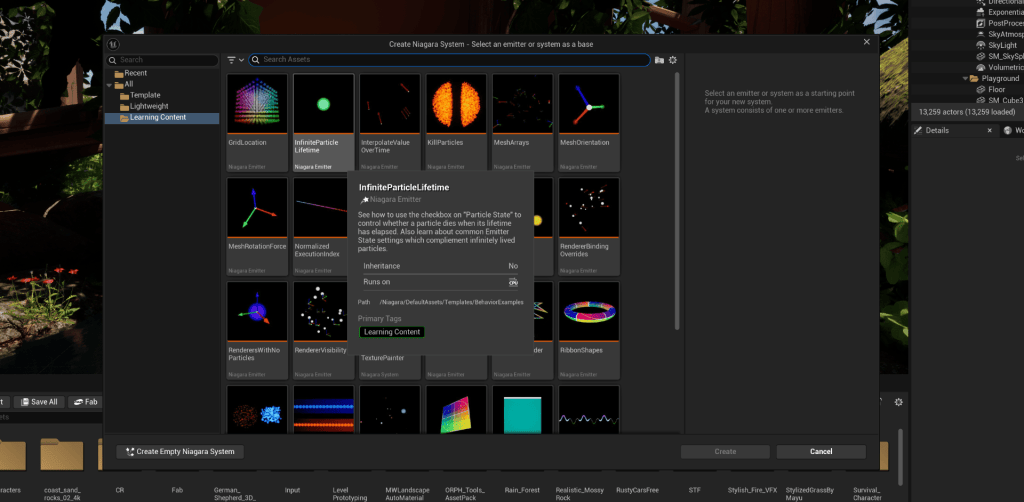
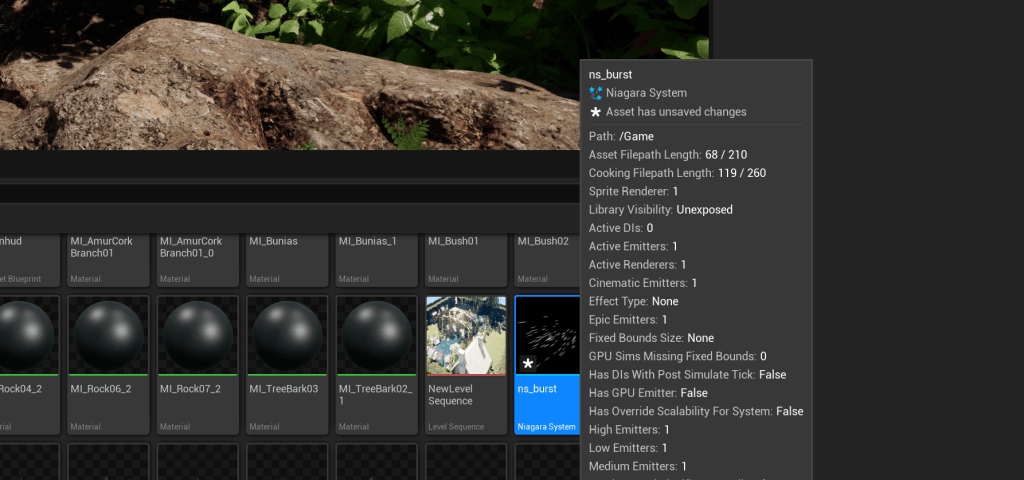
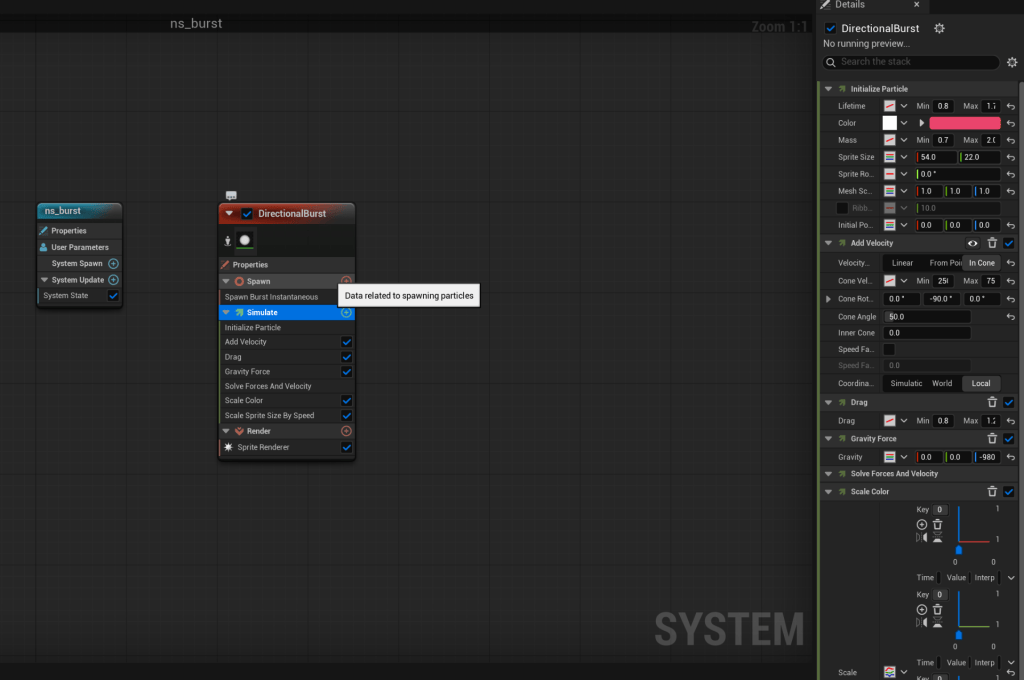
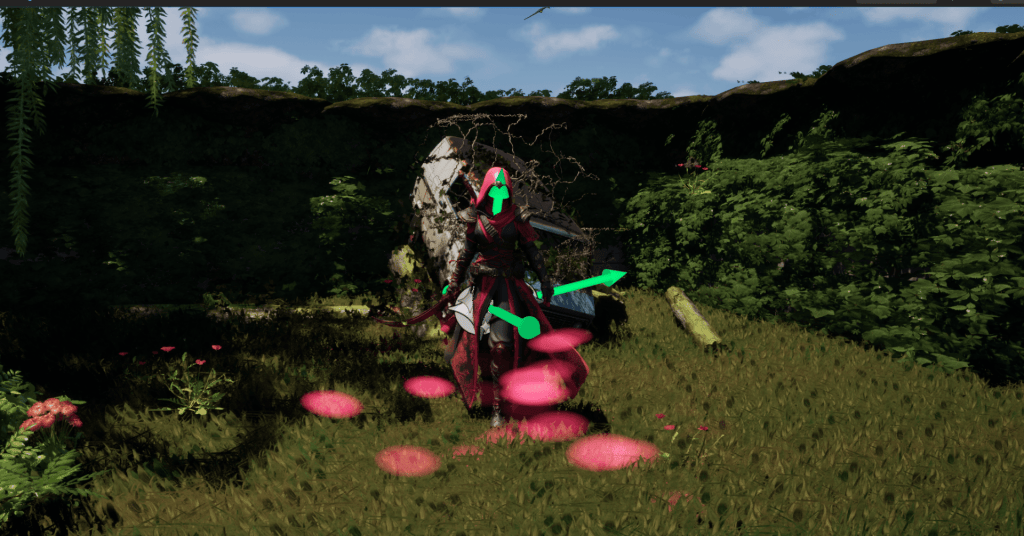
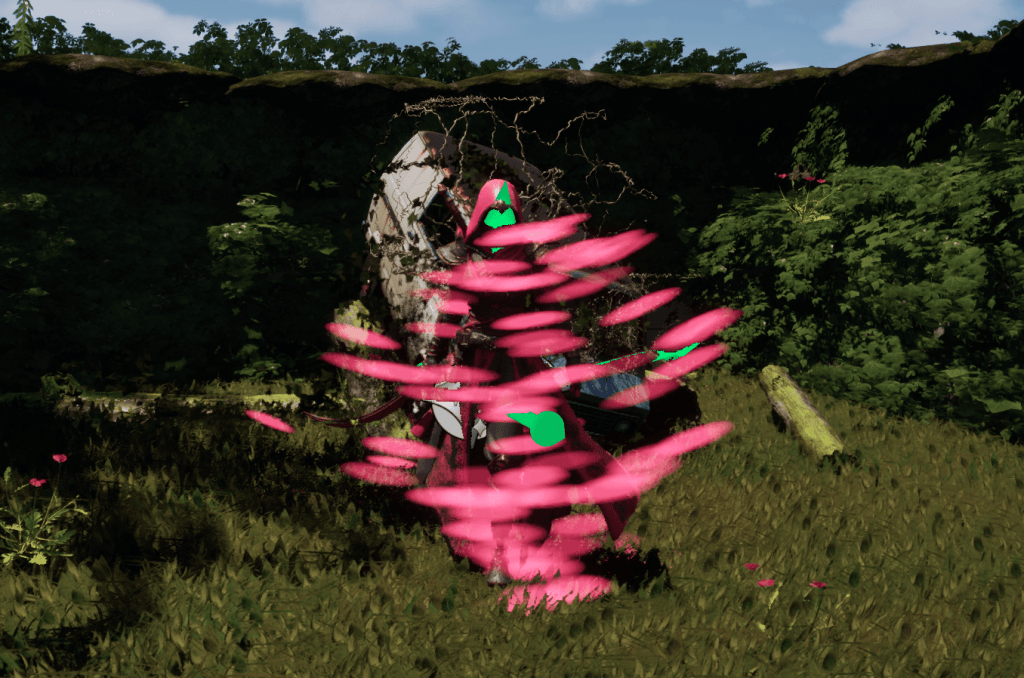
I found the process relatively easy, being able to access the debugger through the details panel also made me able to change the speed for example.
Creating my environment continued 2:
Actor Movement within gameplay
I made my own blue print to have movement within my gameplay and not just my level sequence.
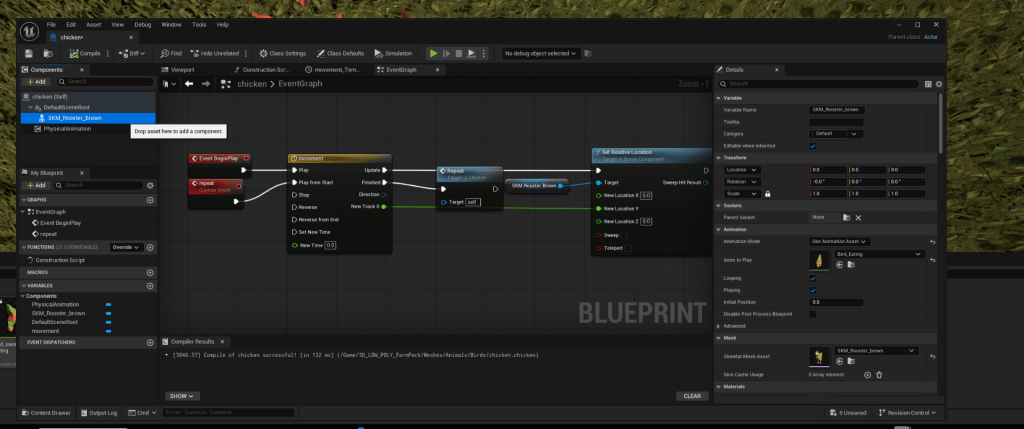
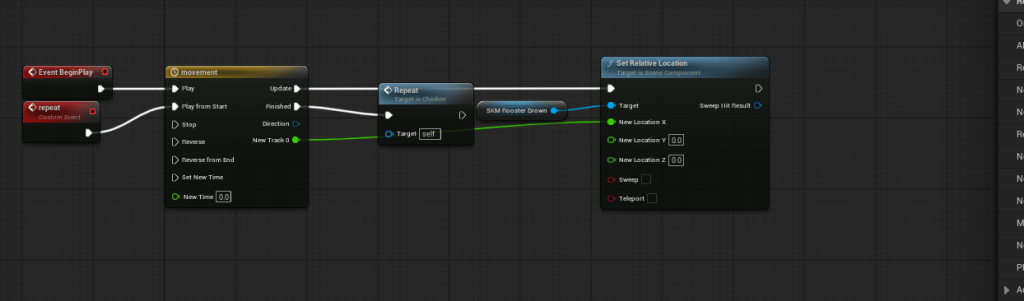
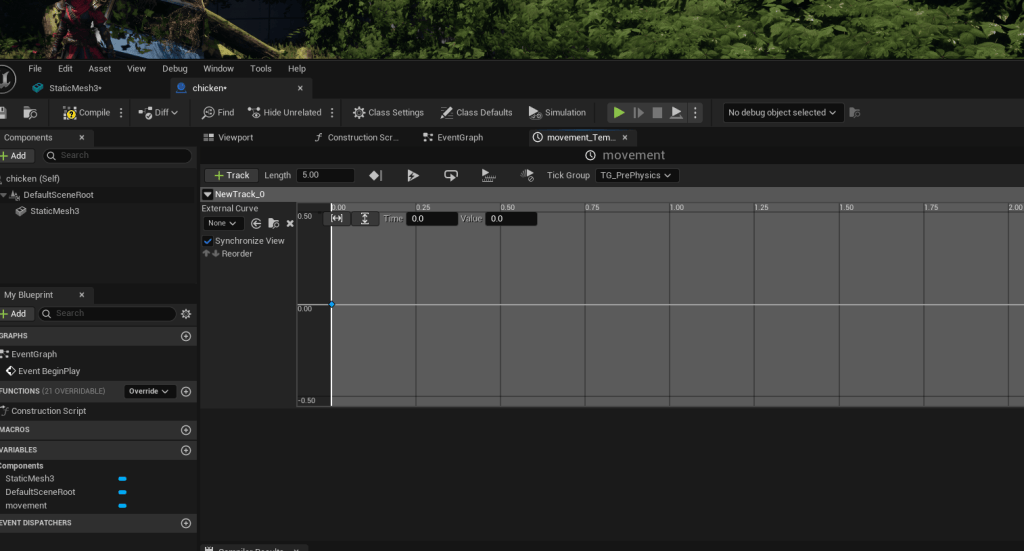
float track – start with ytime 0, value 0. new point – time 2.5 valuee 500. to reset, time 5 value 0.
RETARGETING ANIMATIONS AND IK RIG
The 3d model from fab i imported had already been rigged however there was no animations that came with it so what i did was take animations from a rigged character and retargeted assets to the mesh of my choice.
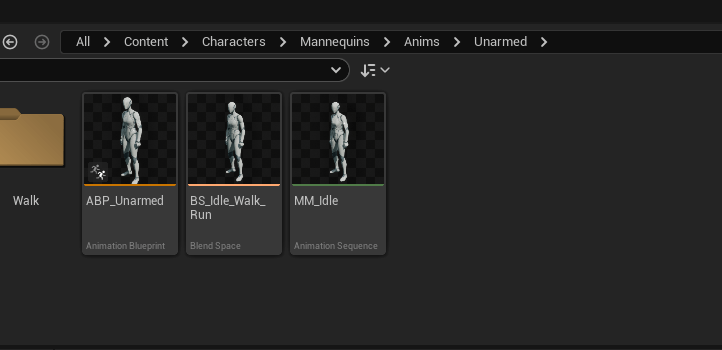
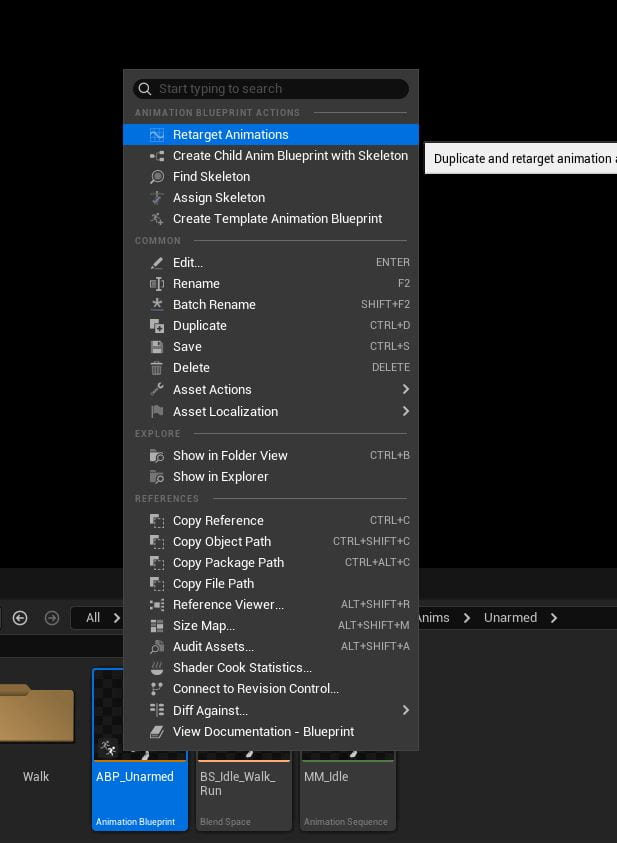
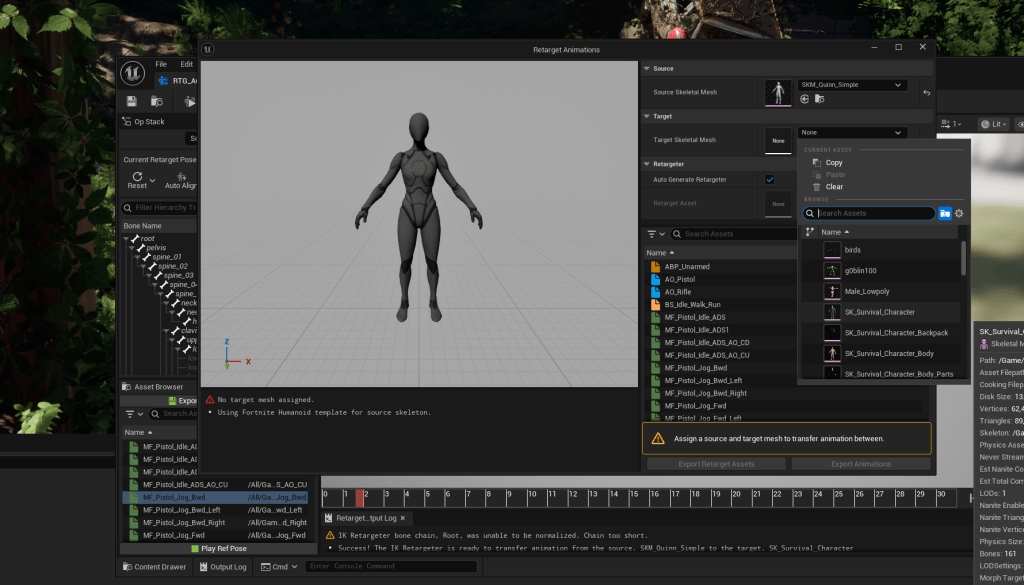
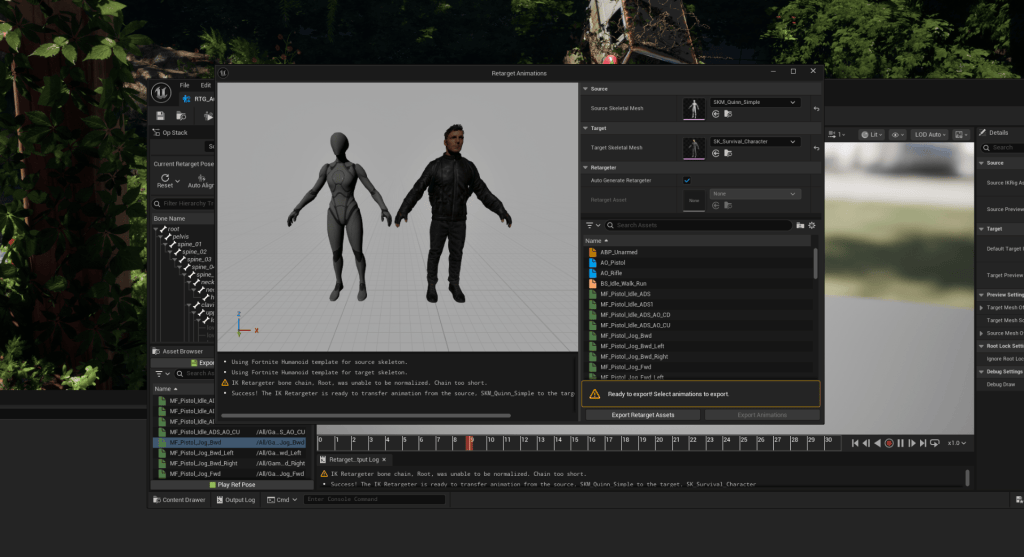
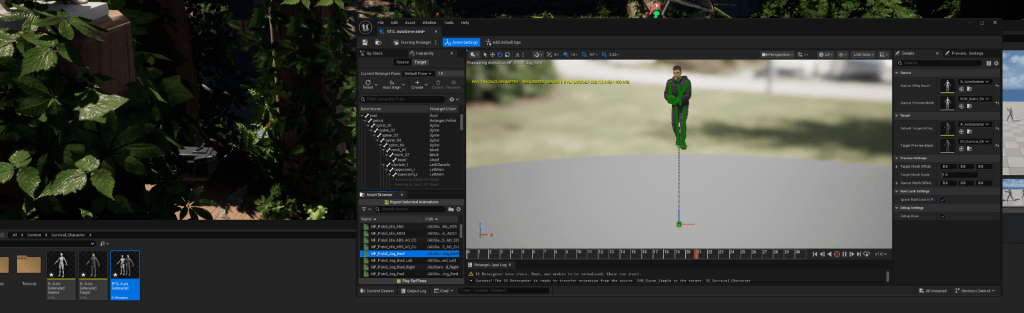
Above this the process of how i was able to do this. this then allowed me to have ton of animations available to me without making them myself.
changing clothes colours
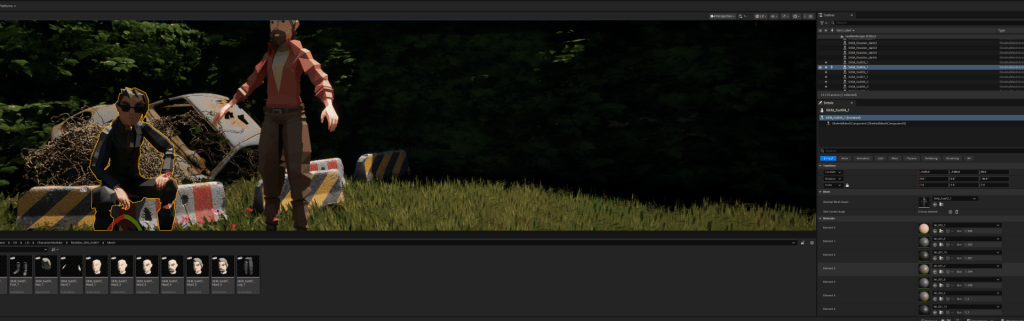
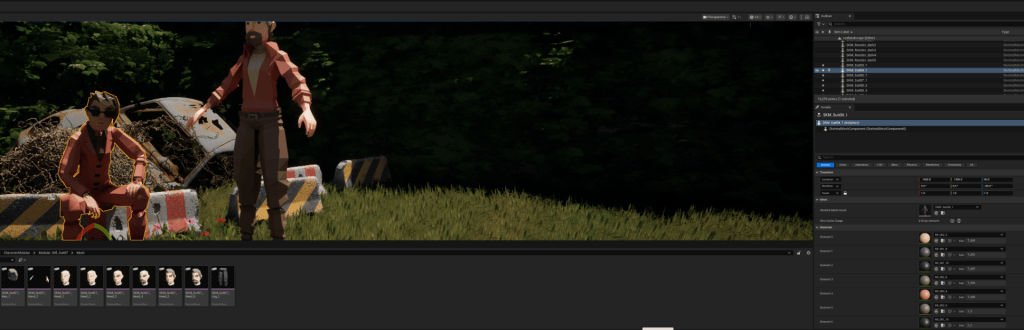
Here i am using assets from fab and changing their appearance by manipulating the details panel
Adding animals
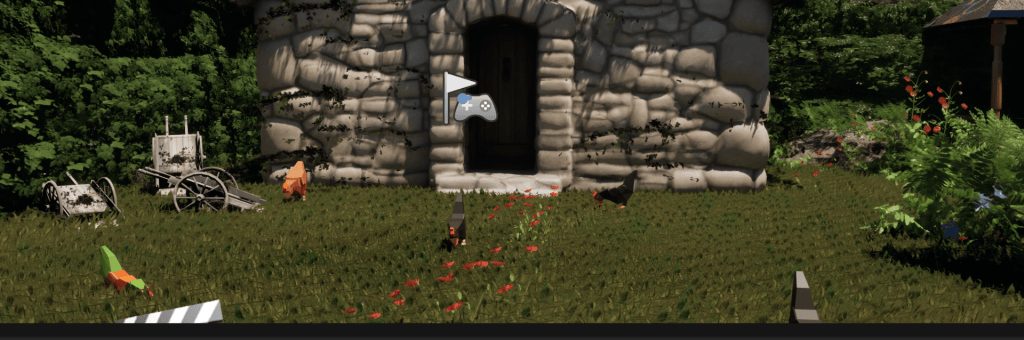
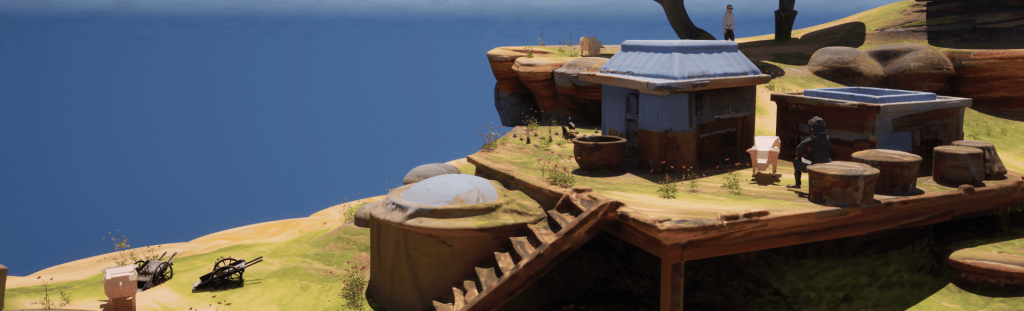
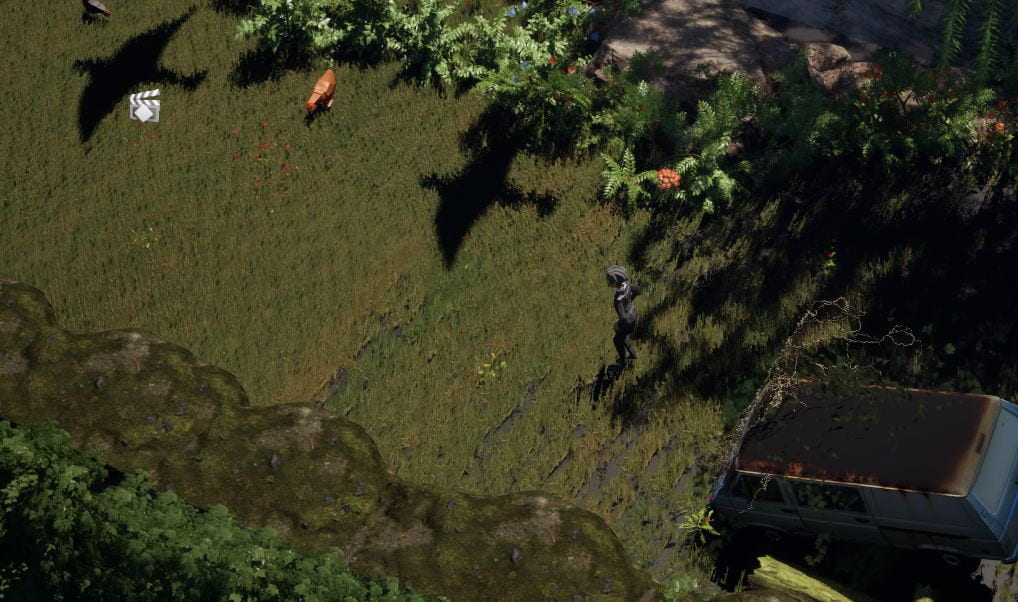
Again i have acquired some fab assets and have given them the premade animations to make them move.
Adding more npcs
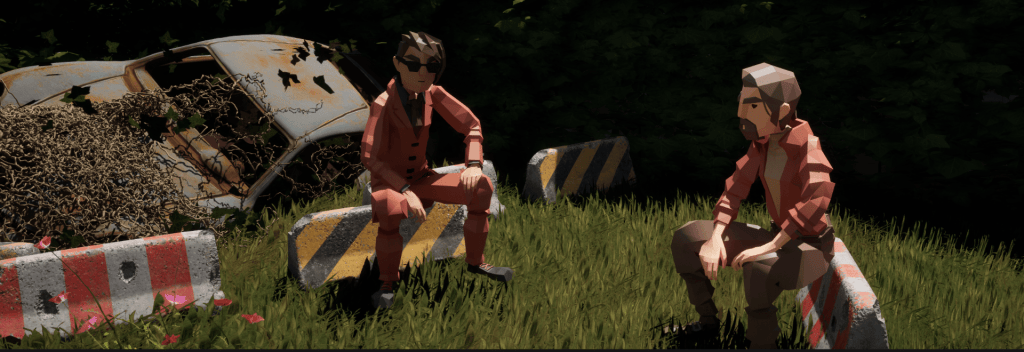
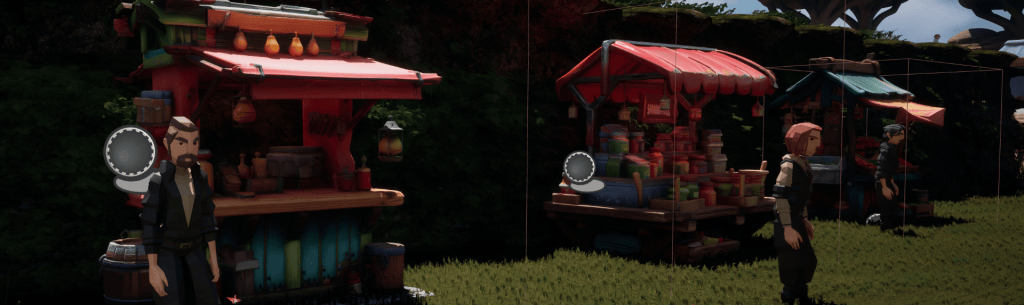
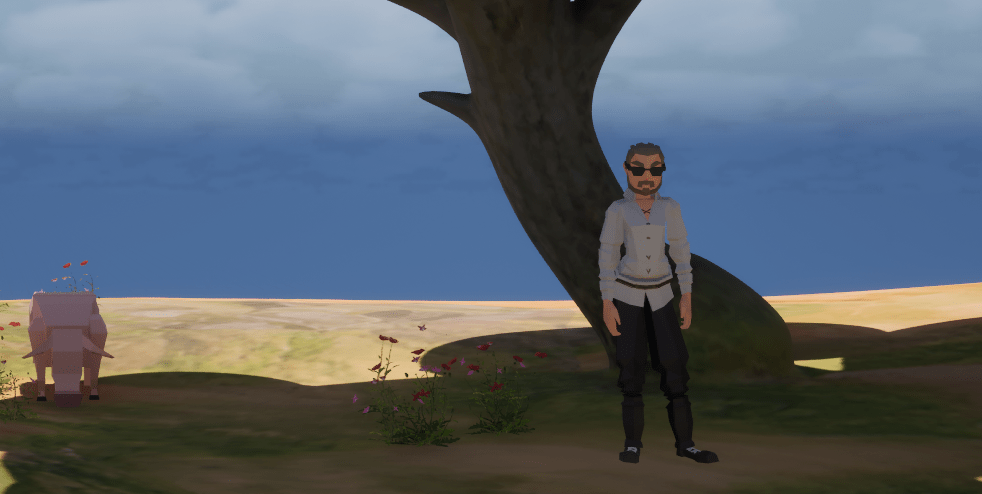
In game features not seen in render:
draft movie render:
Final movie render
How I made my game:
In order to create my game i had to do some research on similar types of games and what they environment looks like. After doing so i began by laying out a simple grass terrain with some water and rock formation in the centre. i wanted to keep my area in the confines of the box but i wanted it to genuinely look like a green area with lots of foliage. I decided to cover the walls with rock, vines, mould and grass to give the box some personality.
Moving forwarded i added some npcs that looked like they fit the story that i had imagined for a game area like this, i wanted them simple but expressive. I created collision boxes that would activate on screen text when approaching them which allow me to sell the idea that my characters were merchants selling at stools.
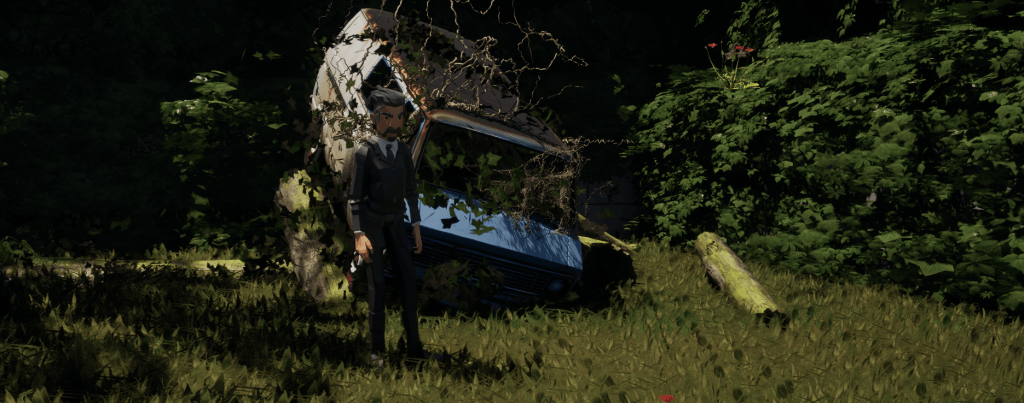
I added many objects to create mystery such as a reck van and car covered in vines and foliage, a house that is begging to show its age and a floating island that is connected to my play area. I purposely added foliage, vines and such to the cars and the floating island so they look apart of the scene and not just random imports from fab.
I wanted to make the atmosphere right so i added birds that fly through the sky casting shadows on the ground and music that brings the scene to life and compliments the aesthetic and theme of the game.
Reflection:
I was really in love by Super Mario 64 growing up and was very much inspired by it going into this project too. I loved how super Mario camera panned around the whole stage at the start of the game. i wanted to recreate that idea in my own world and have it blend into my gameplay, serving as a cutscene. I worked really hard and paid close attention to detail adding animations to Npcs, creating text that appears when the player interacts with npcs. I went through many character designs and ideas before the final version swapping out assassins with hunters and then change that idea to a more simple looking player that fits my worlds aesthetic.
There were many challenges during my sequence creation that i faced like animation going wrong, in the opening of my first render the animation glitches and my npcs flicker between standing and sitting. this is later corrected. I manually had to keyframe movement of birds, work with lighting and creating many blueprints to get my desired results.
Lighting really changes the aesthetic of my game from a light hearted also kid like game to something that could be described as more mature.
Overall i am very happy with my final outcome and believe it has helped cement my learning over this part of the course.

